Somewhere, USA (undisclosed location)
adriaan mol
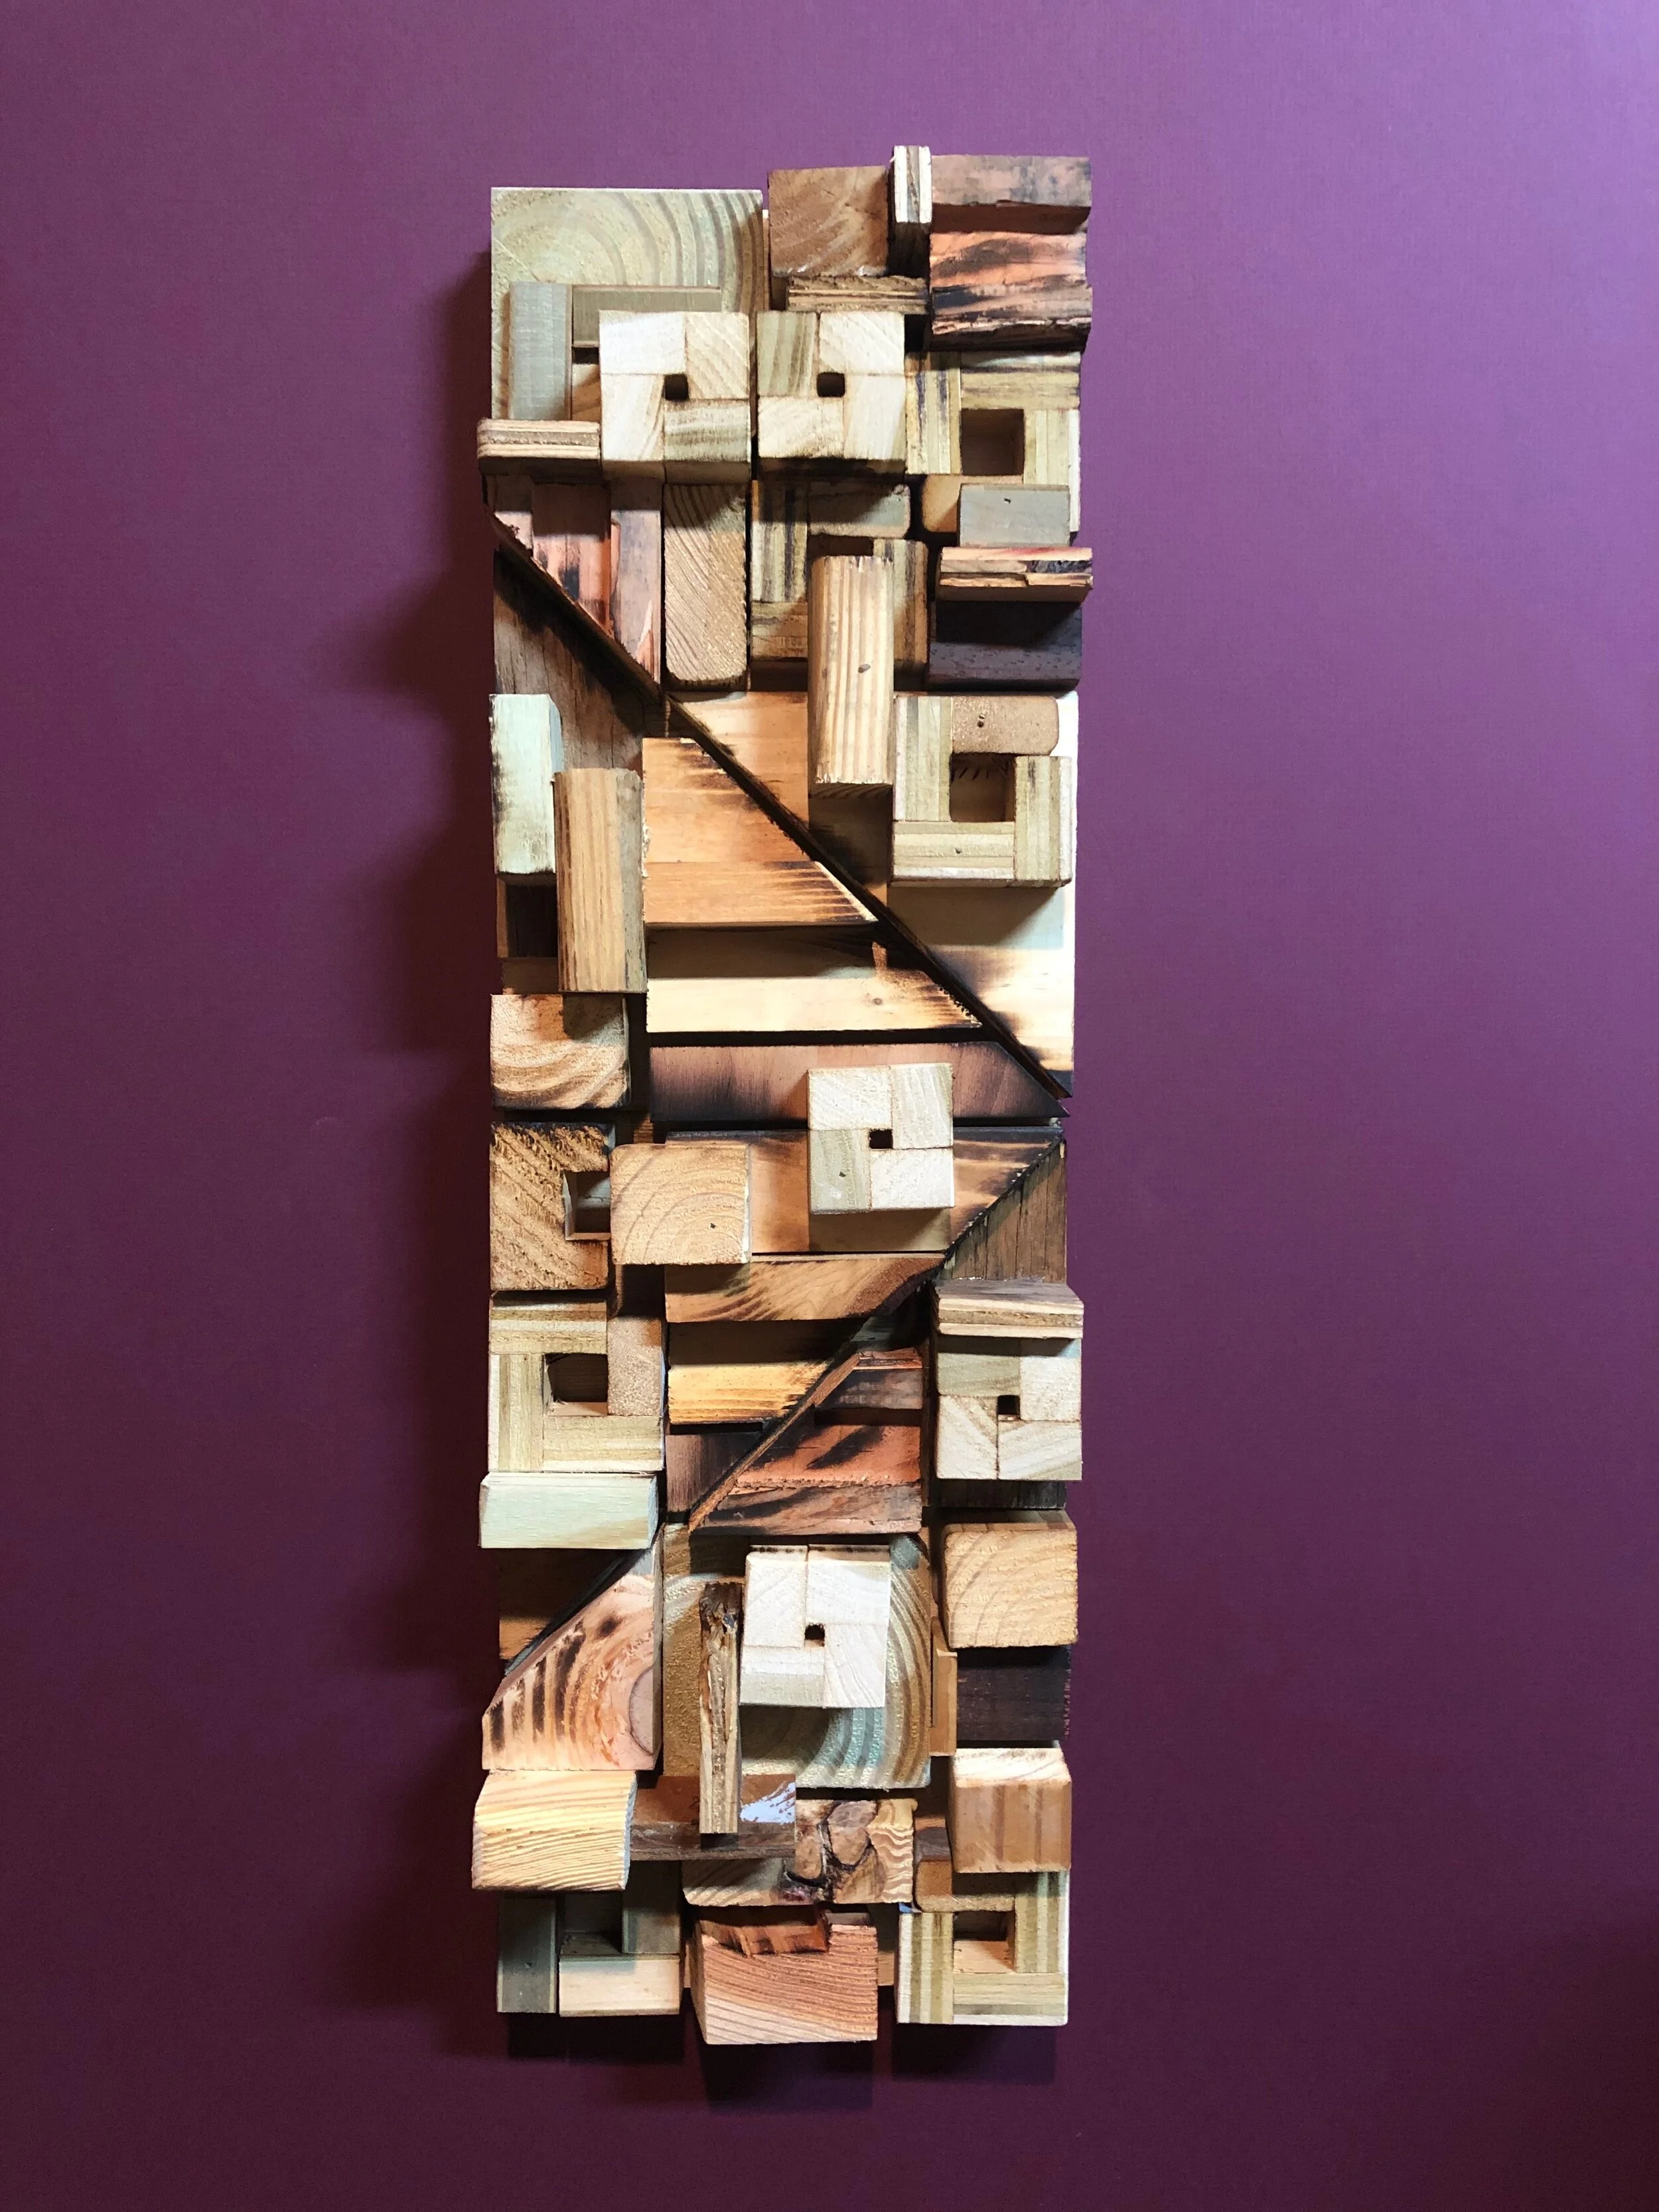
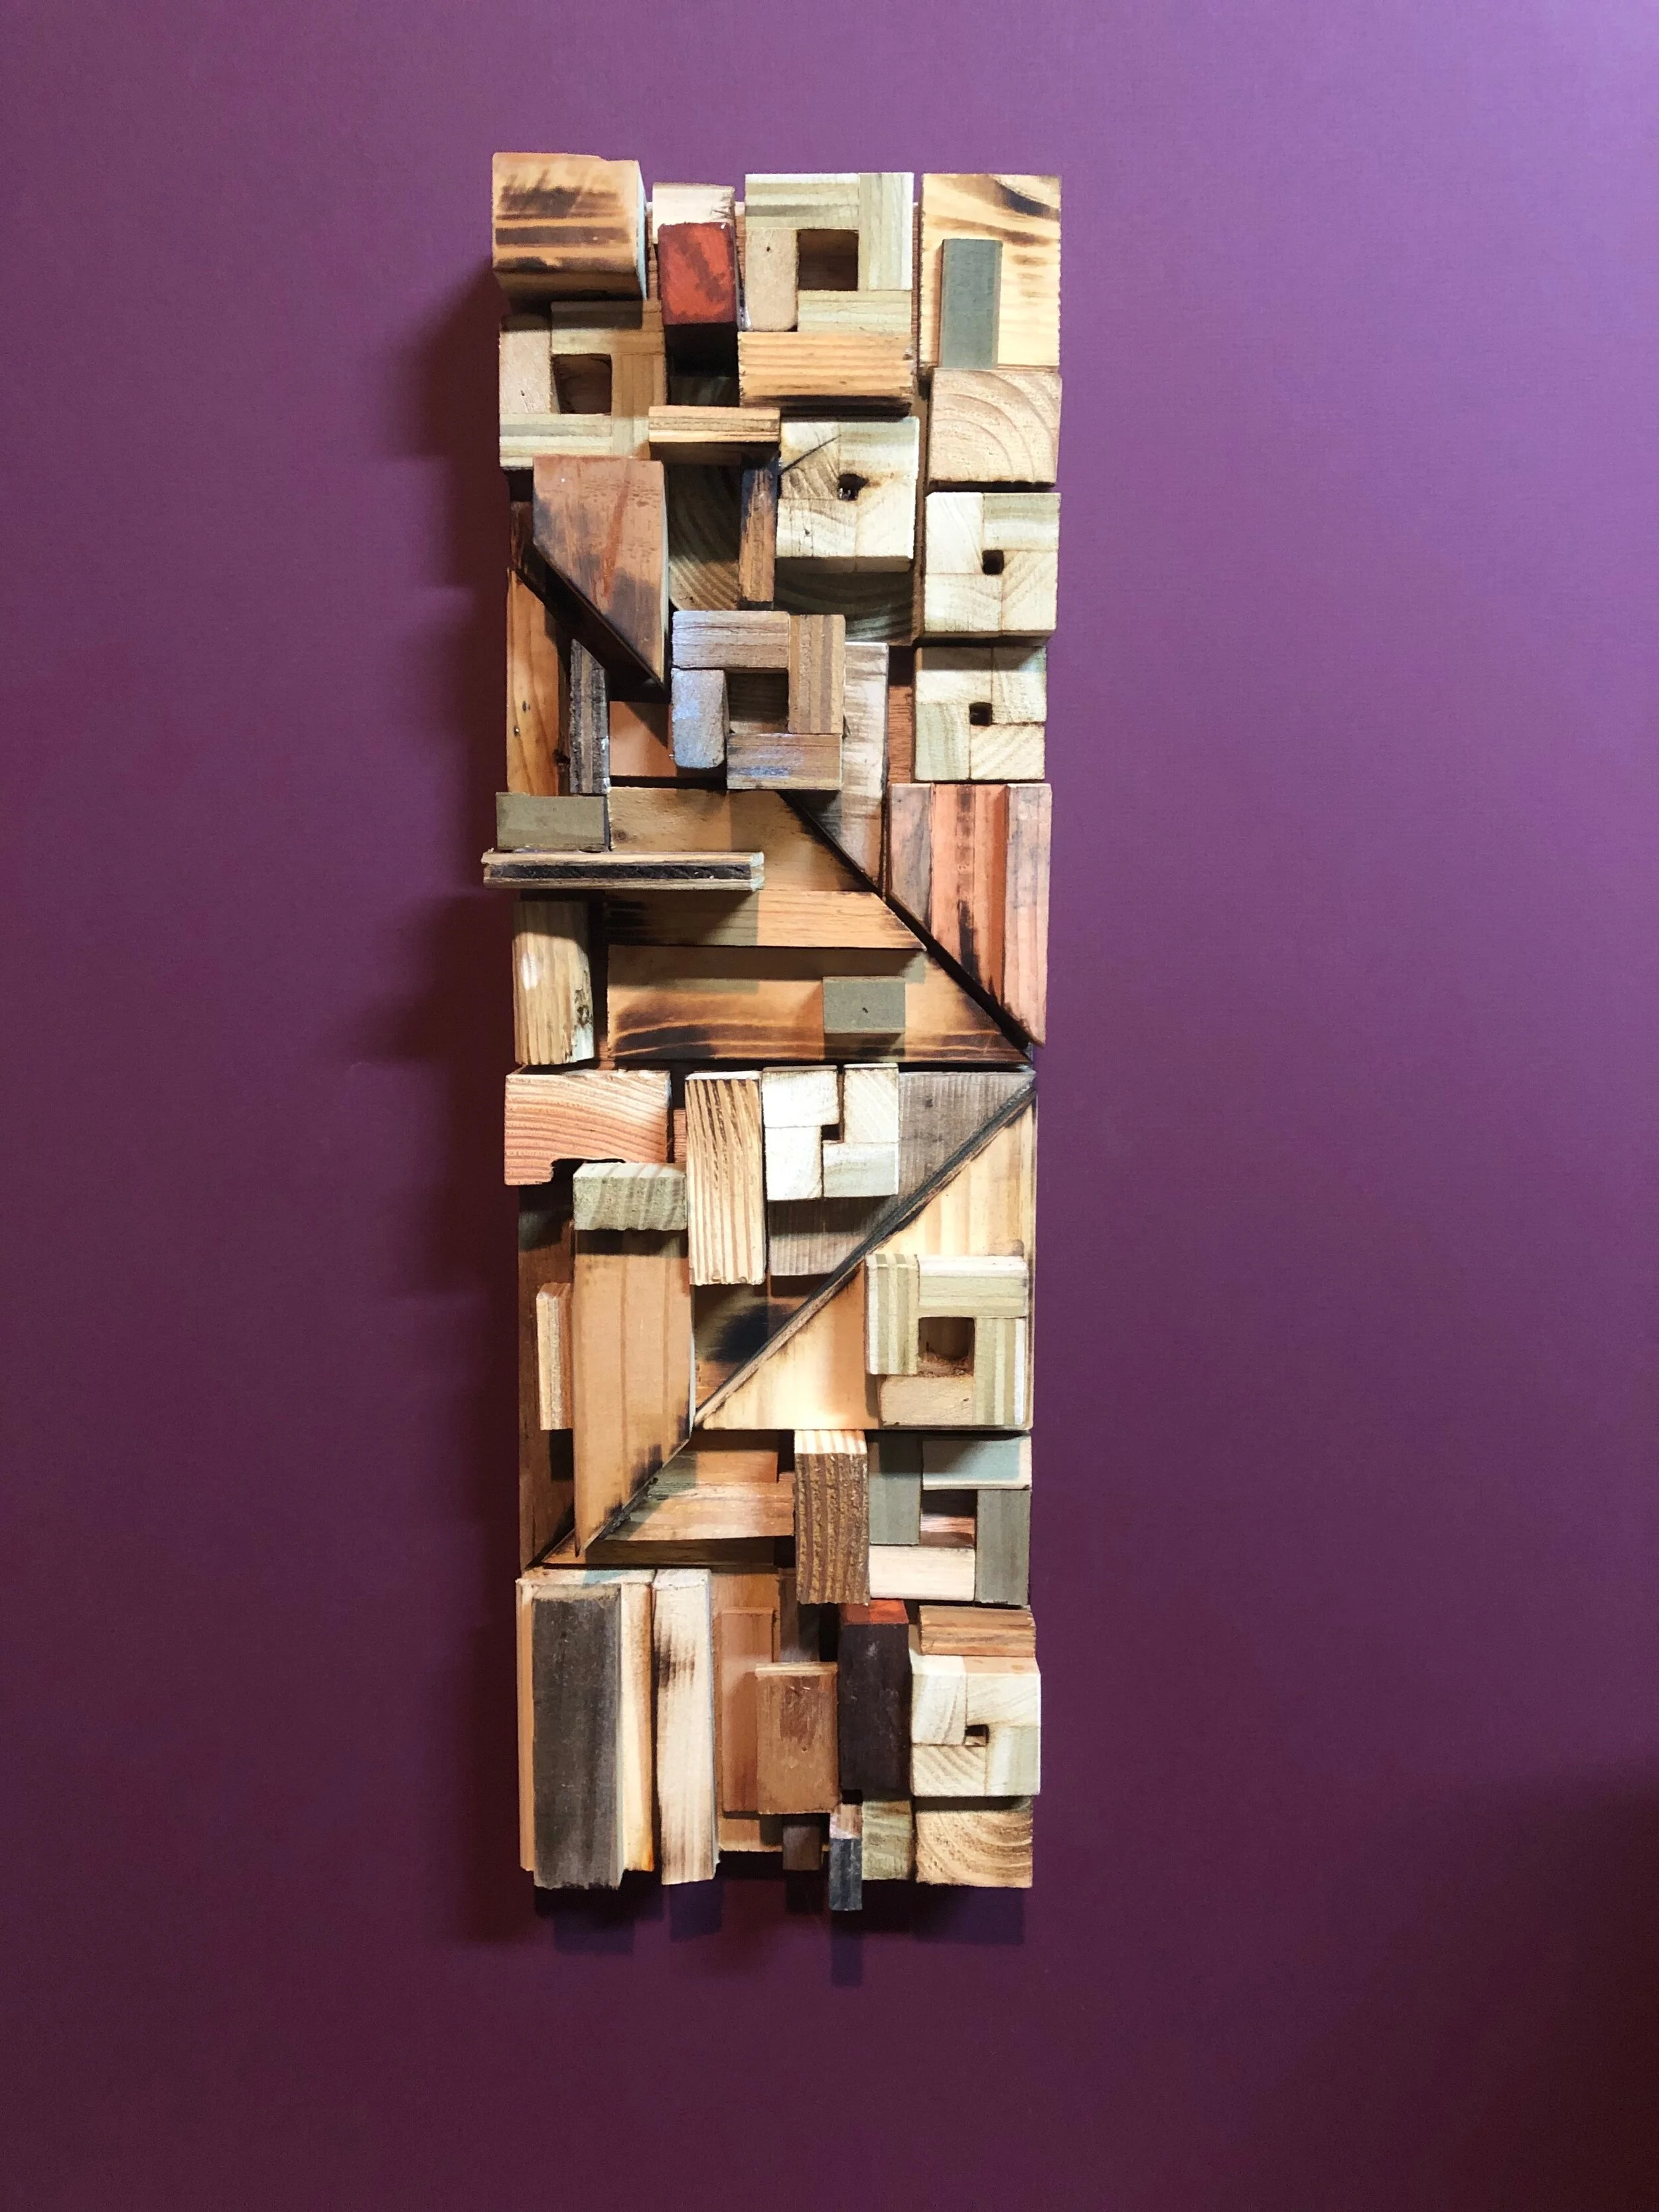
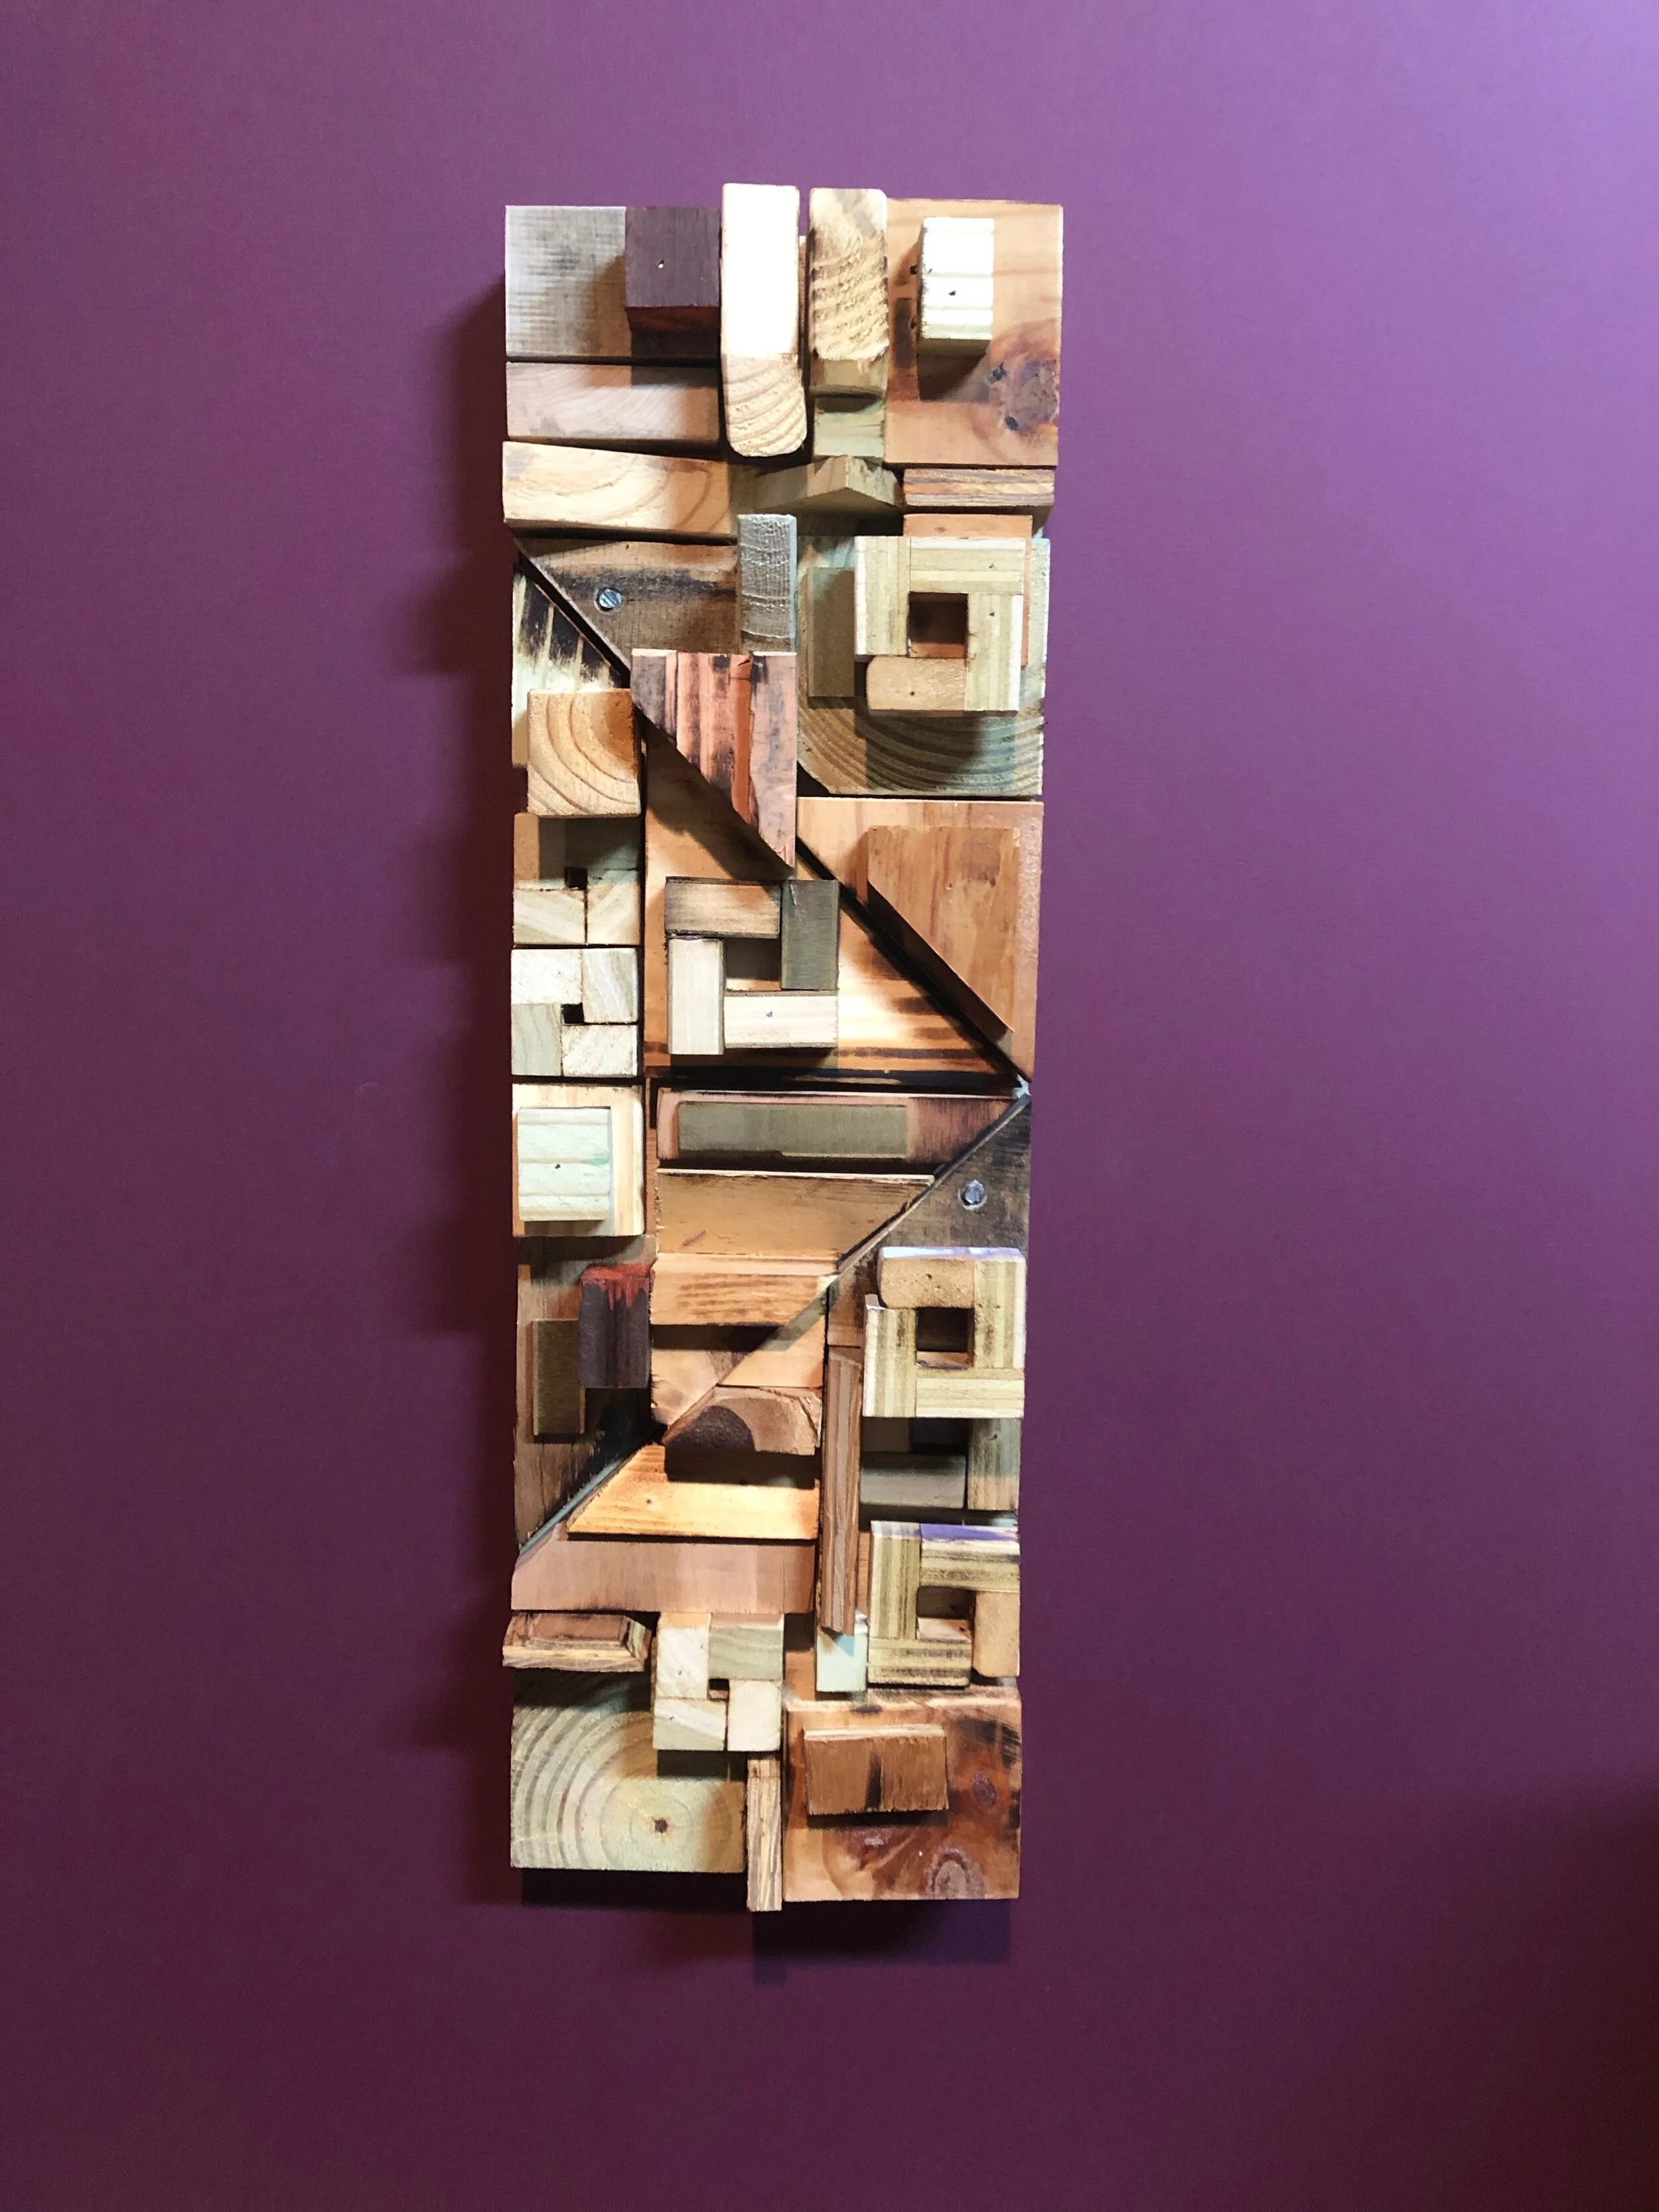
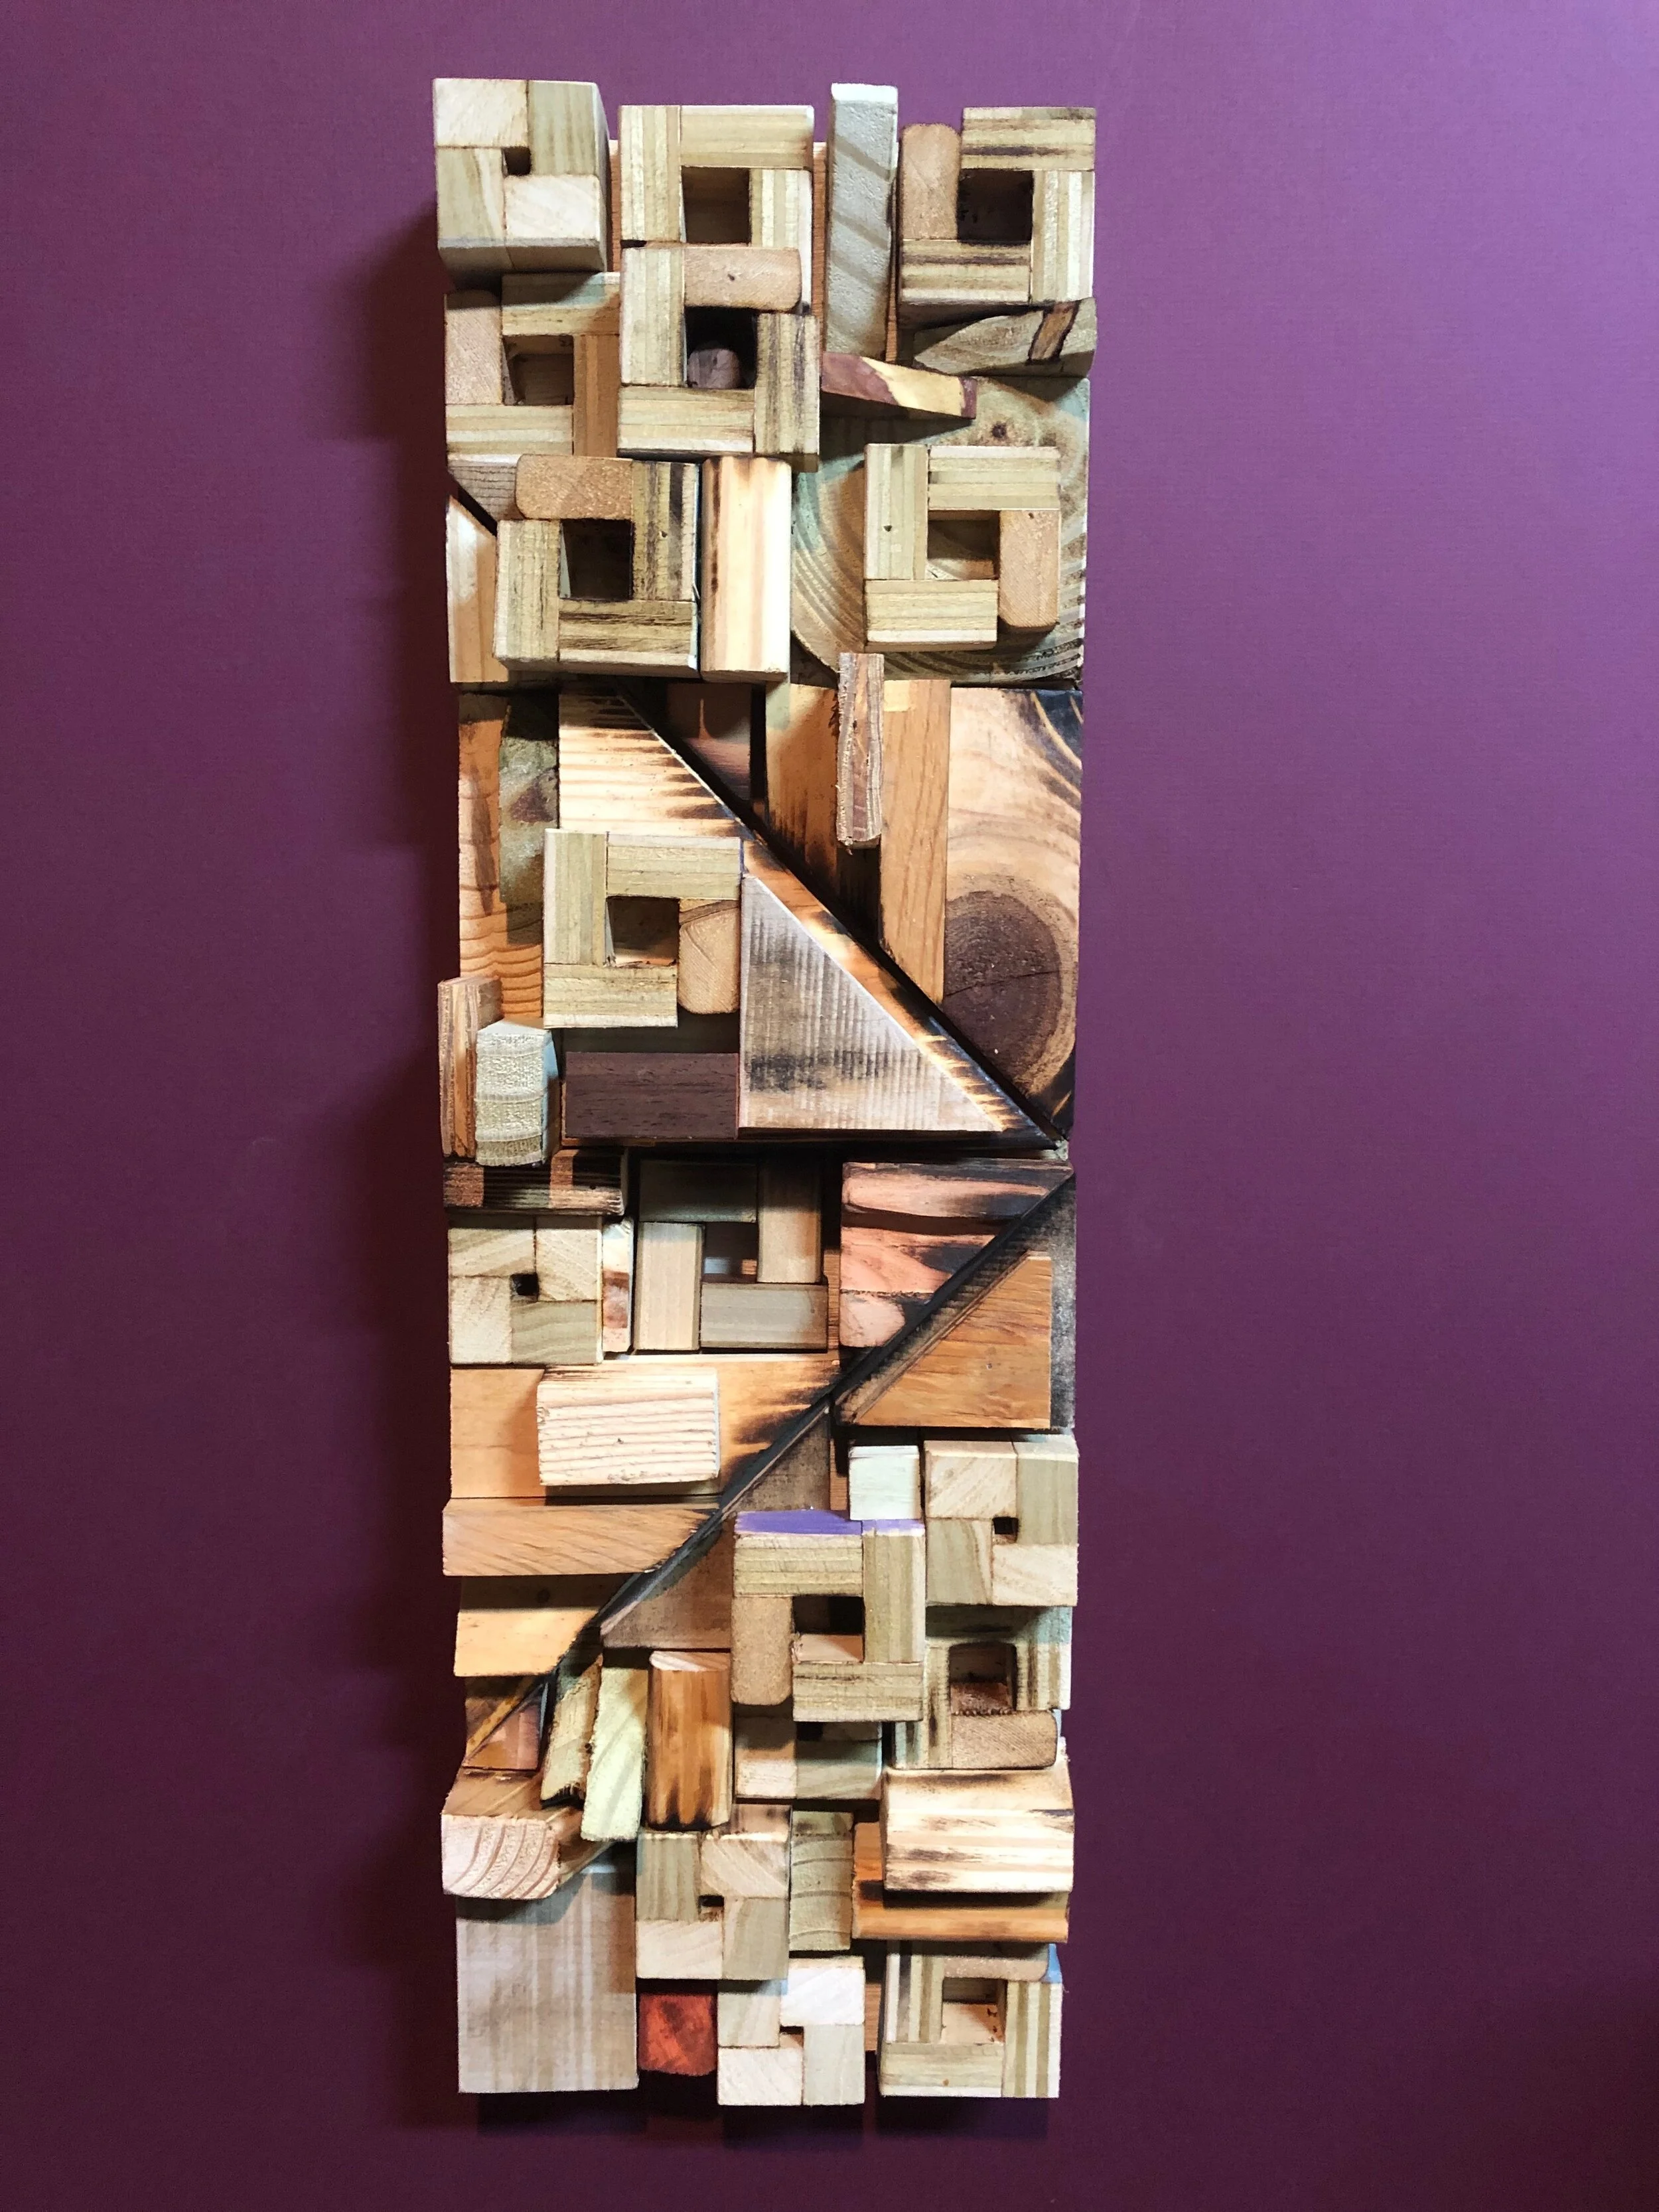
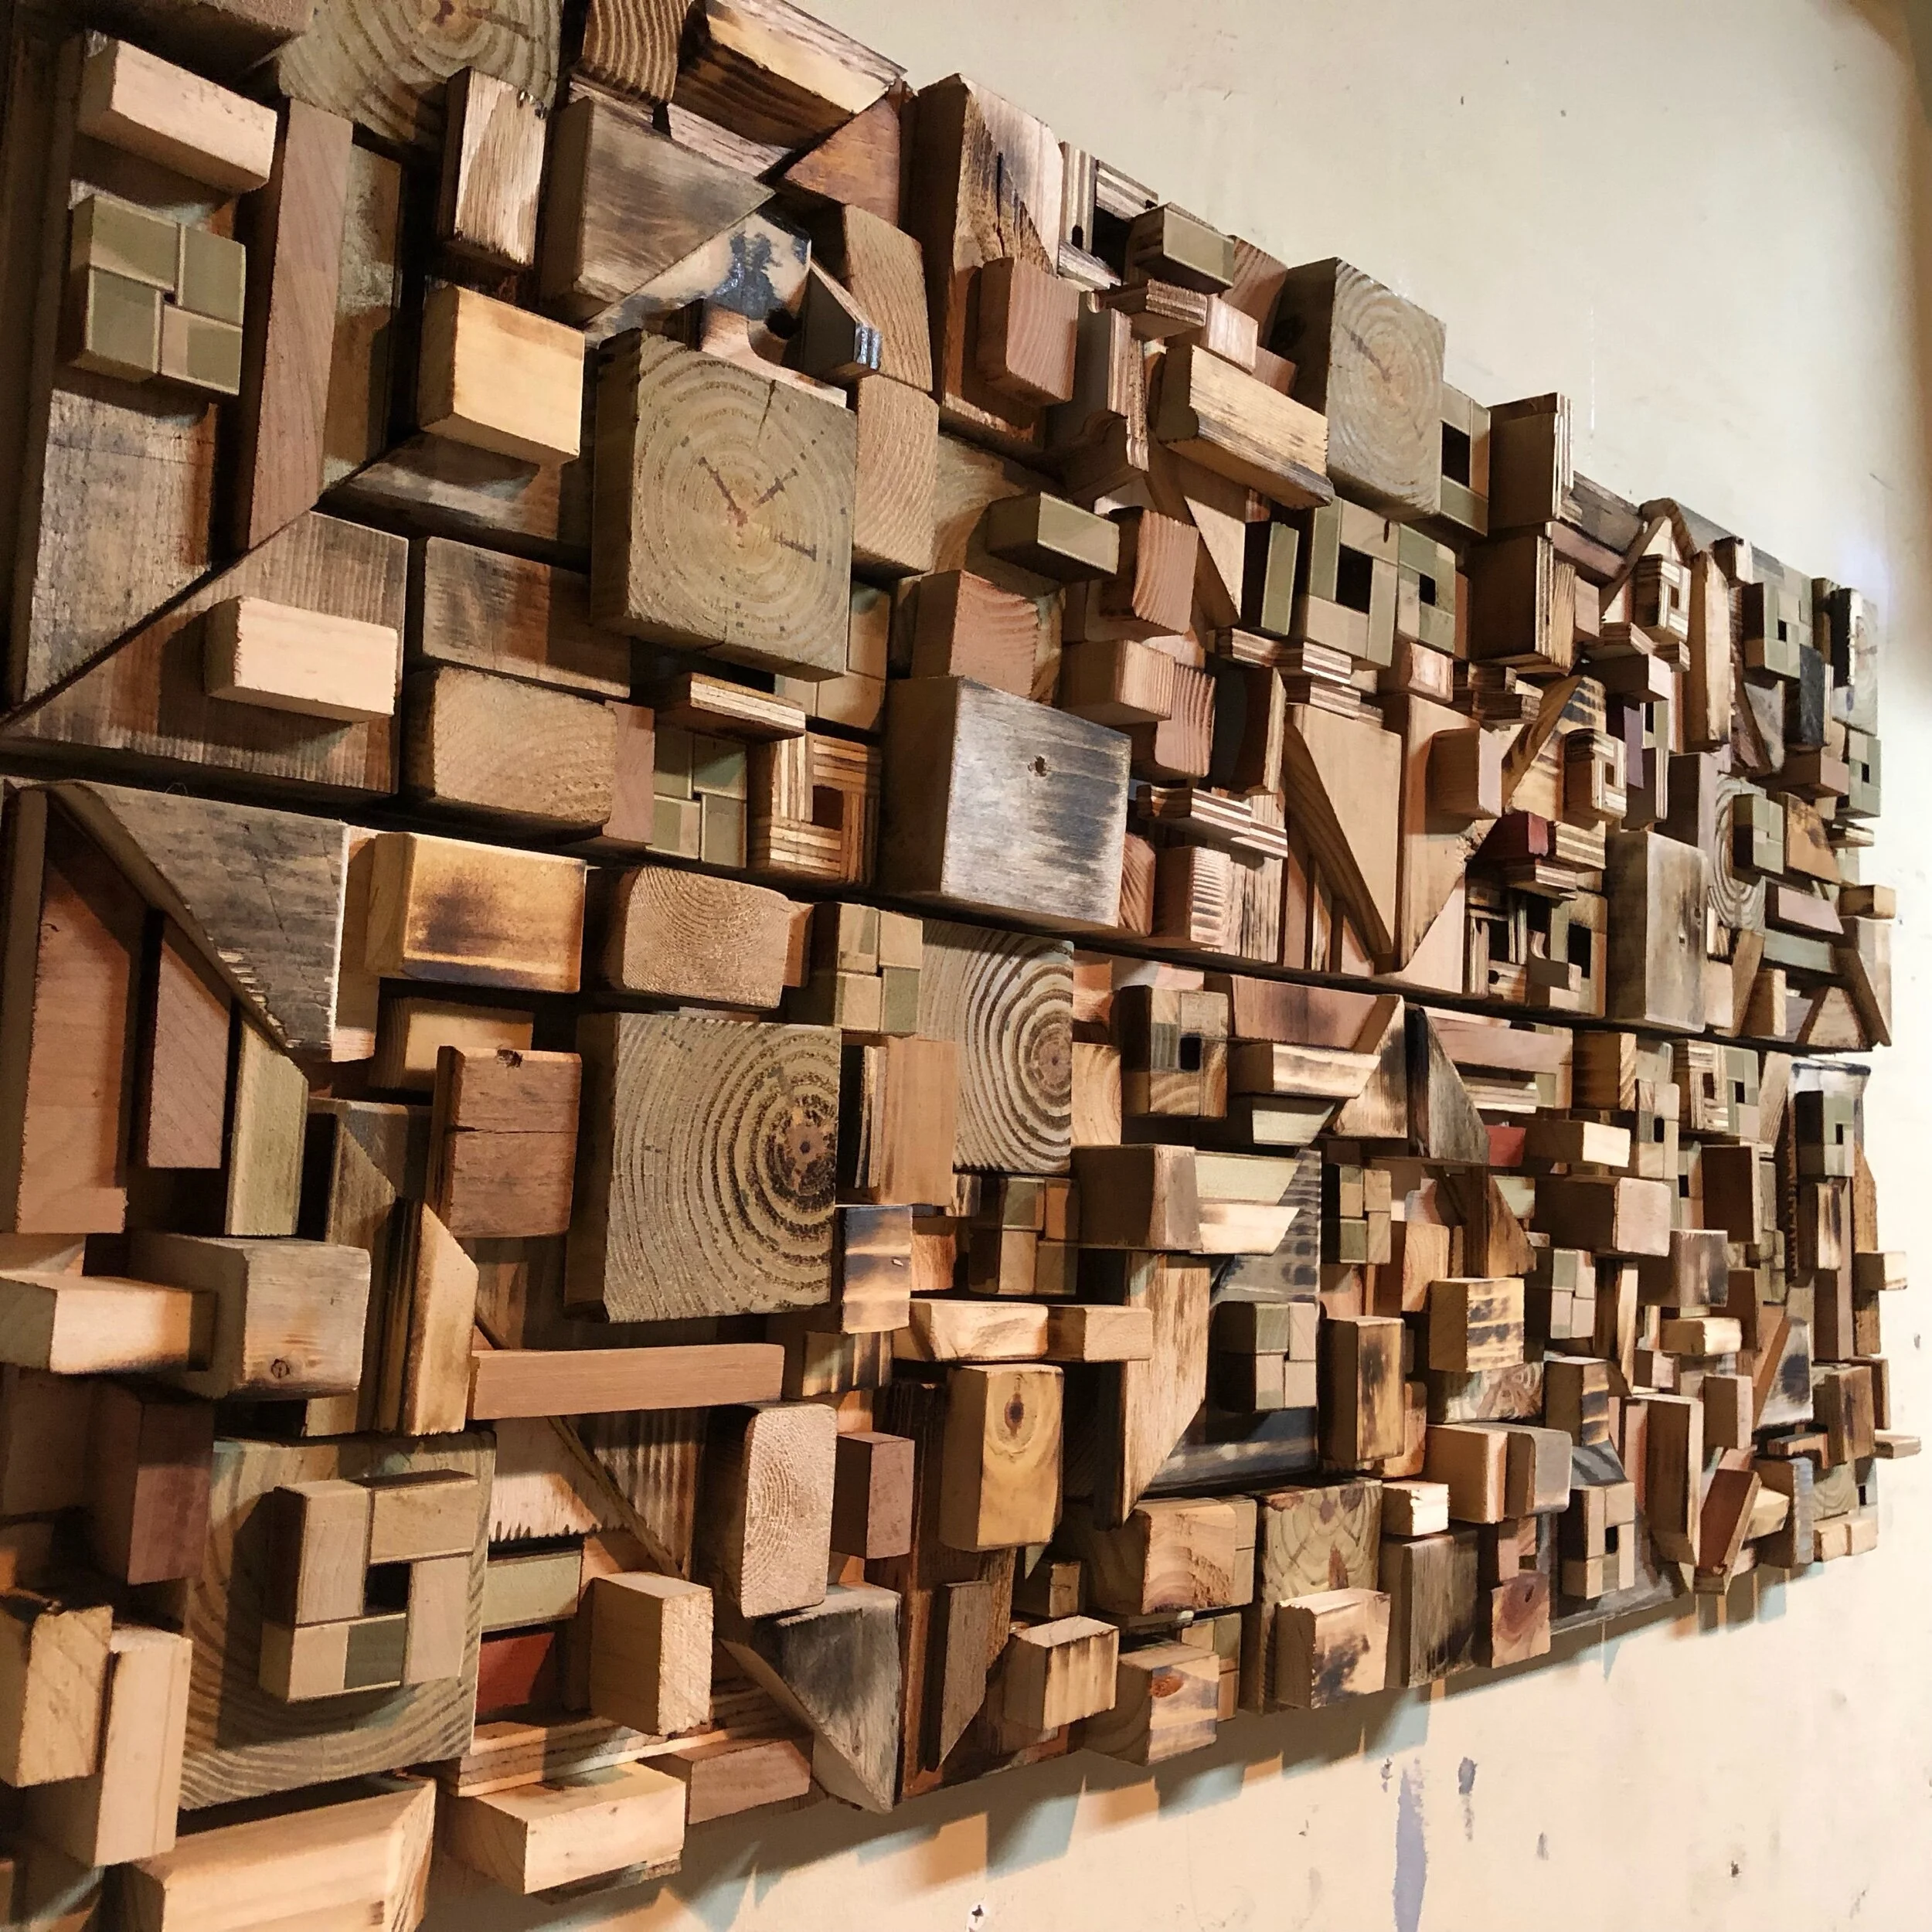
Project Title: Unpainted Nebraska - QTY 32 + addition
Status: Complete
Ship Date: 11-4/5-19 & 12-20-19
10-5-19: Thank you for stopping by. It will be a pleasure to be part of the ISO booth. Your project will be underway soon. Check back for updates as they are uploaded.
10-14-19: Prep stage is done (takes the longest). Some are starting to take shape. More will take shape tomorrow too. Stay tuned for more.

10-17-19: And the beat goes on with more in the making.
1-17-19: Moving along strong. It’s up to 18 partially done (80% stage). Next week pretty much get all 32 to the 80% stage. Then it’s just finish work like the hanging cleats and packing. Safely said, things are looking good to be on target for the one month turnaround.
10-21-19: Still going strong! It’s up to 28 square feet at 80%. Still on schedule and running smoothly..

10-24-19: And away we go! We now have 32 square feet at 80%. Just have to finish things up, add backs, add cleats, and pack. Then they are off!
10-29-19: Not much to see as a whole yet. Just a bunch of cleats and feet. WOW! Thats a lot of feet, It will all come together in the next few days, right on schedule.

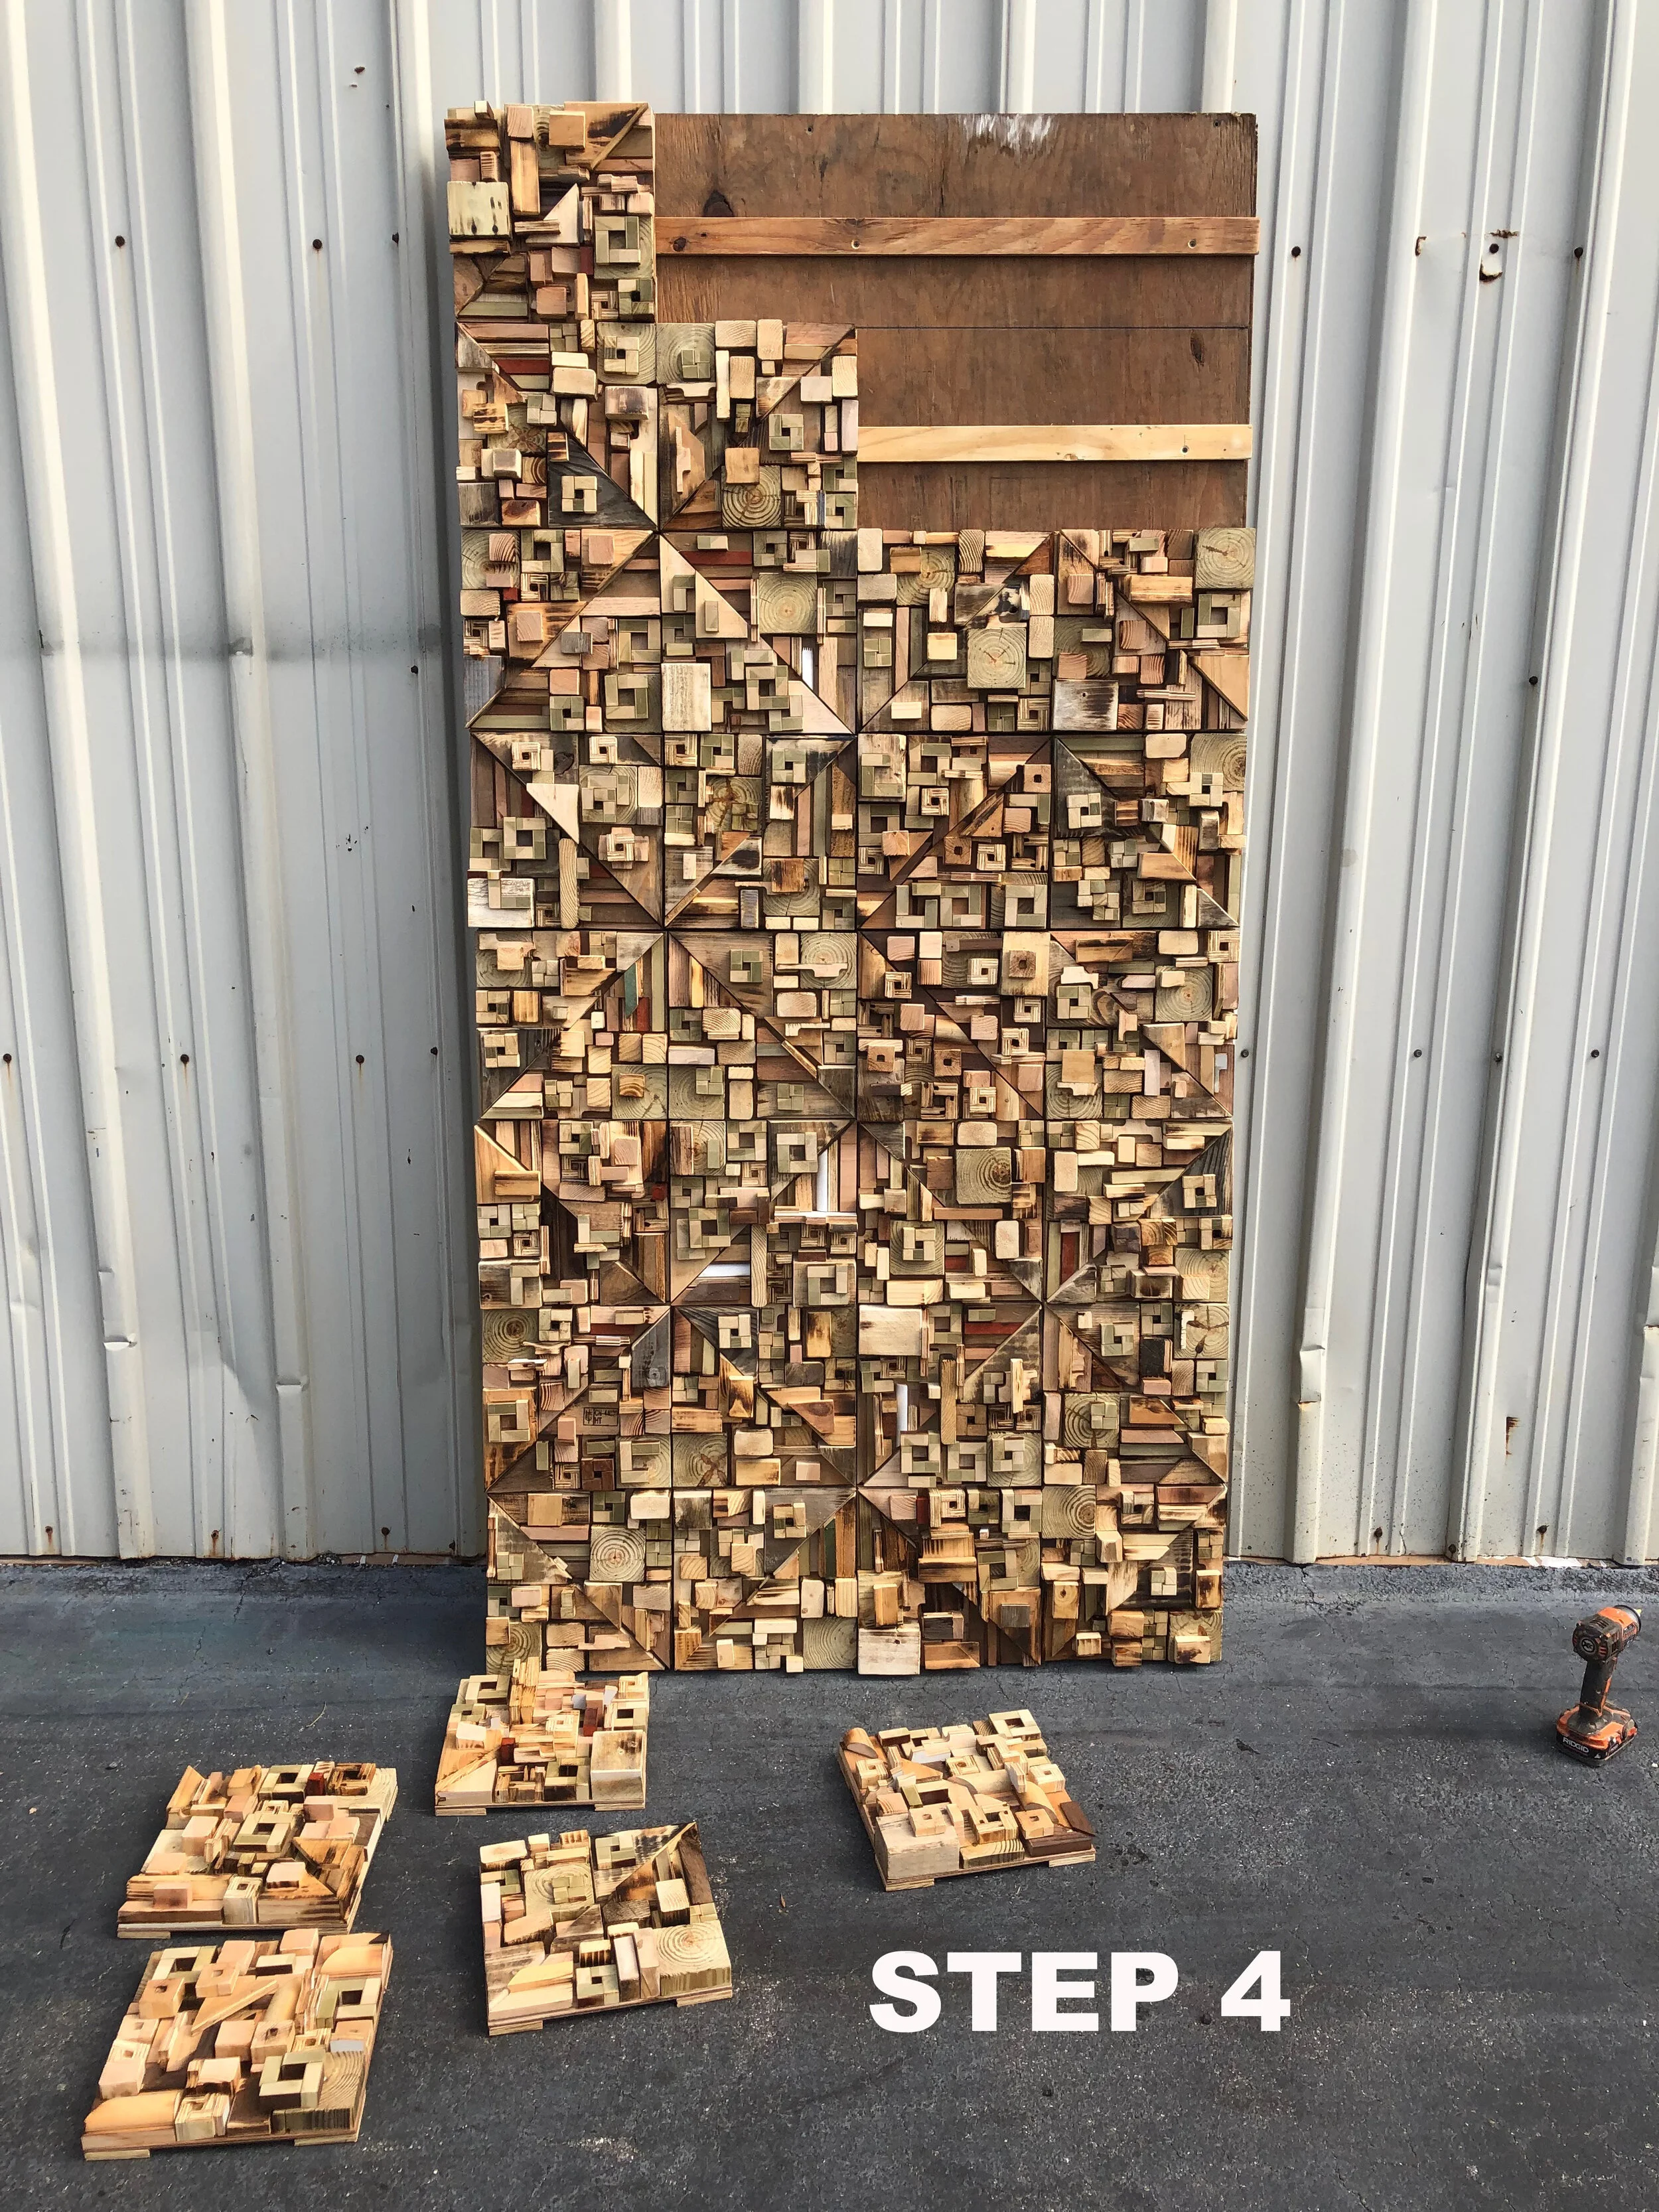
10-30-19: Looks like we have 16 at 100%. Will try for a full layout pic tomorrow (scratch that) or at least in the next few days. There isn’t enough space on the dilapidated test wall.
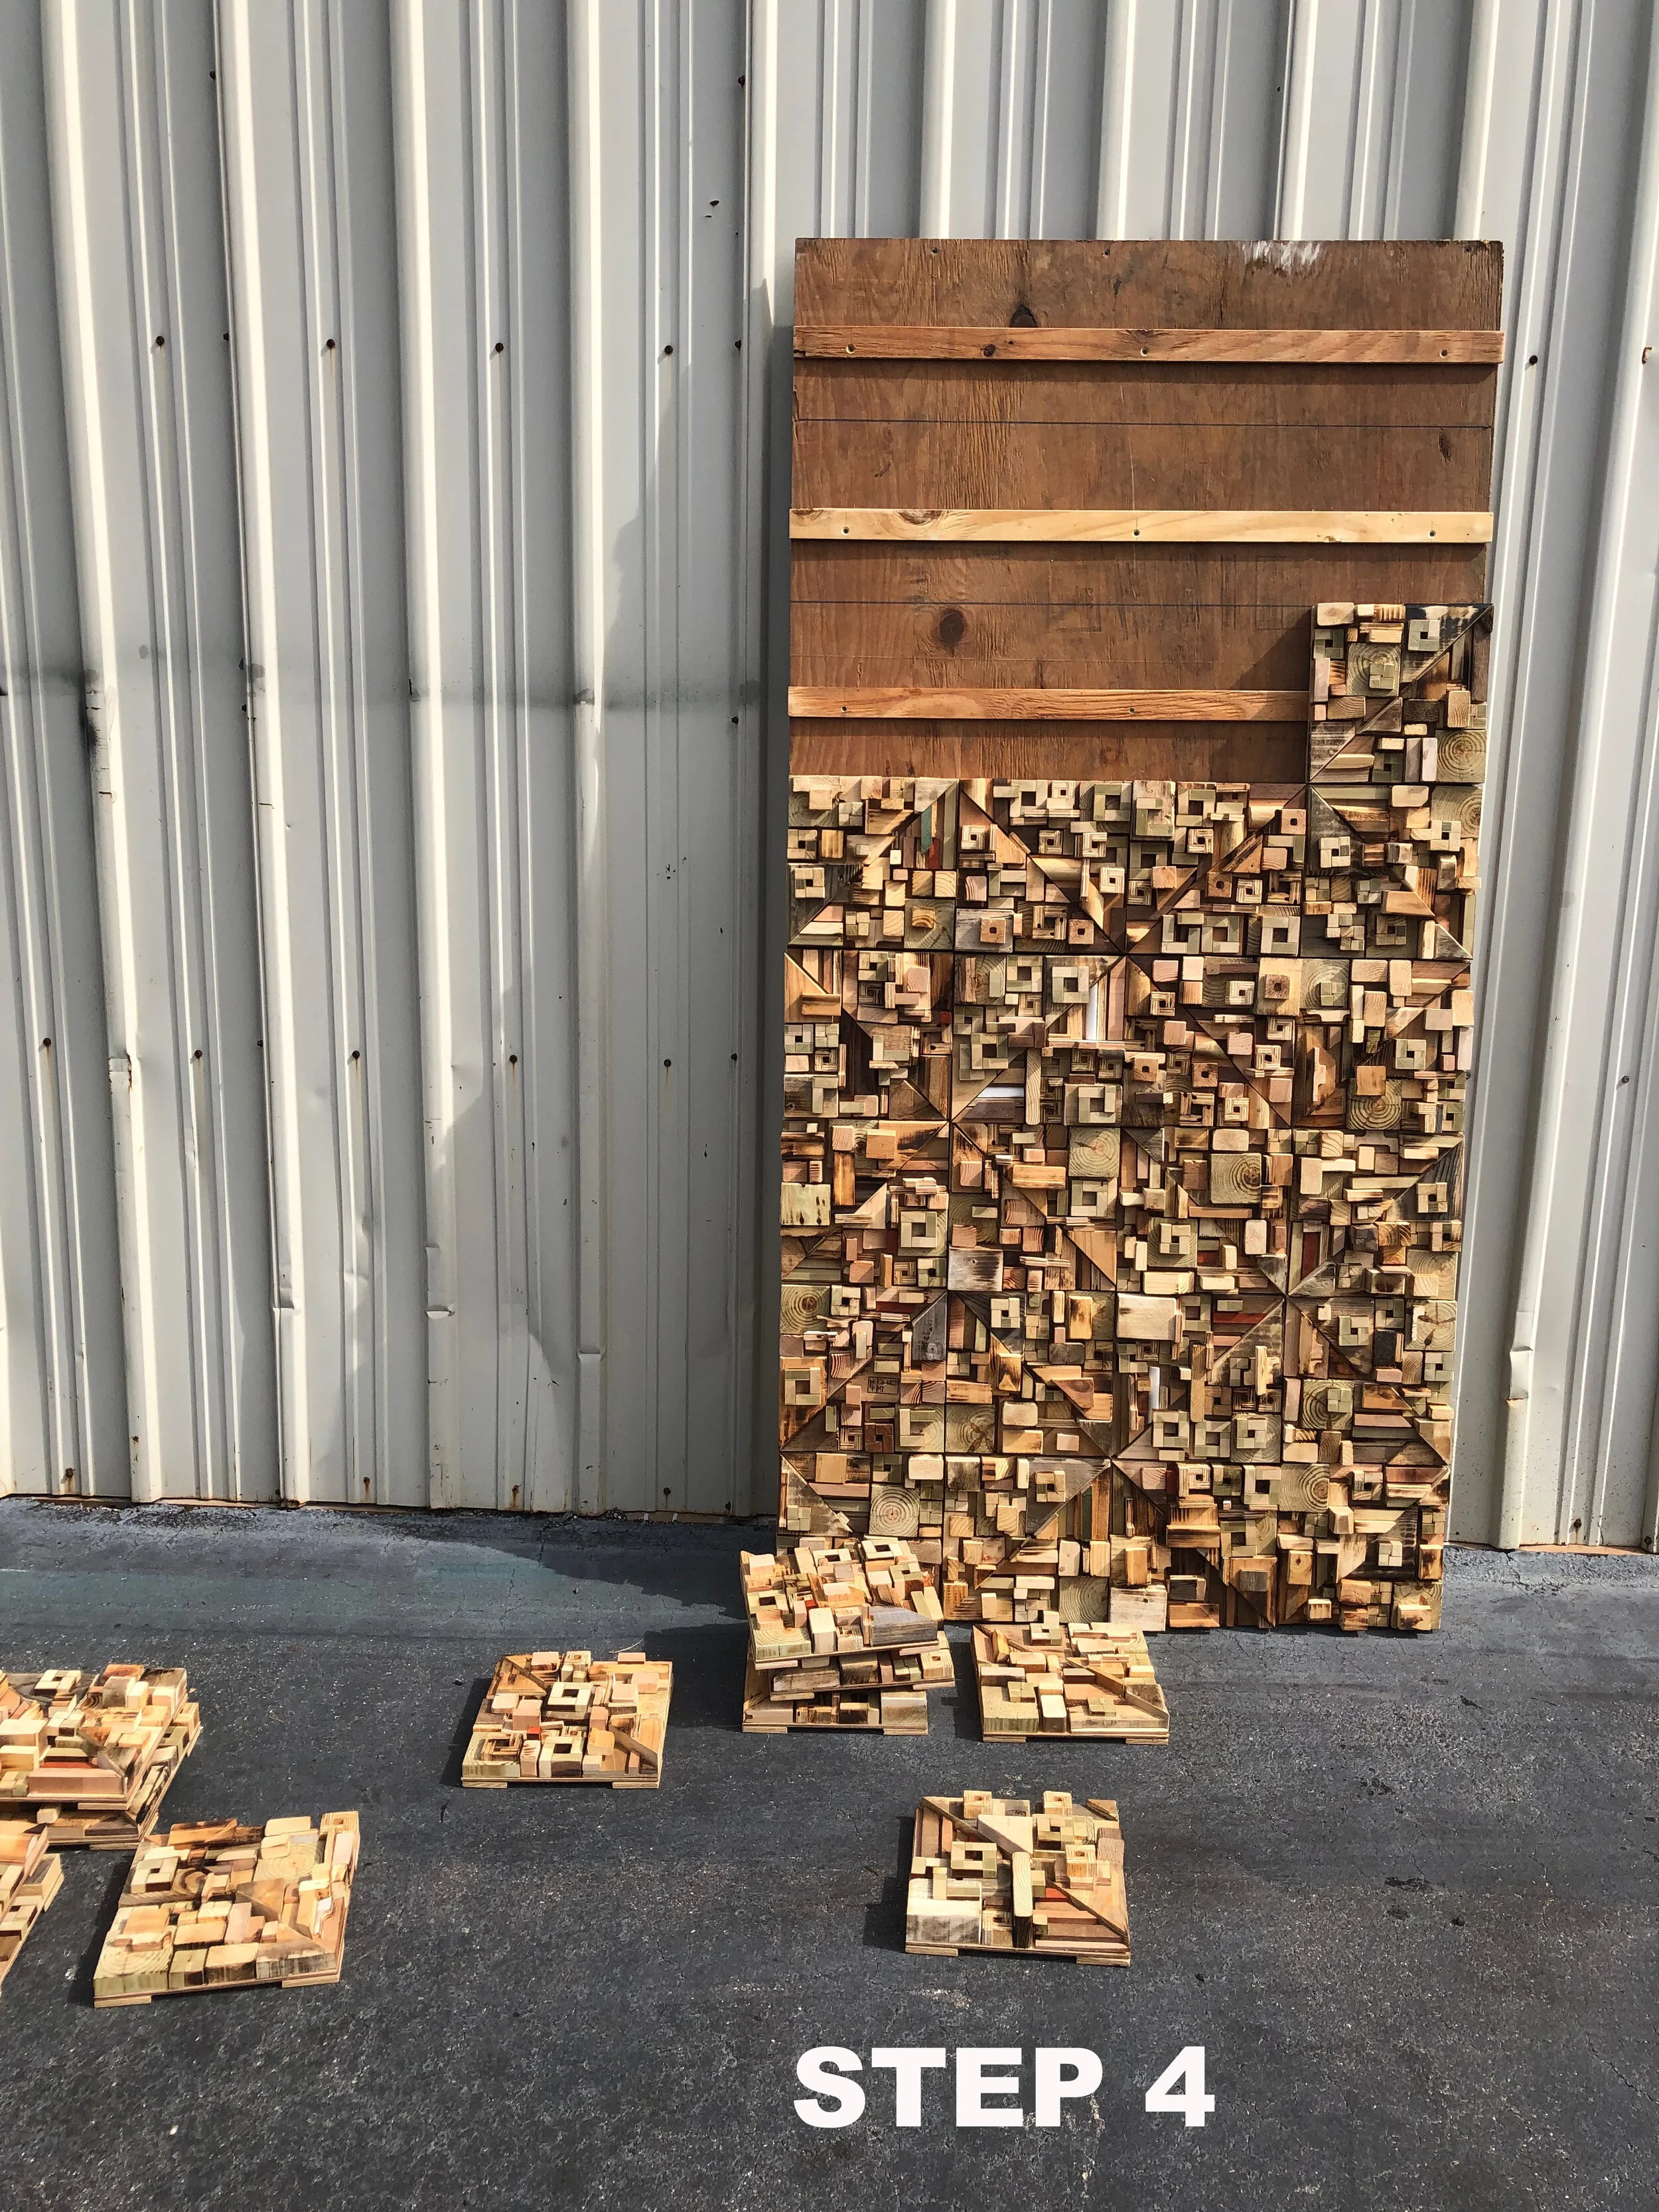
10-31-19: However, I’m putting together a 4 x 8 sheet of plywood for a test installation piece. It will tell the story of the actual measurements for the layout with the 4’ cleat stripping. So, stand by for that. It will help you in the long run for the install.

11-3-19: Thank you for waiting your project is now complete! It ill be packed and sent right away if you are ready. In the meantime. here are some pics of the installation process and some notes to help on your end.


INSTALL NOTES:
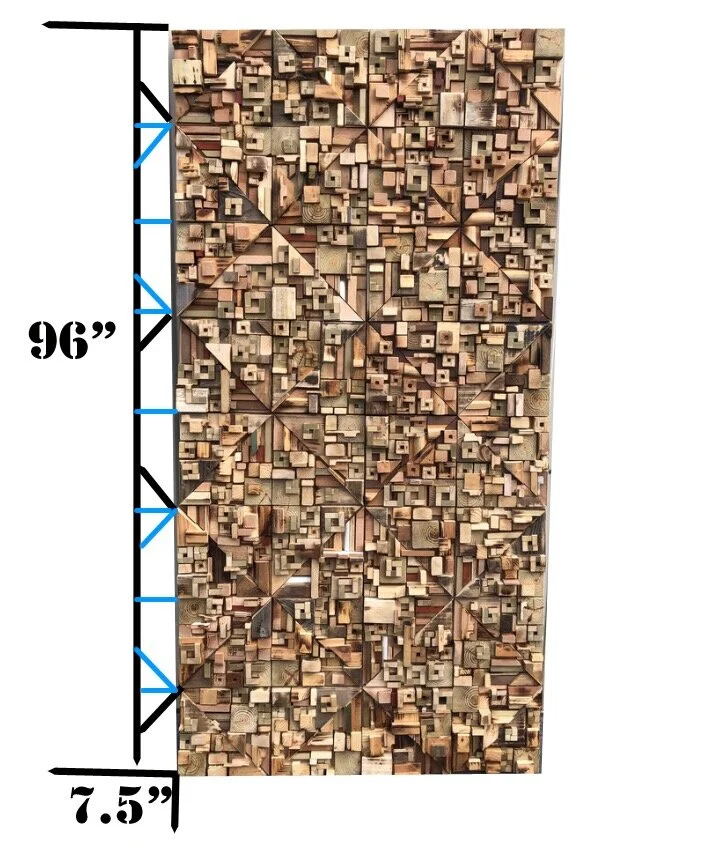
Step 1: Lay the cleats out in the 4’ x 8’ area. Is these pics you can see the black line represents the 1’ marks that layout to the bottoms and tops of each row.
Step 2: Lay the cleats out. They drop nicely at 4 1/8” above the bottom line to the bottom of the cleat.
Step 3: Lay the panels out in each group (1, 2, 3, and 4). It is much easier to star this way if going by the suggested layout design. It can get pretty confusing otherwise.
Step 4: Start loading the cleats with the panels starting at the bottom row.
Step 5: Give yourself a high 5 once you’ve loaded the top row because that’s it!
Step 6: Send in pics for the website, please.


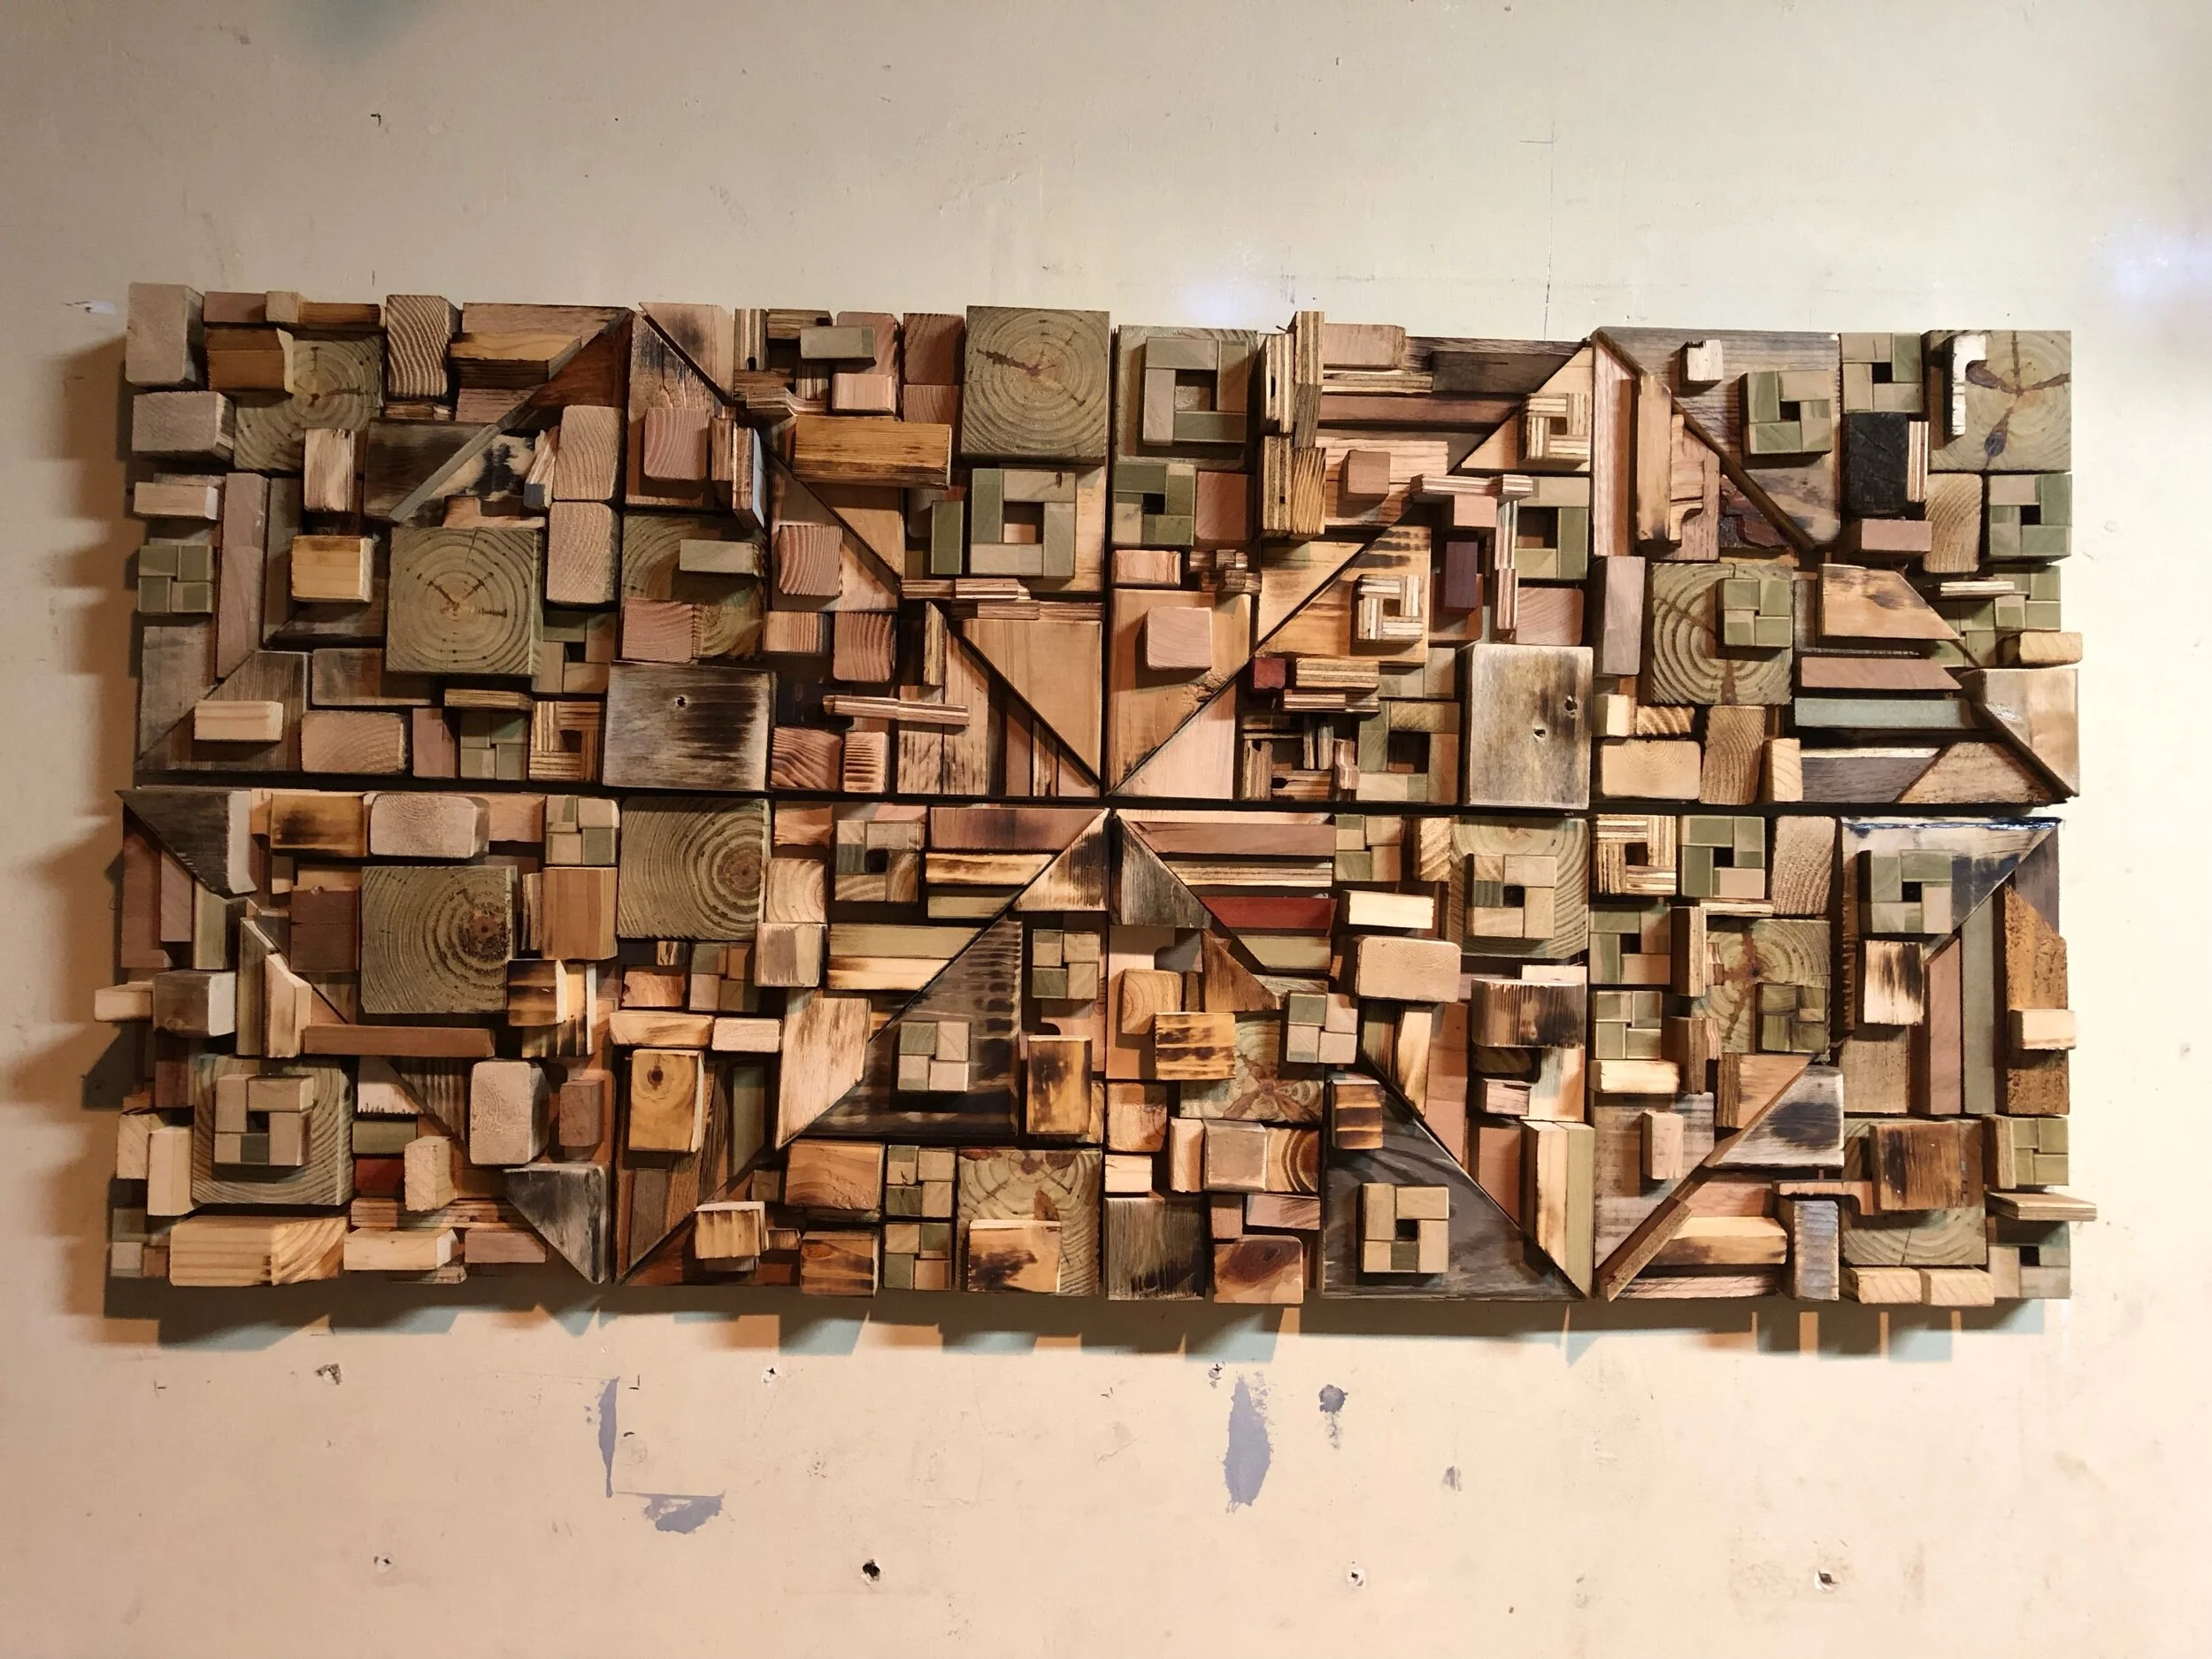
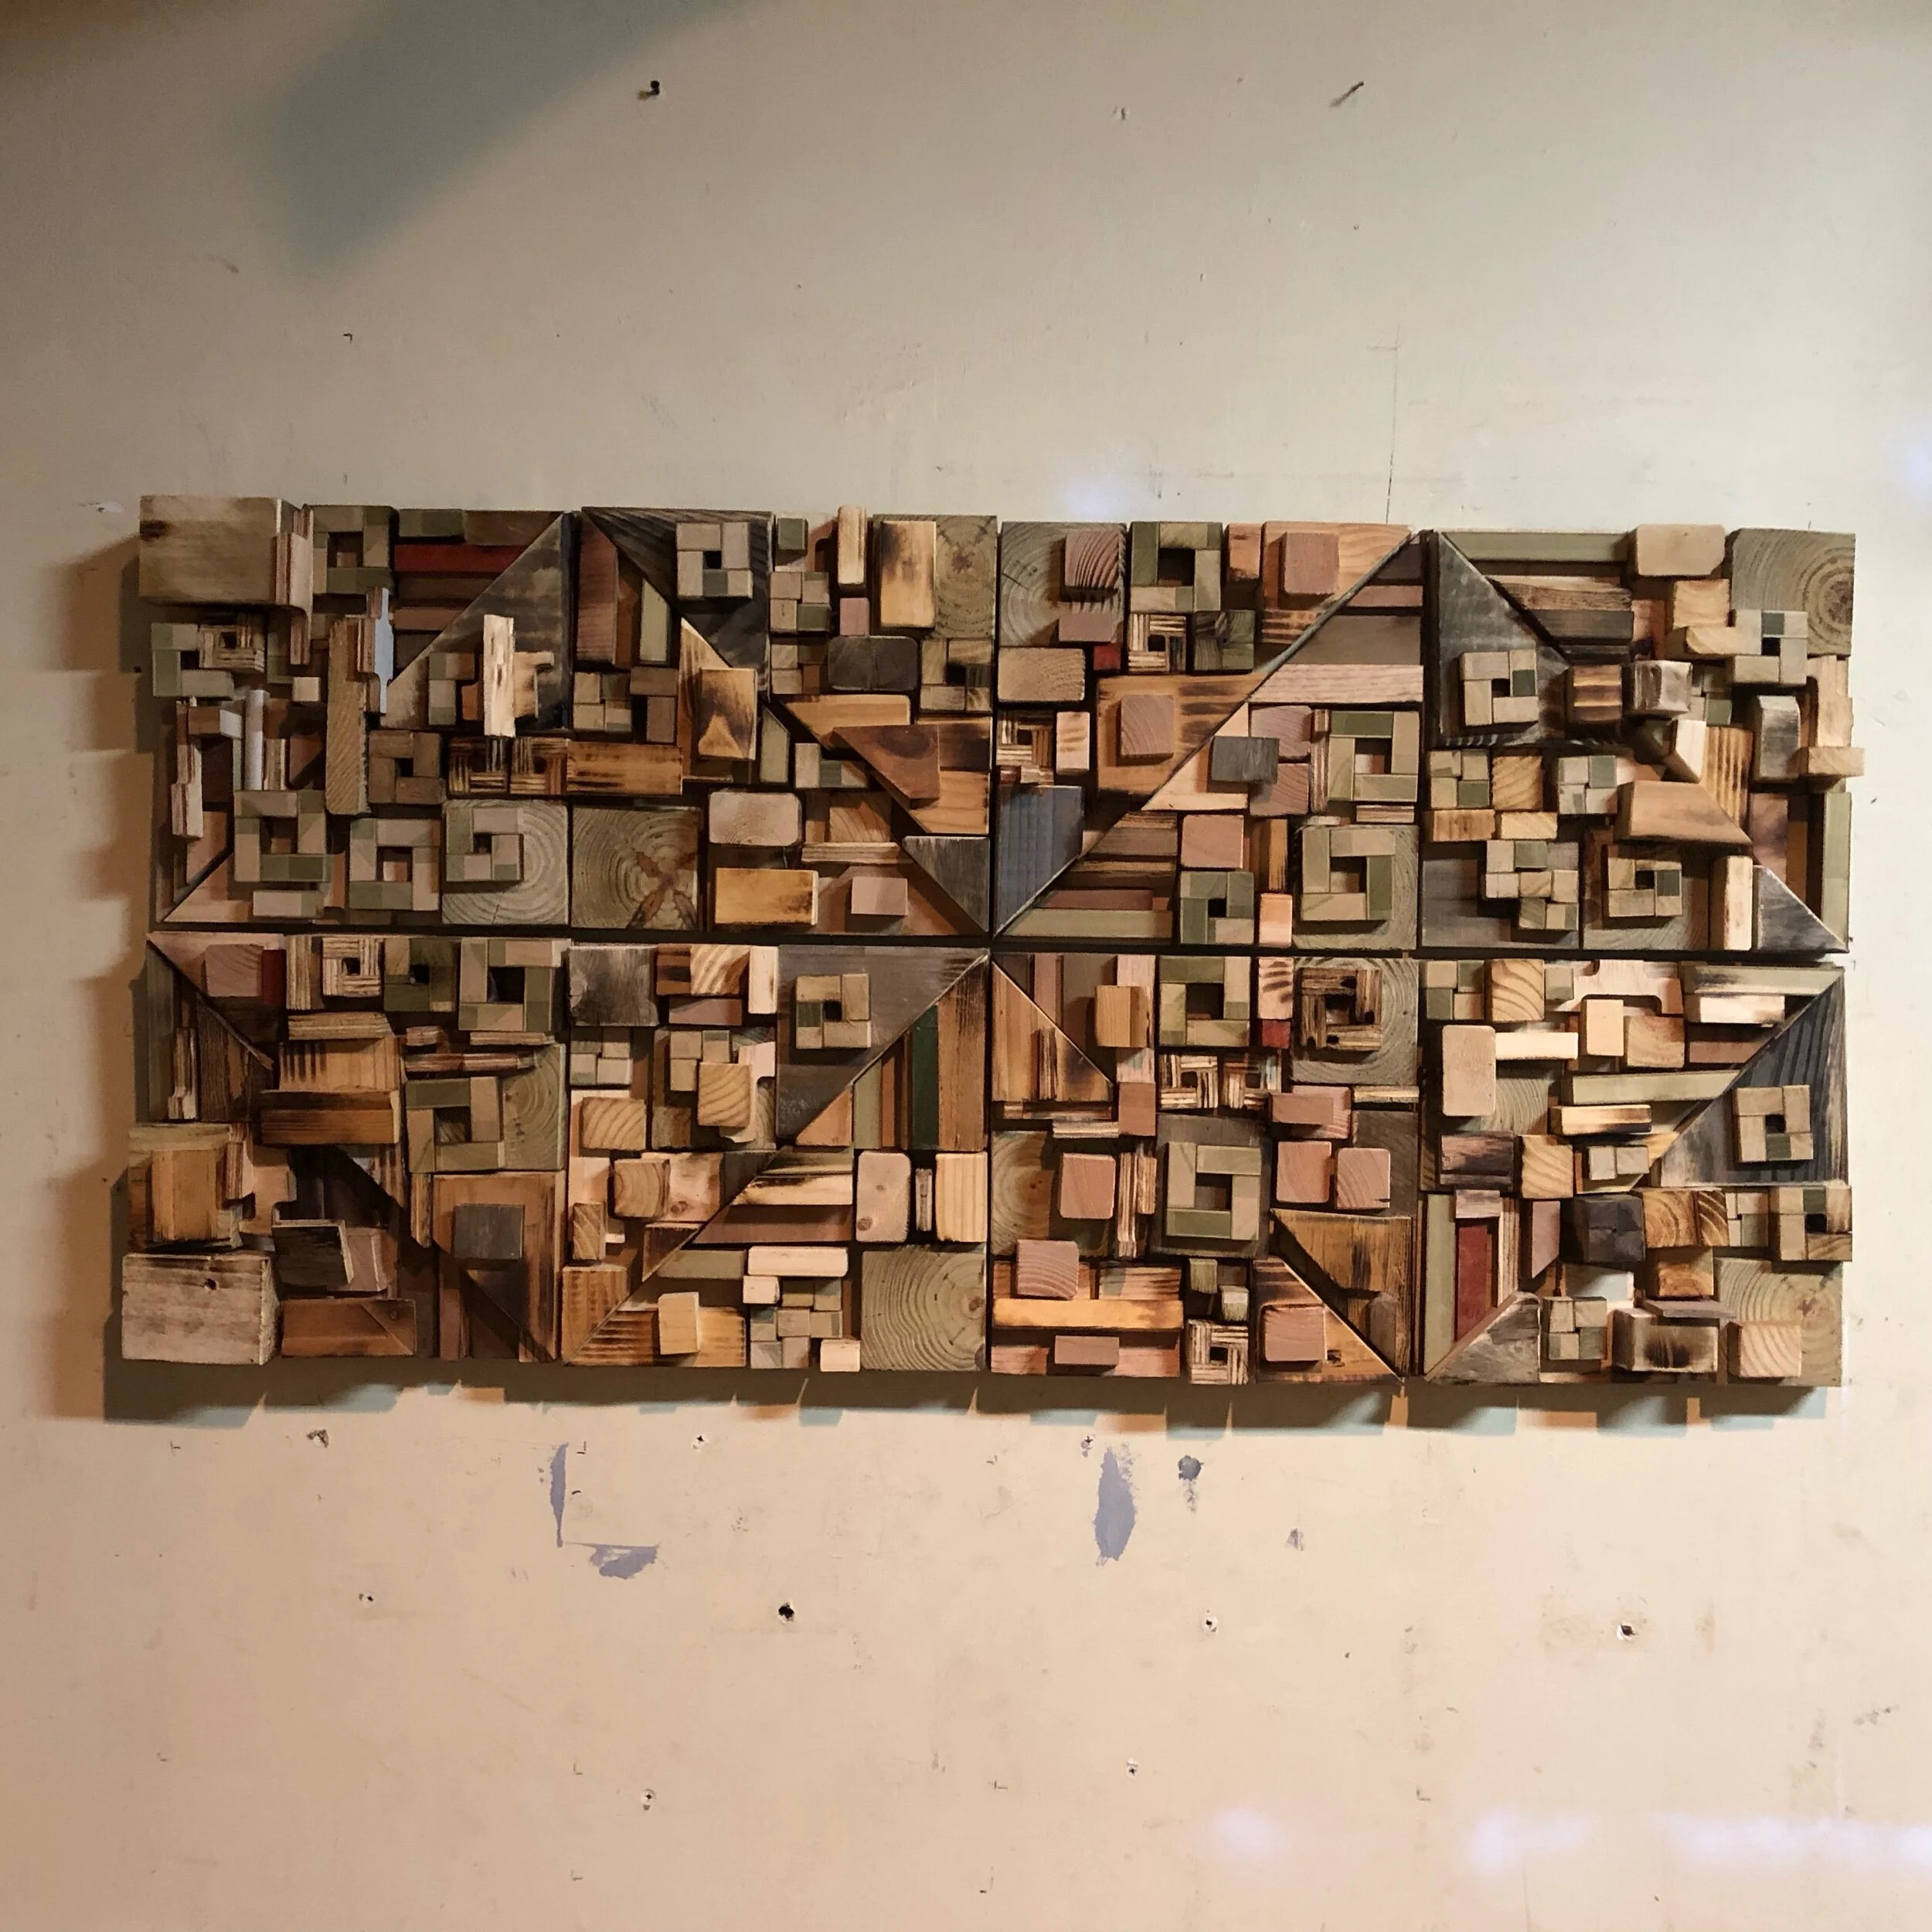
SUGGESTED LAYOUTS:
Here are a couple pics of a few layout options. Other layouts are possible. Feel free to play around and have fun.
12-10-19: Welcome back! The next portion of the project will be underway next. Just have to do some thinking and planning on the dims. Shouldn’t be too difficult. Stay tuned…
12-16-19: Good news! Things are starting to take shape. The project is about 1/2 way through the layout process. The holiday are in the way for sure, However, doing the best to see it though. Please bare with…more soon.
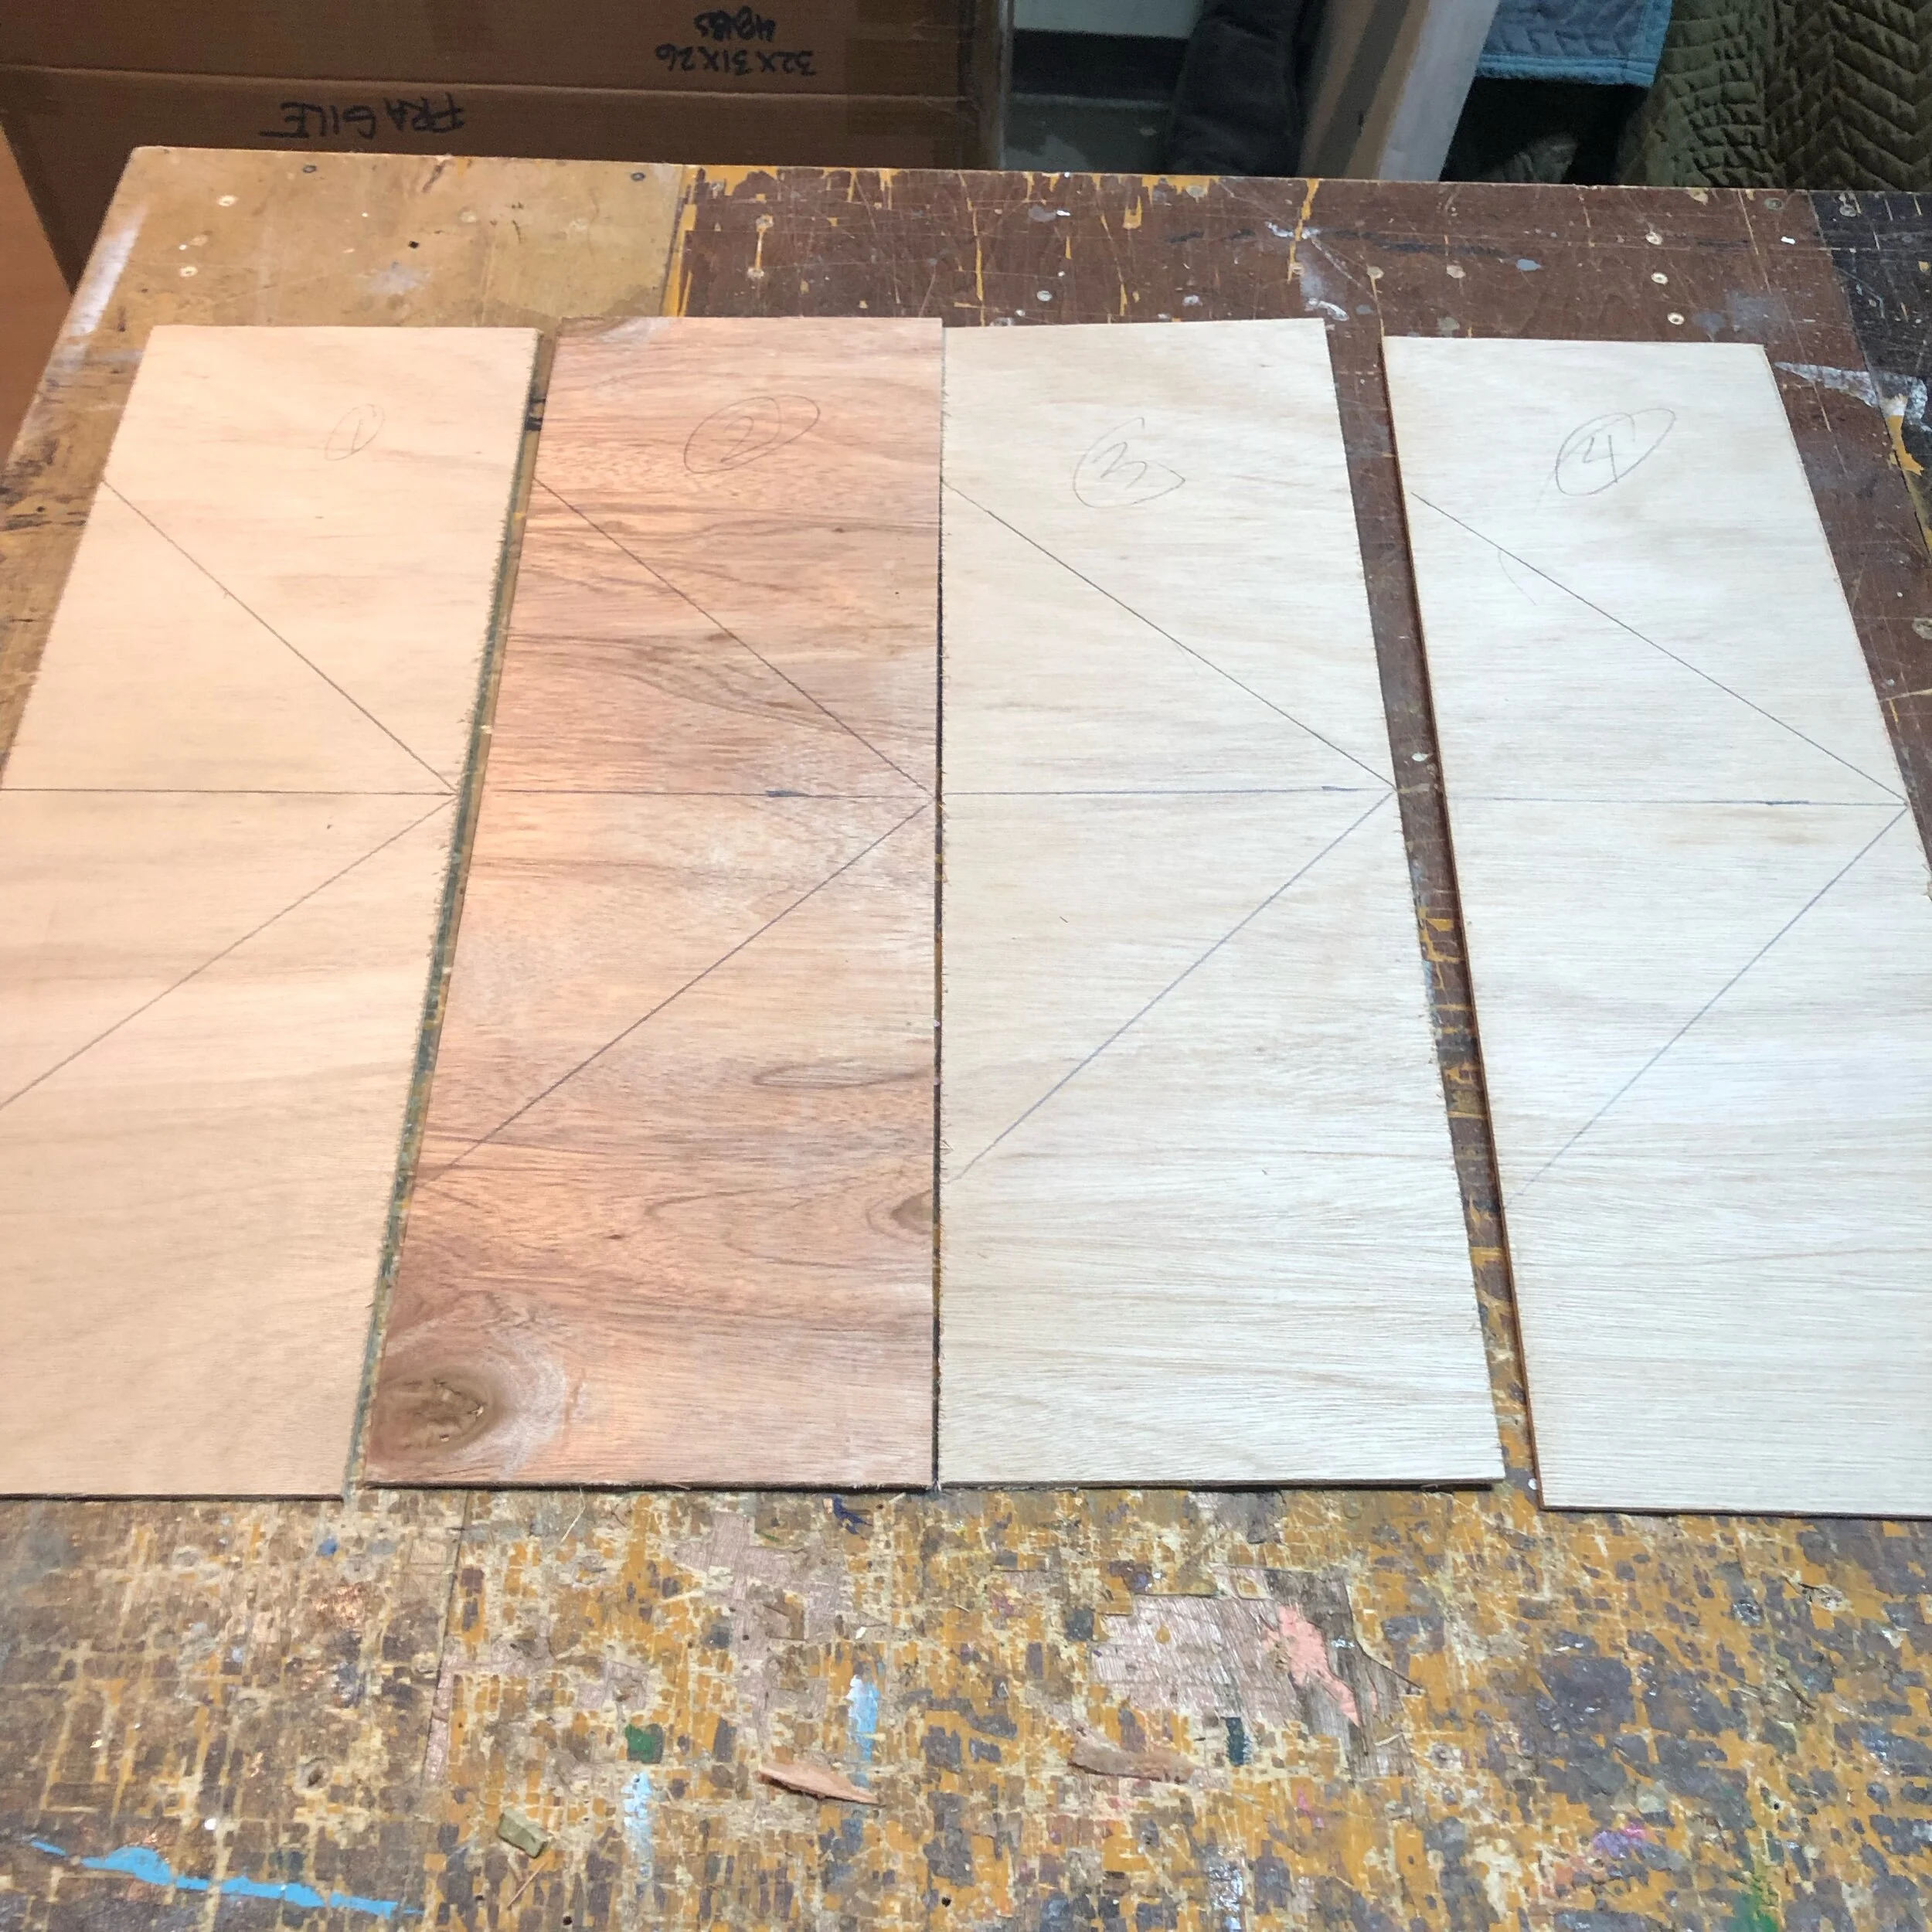

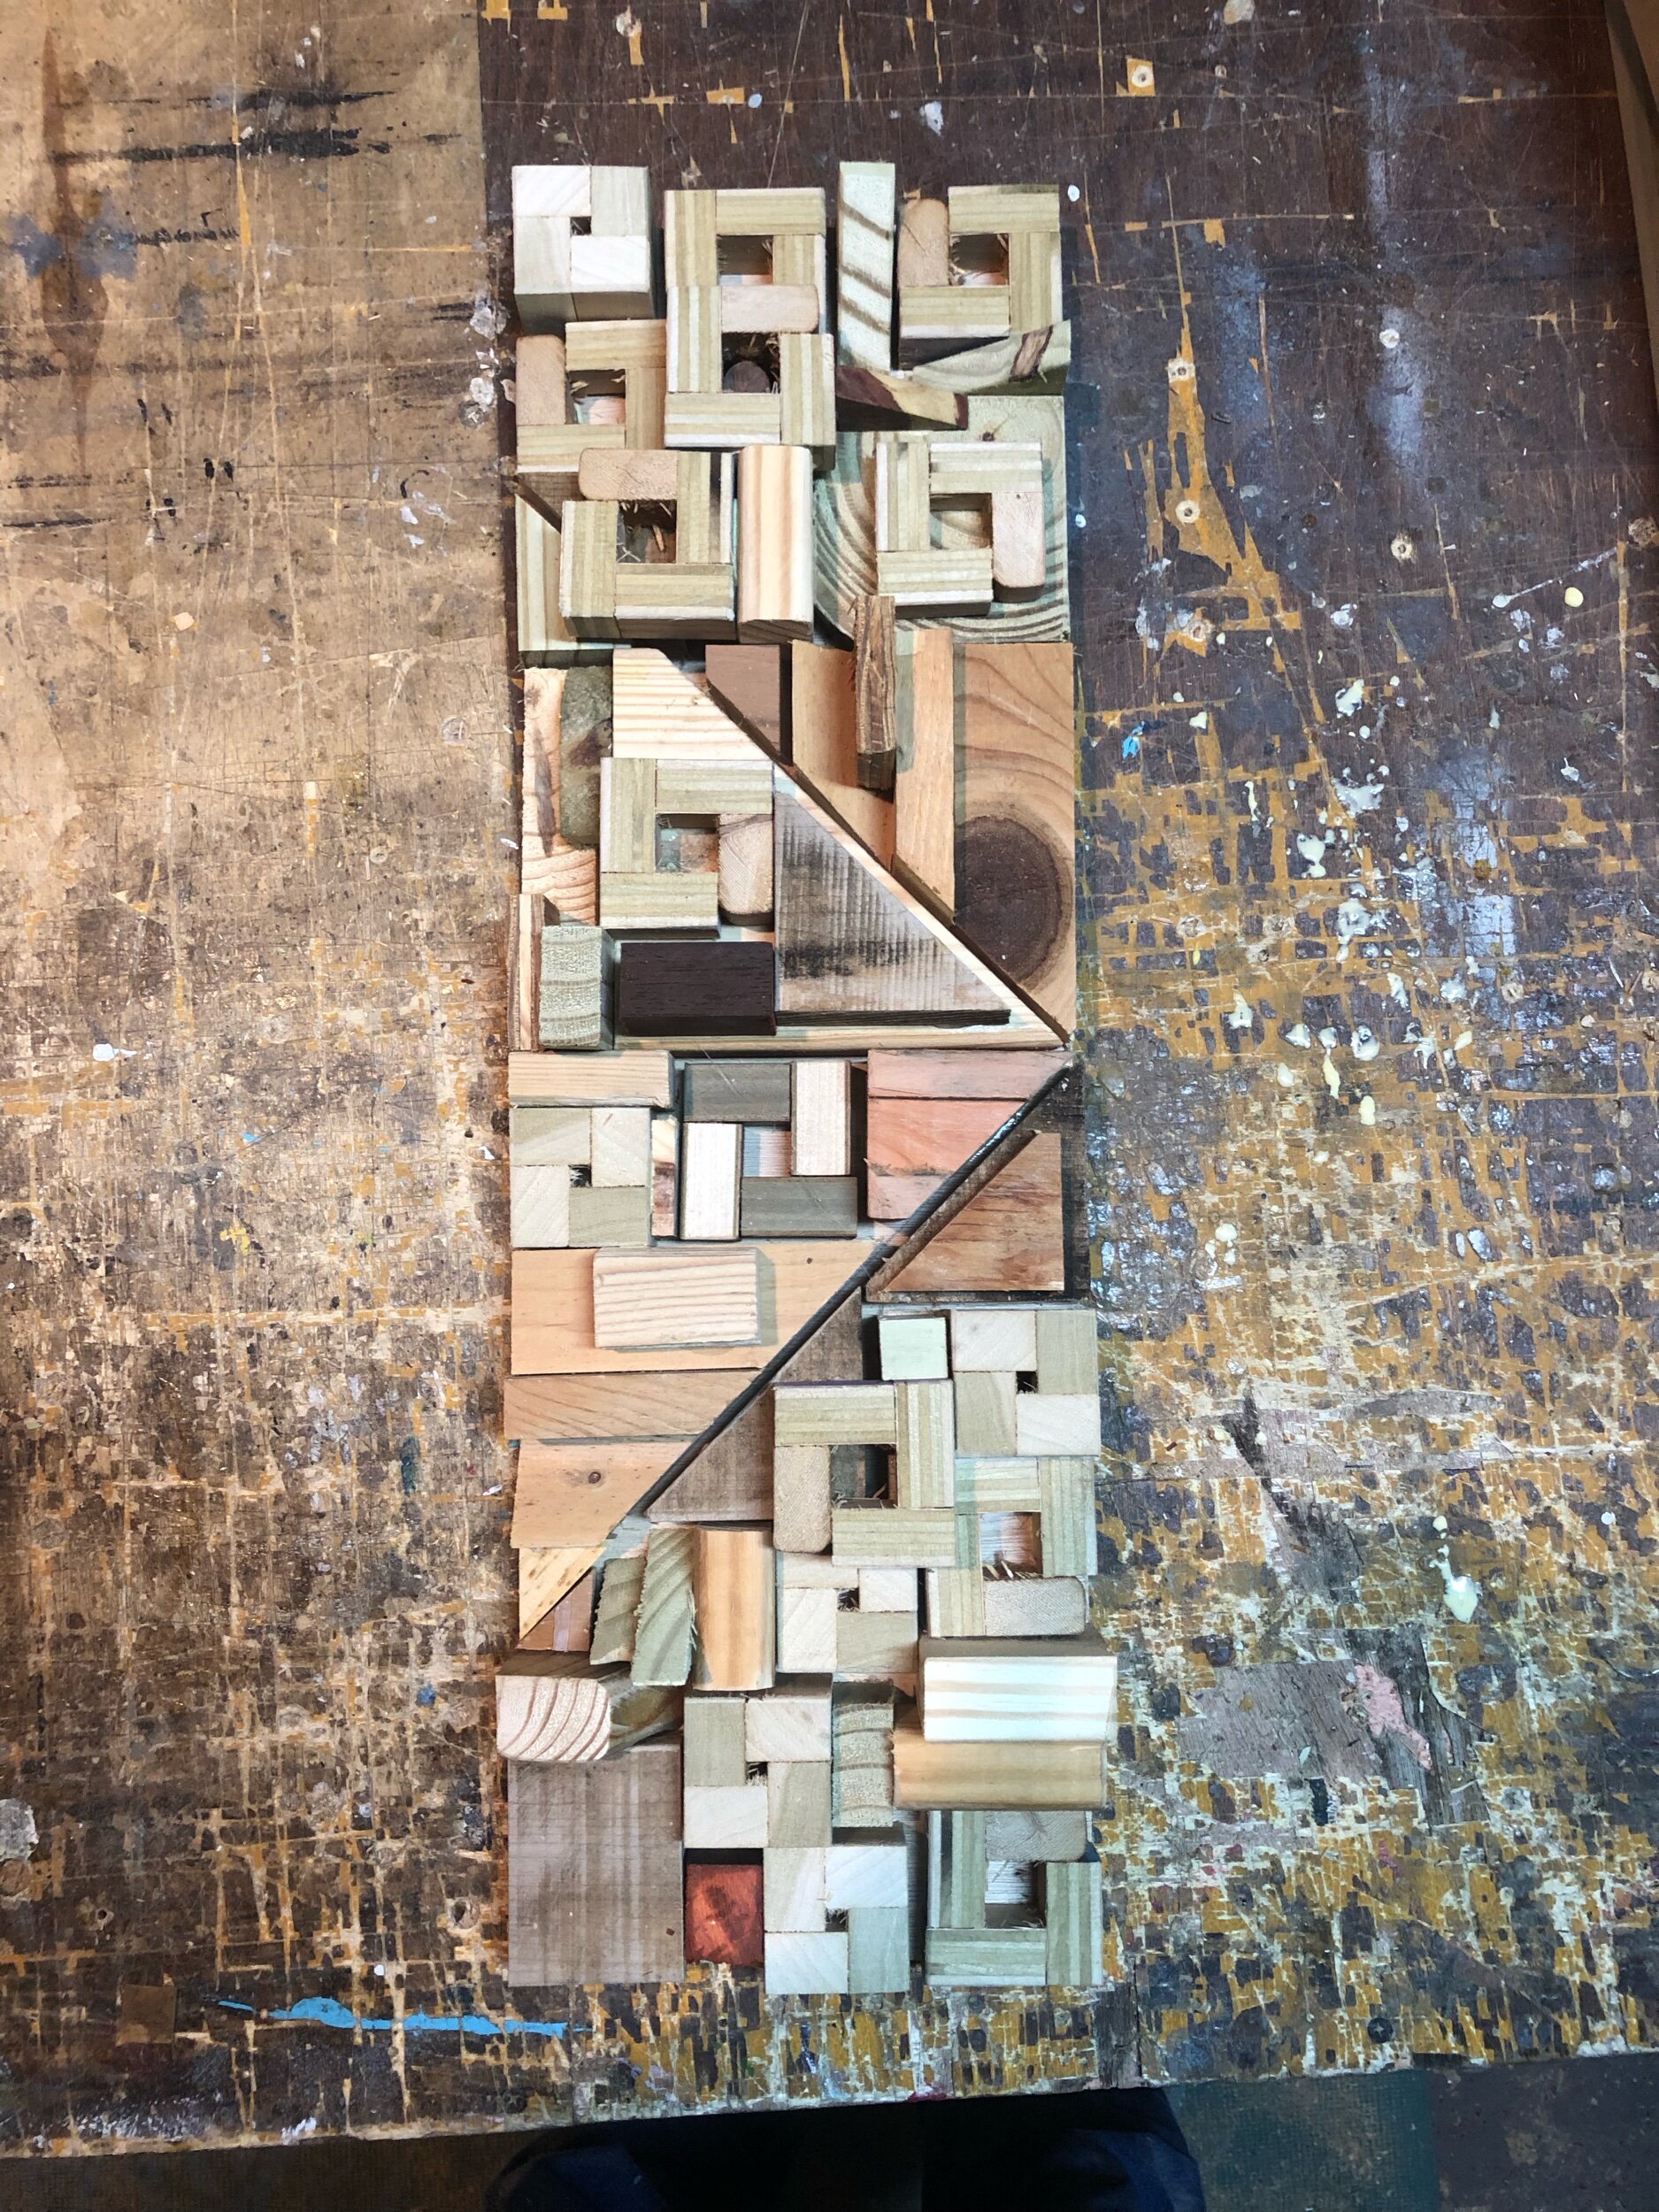
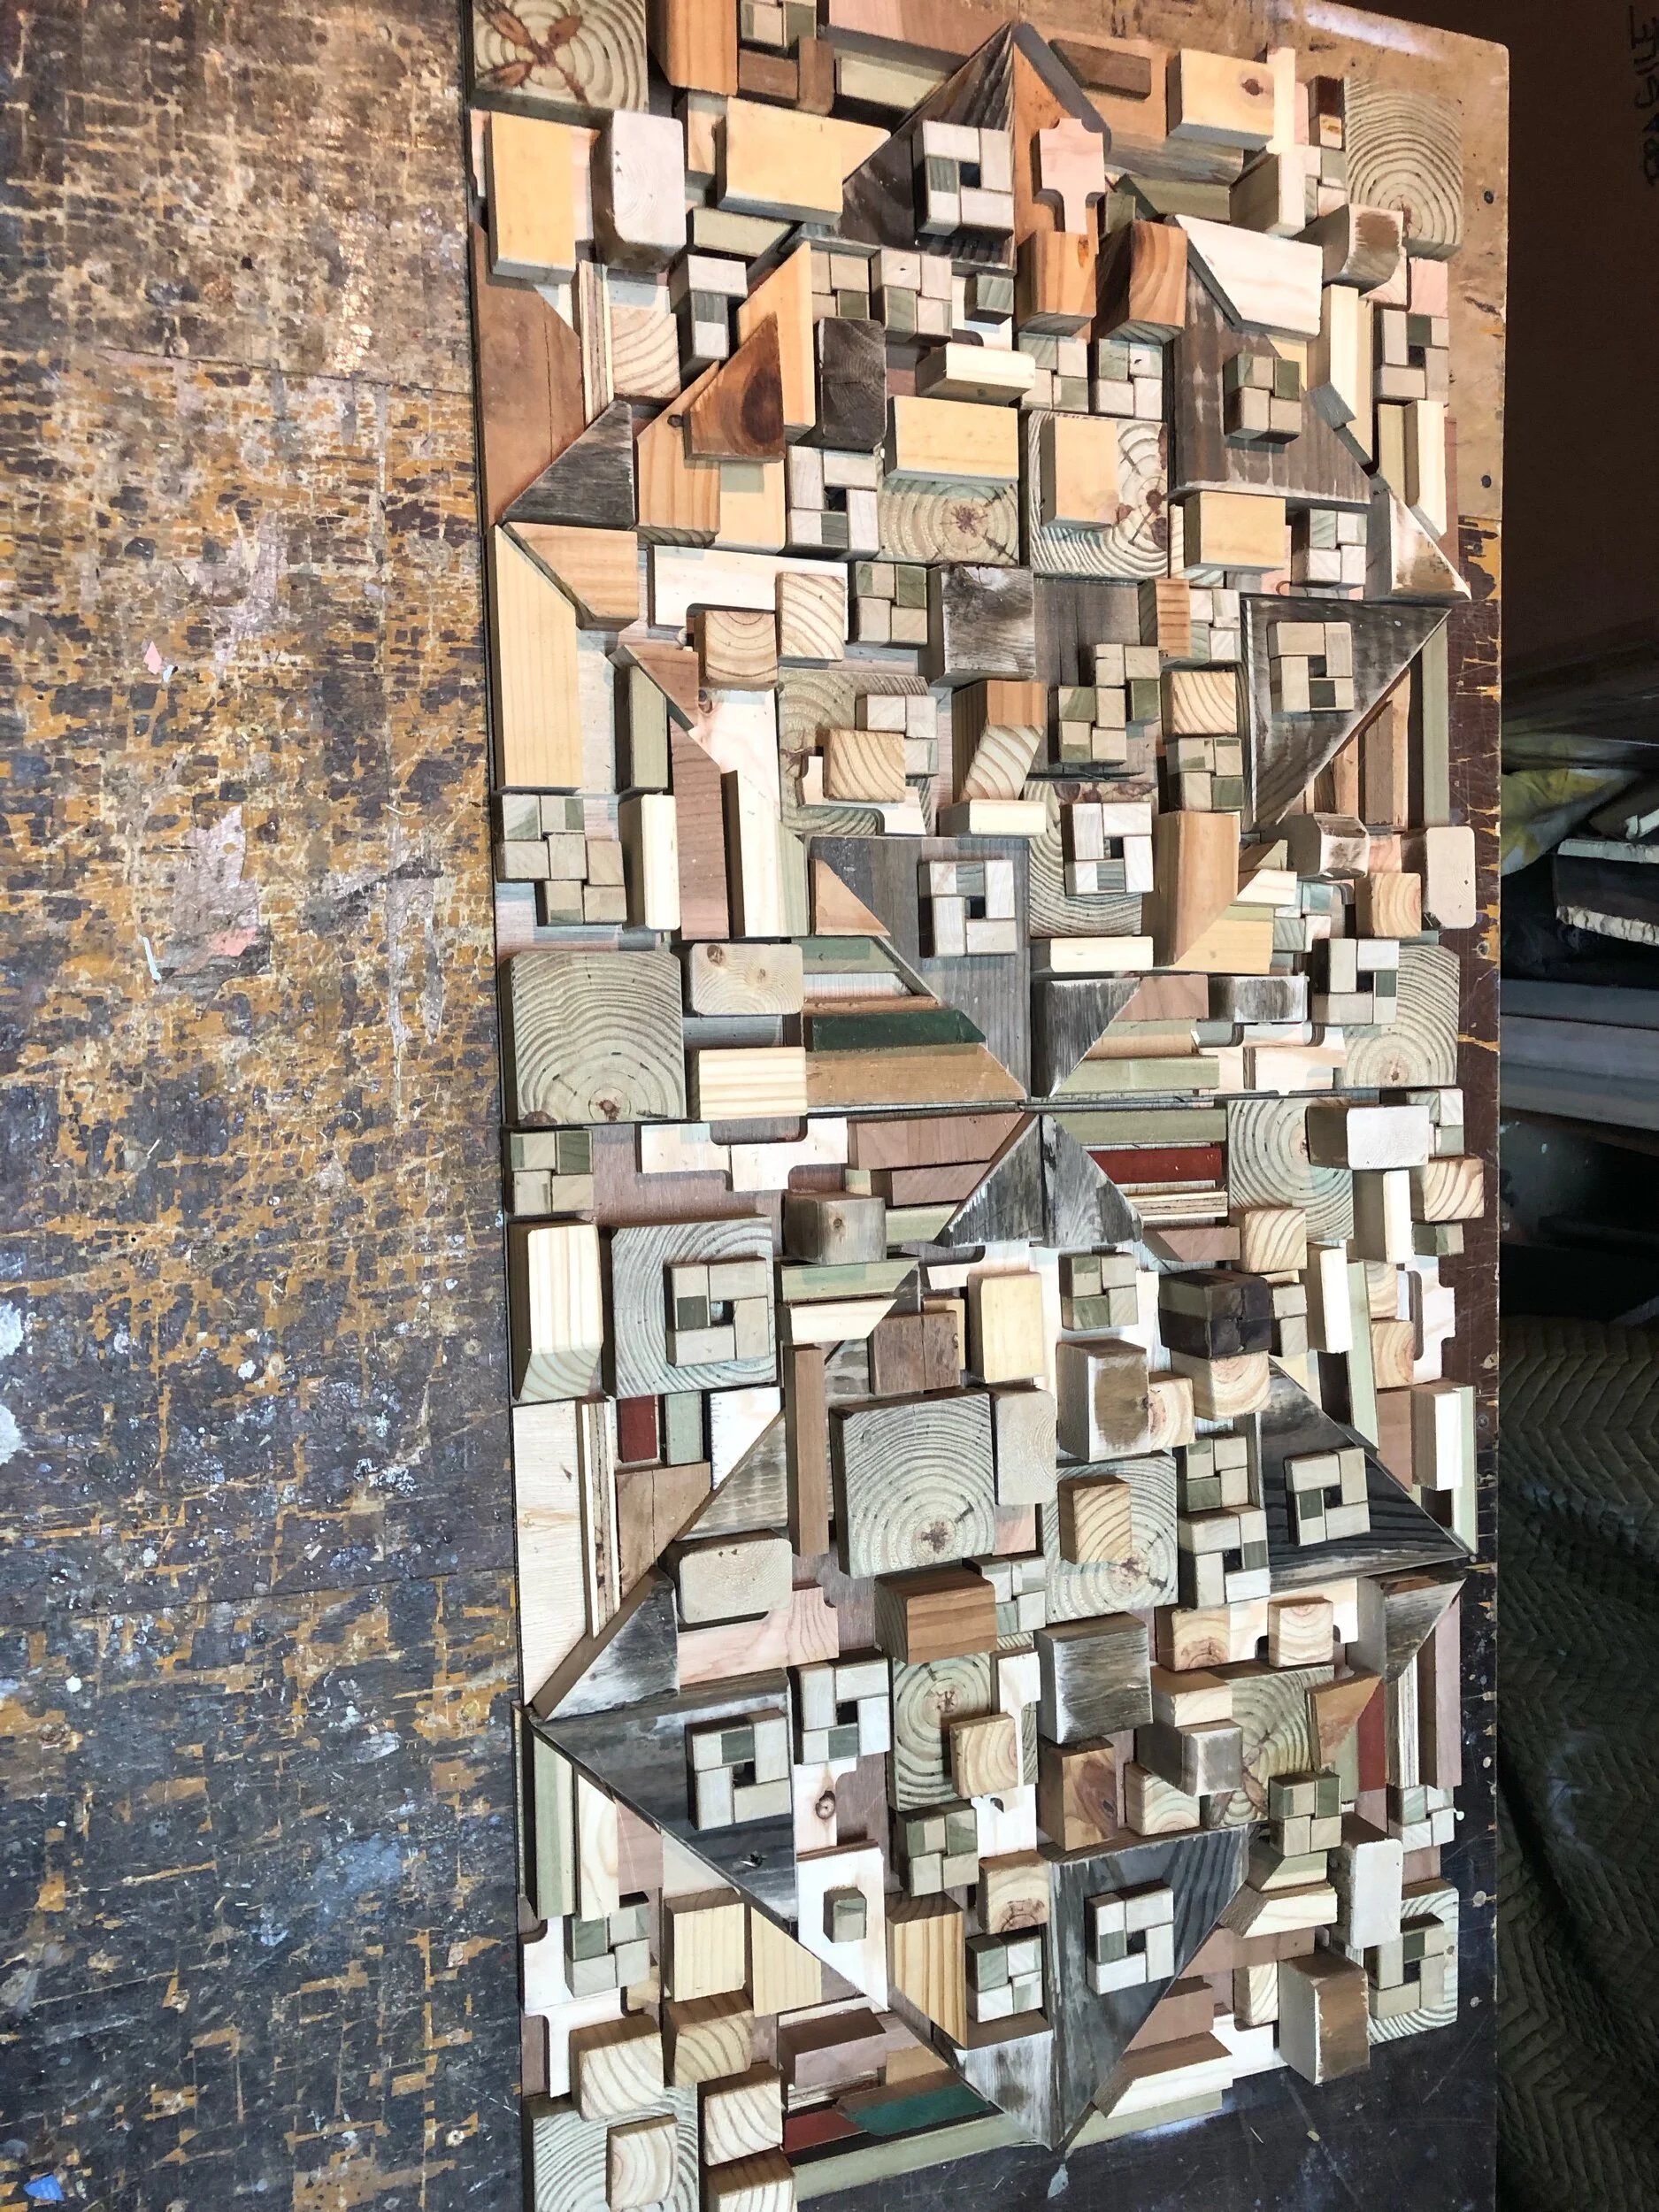
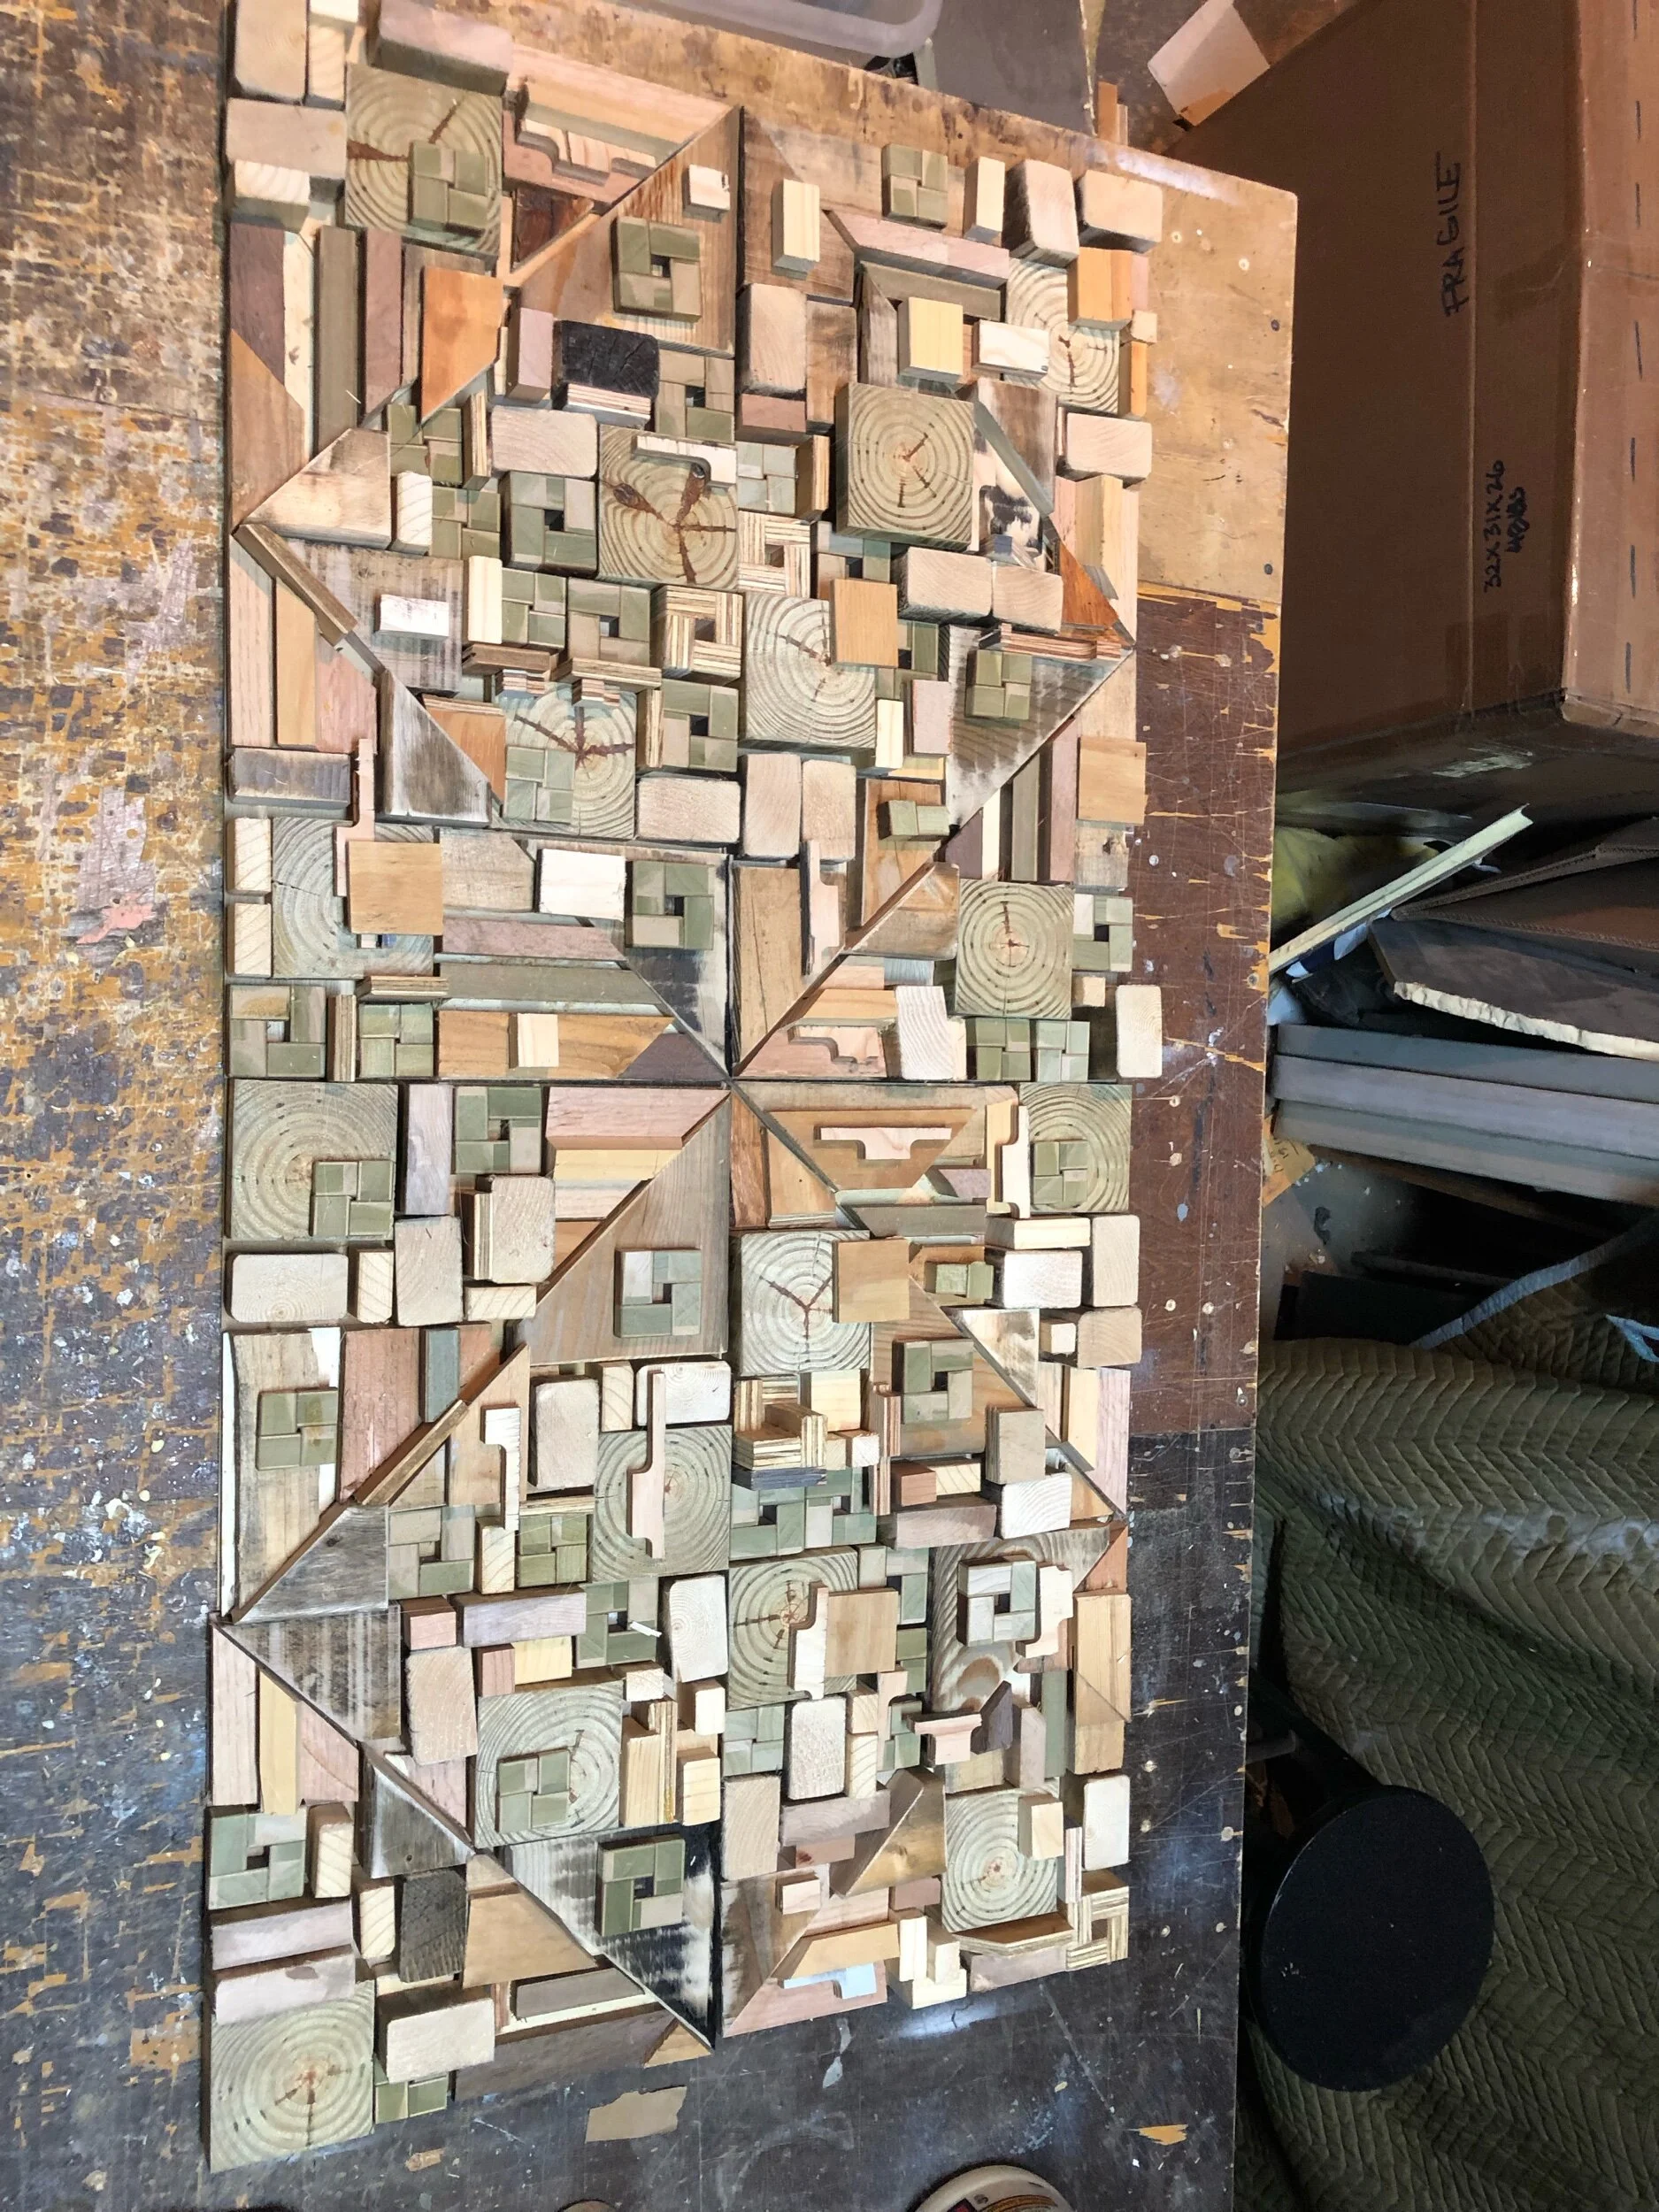
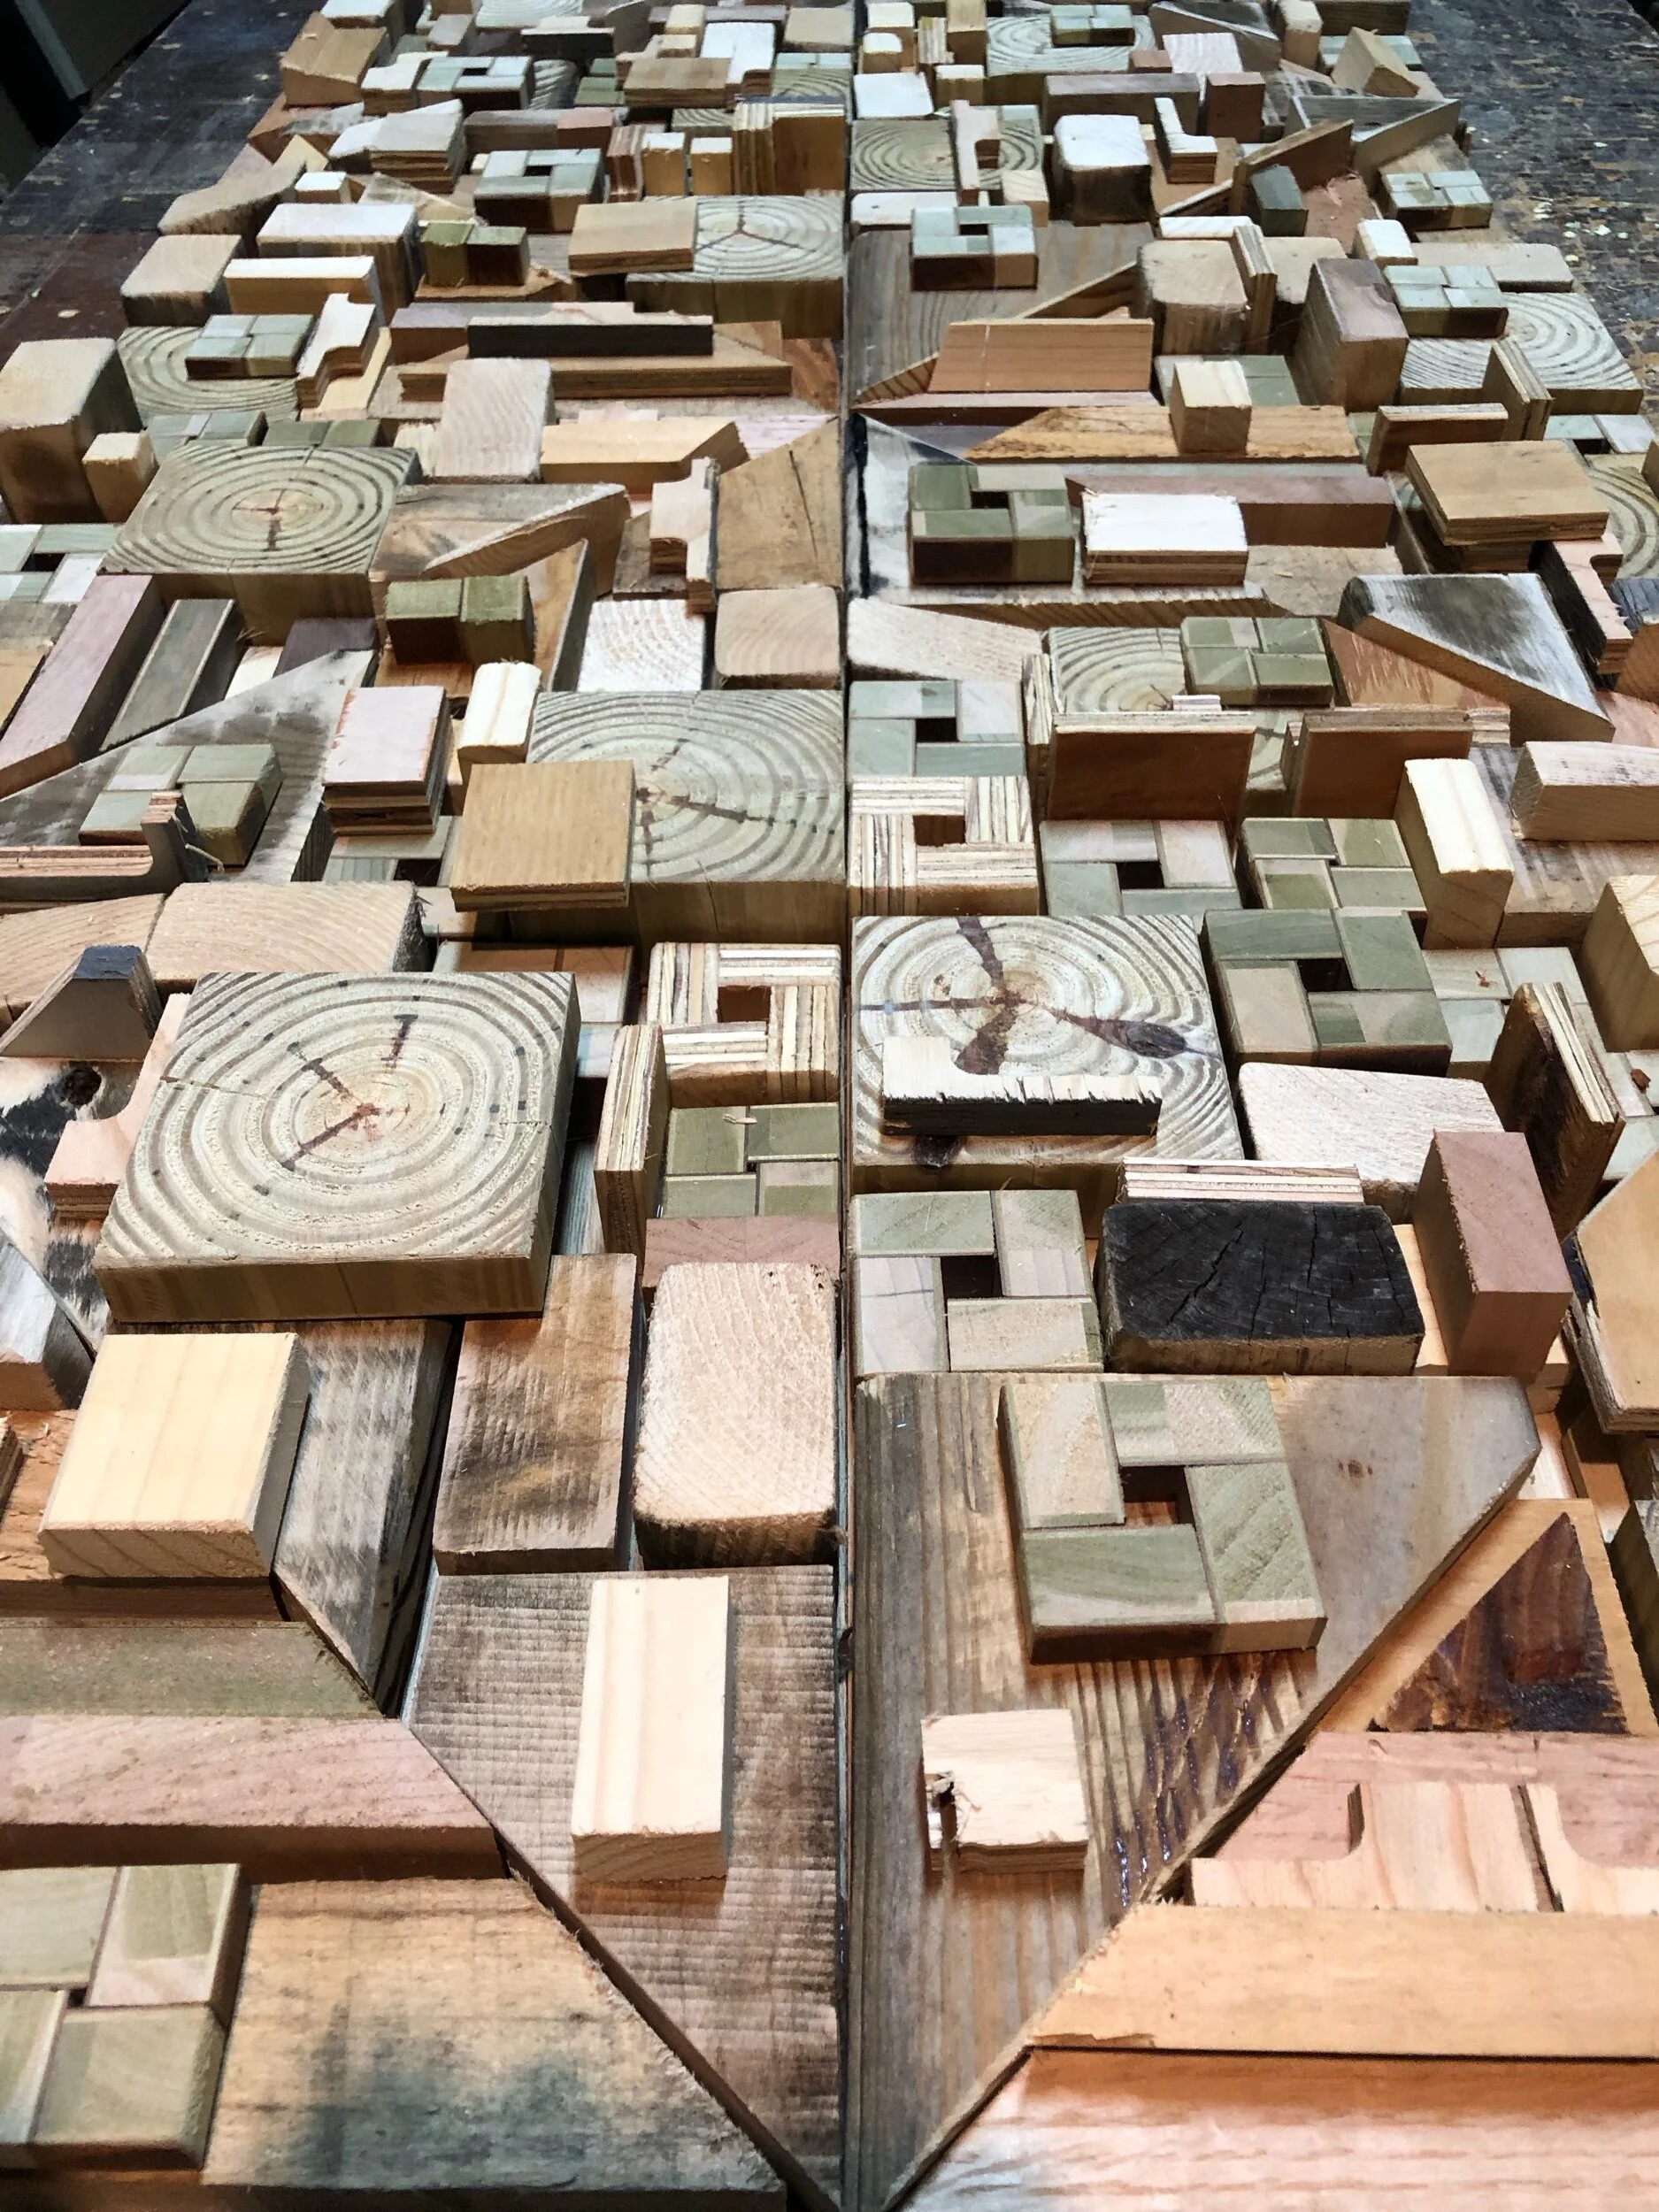
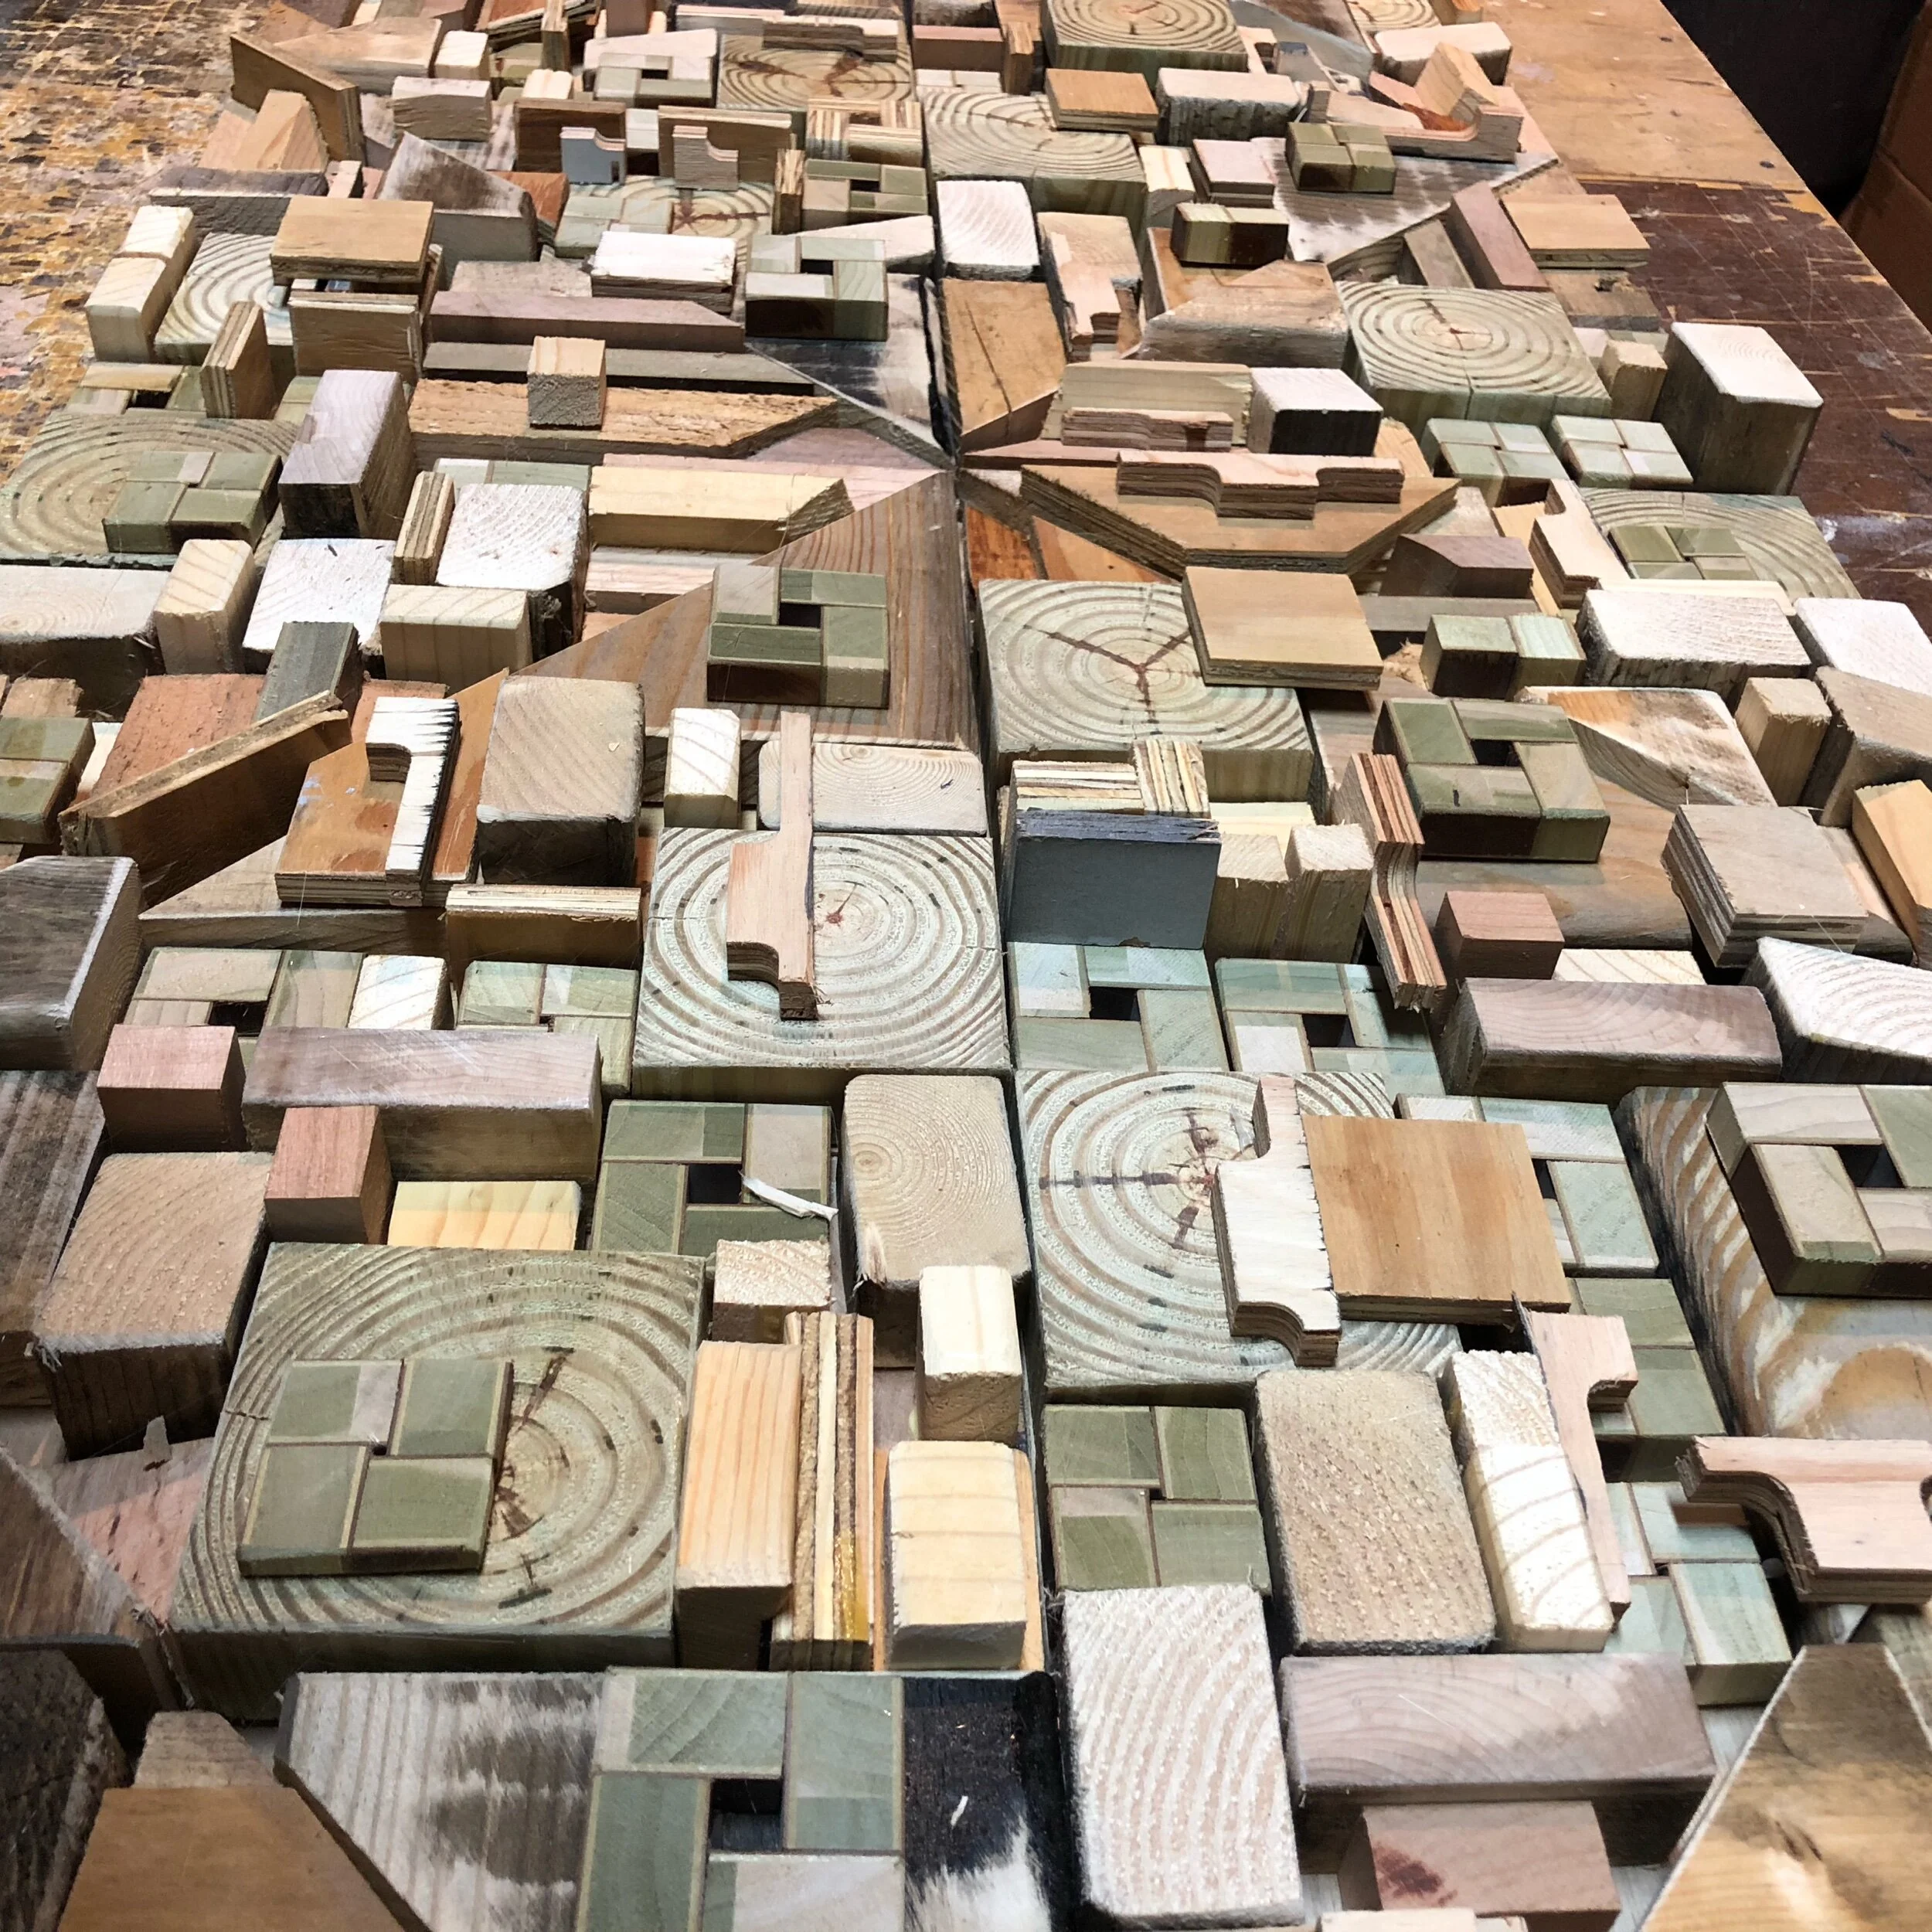
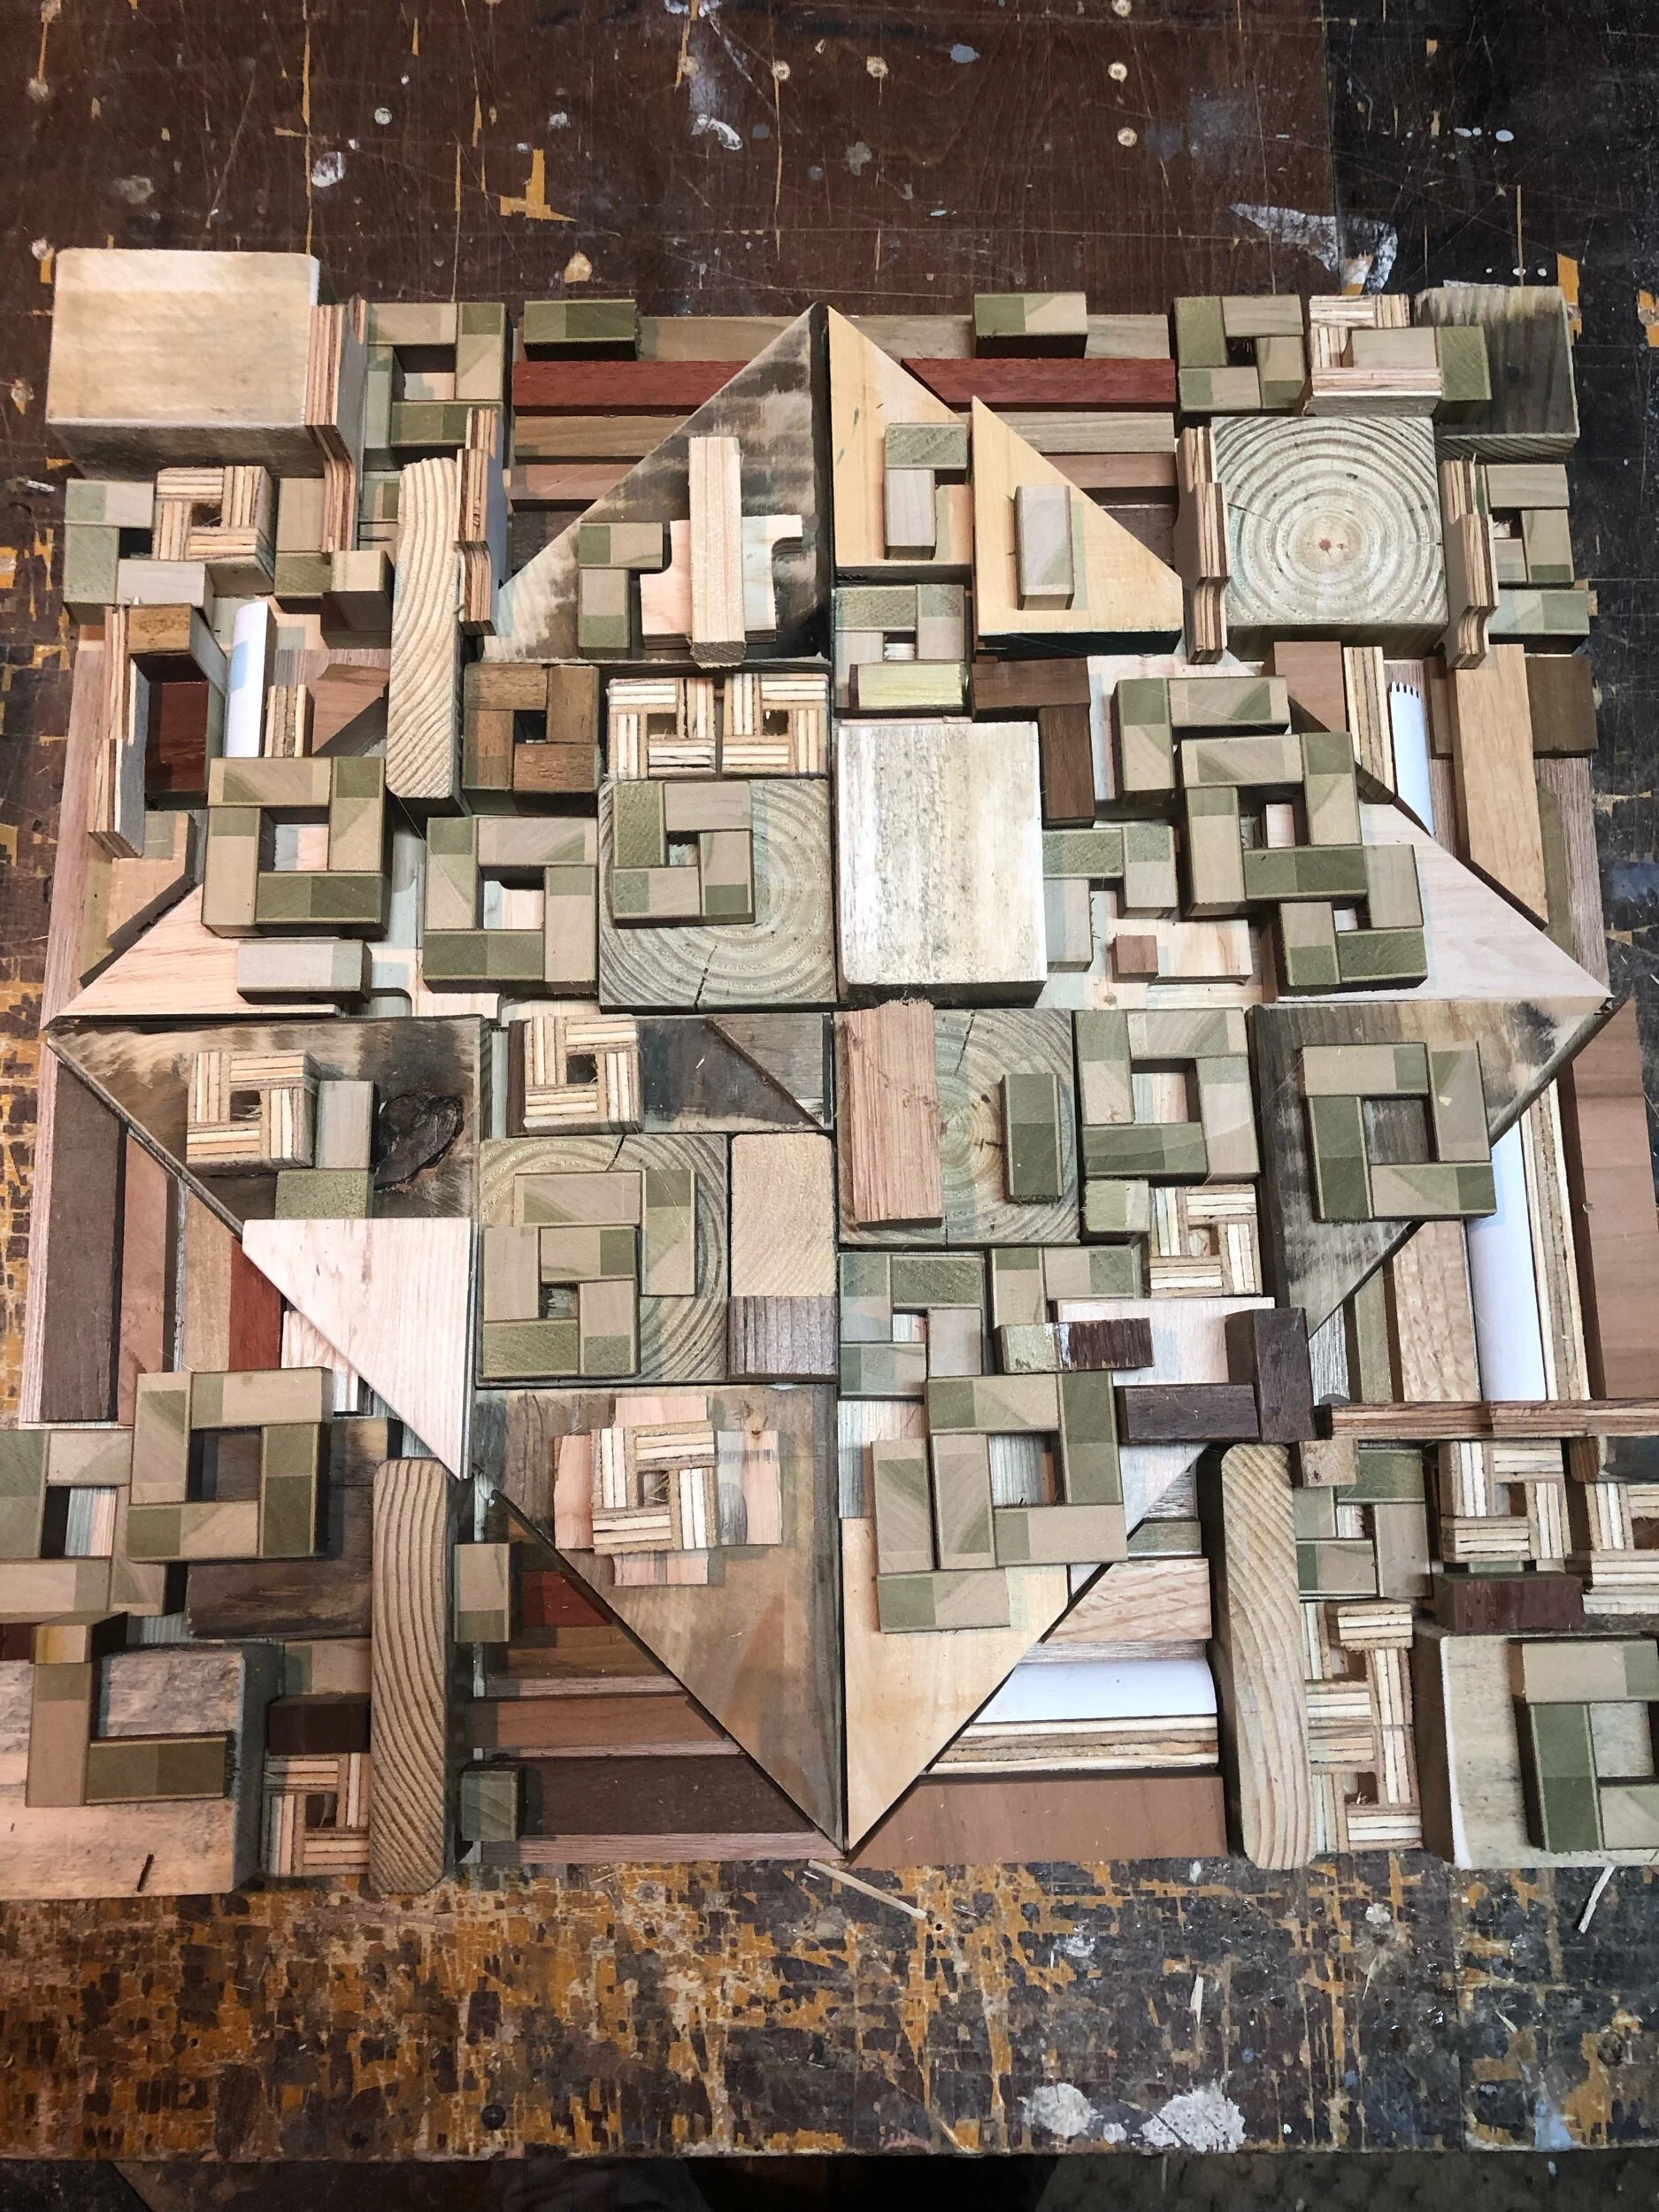
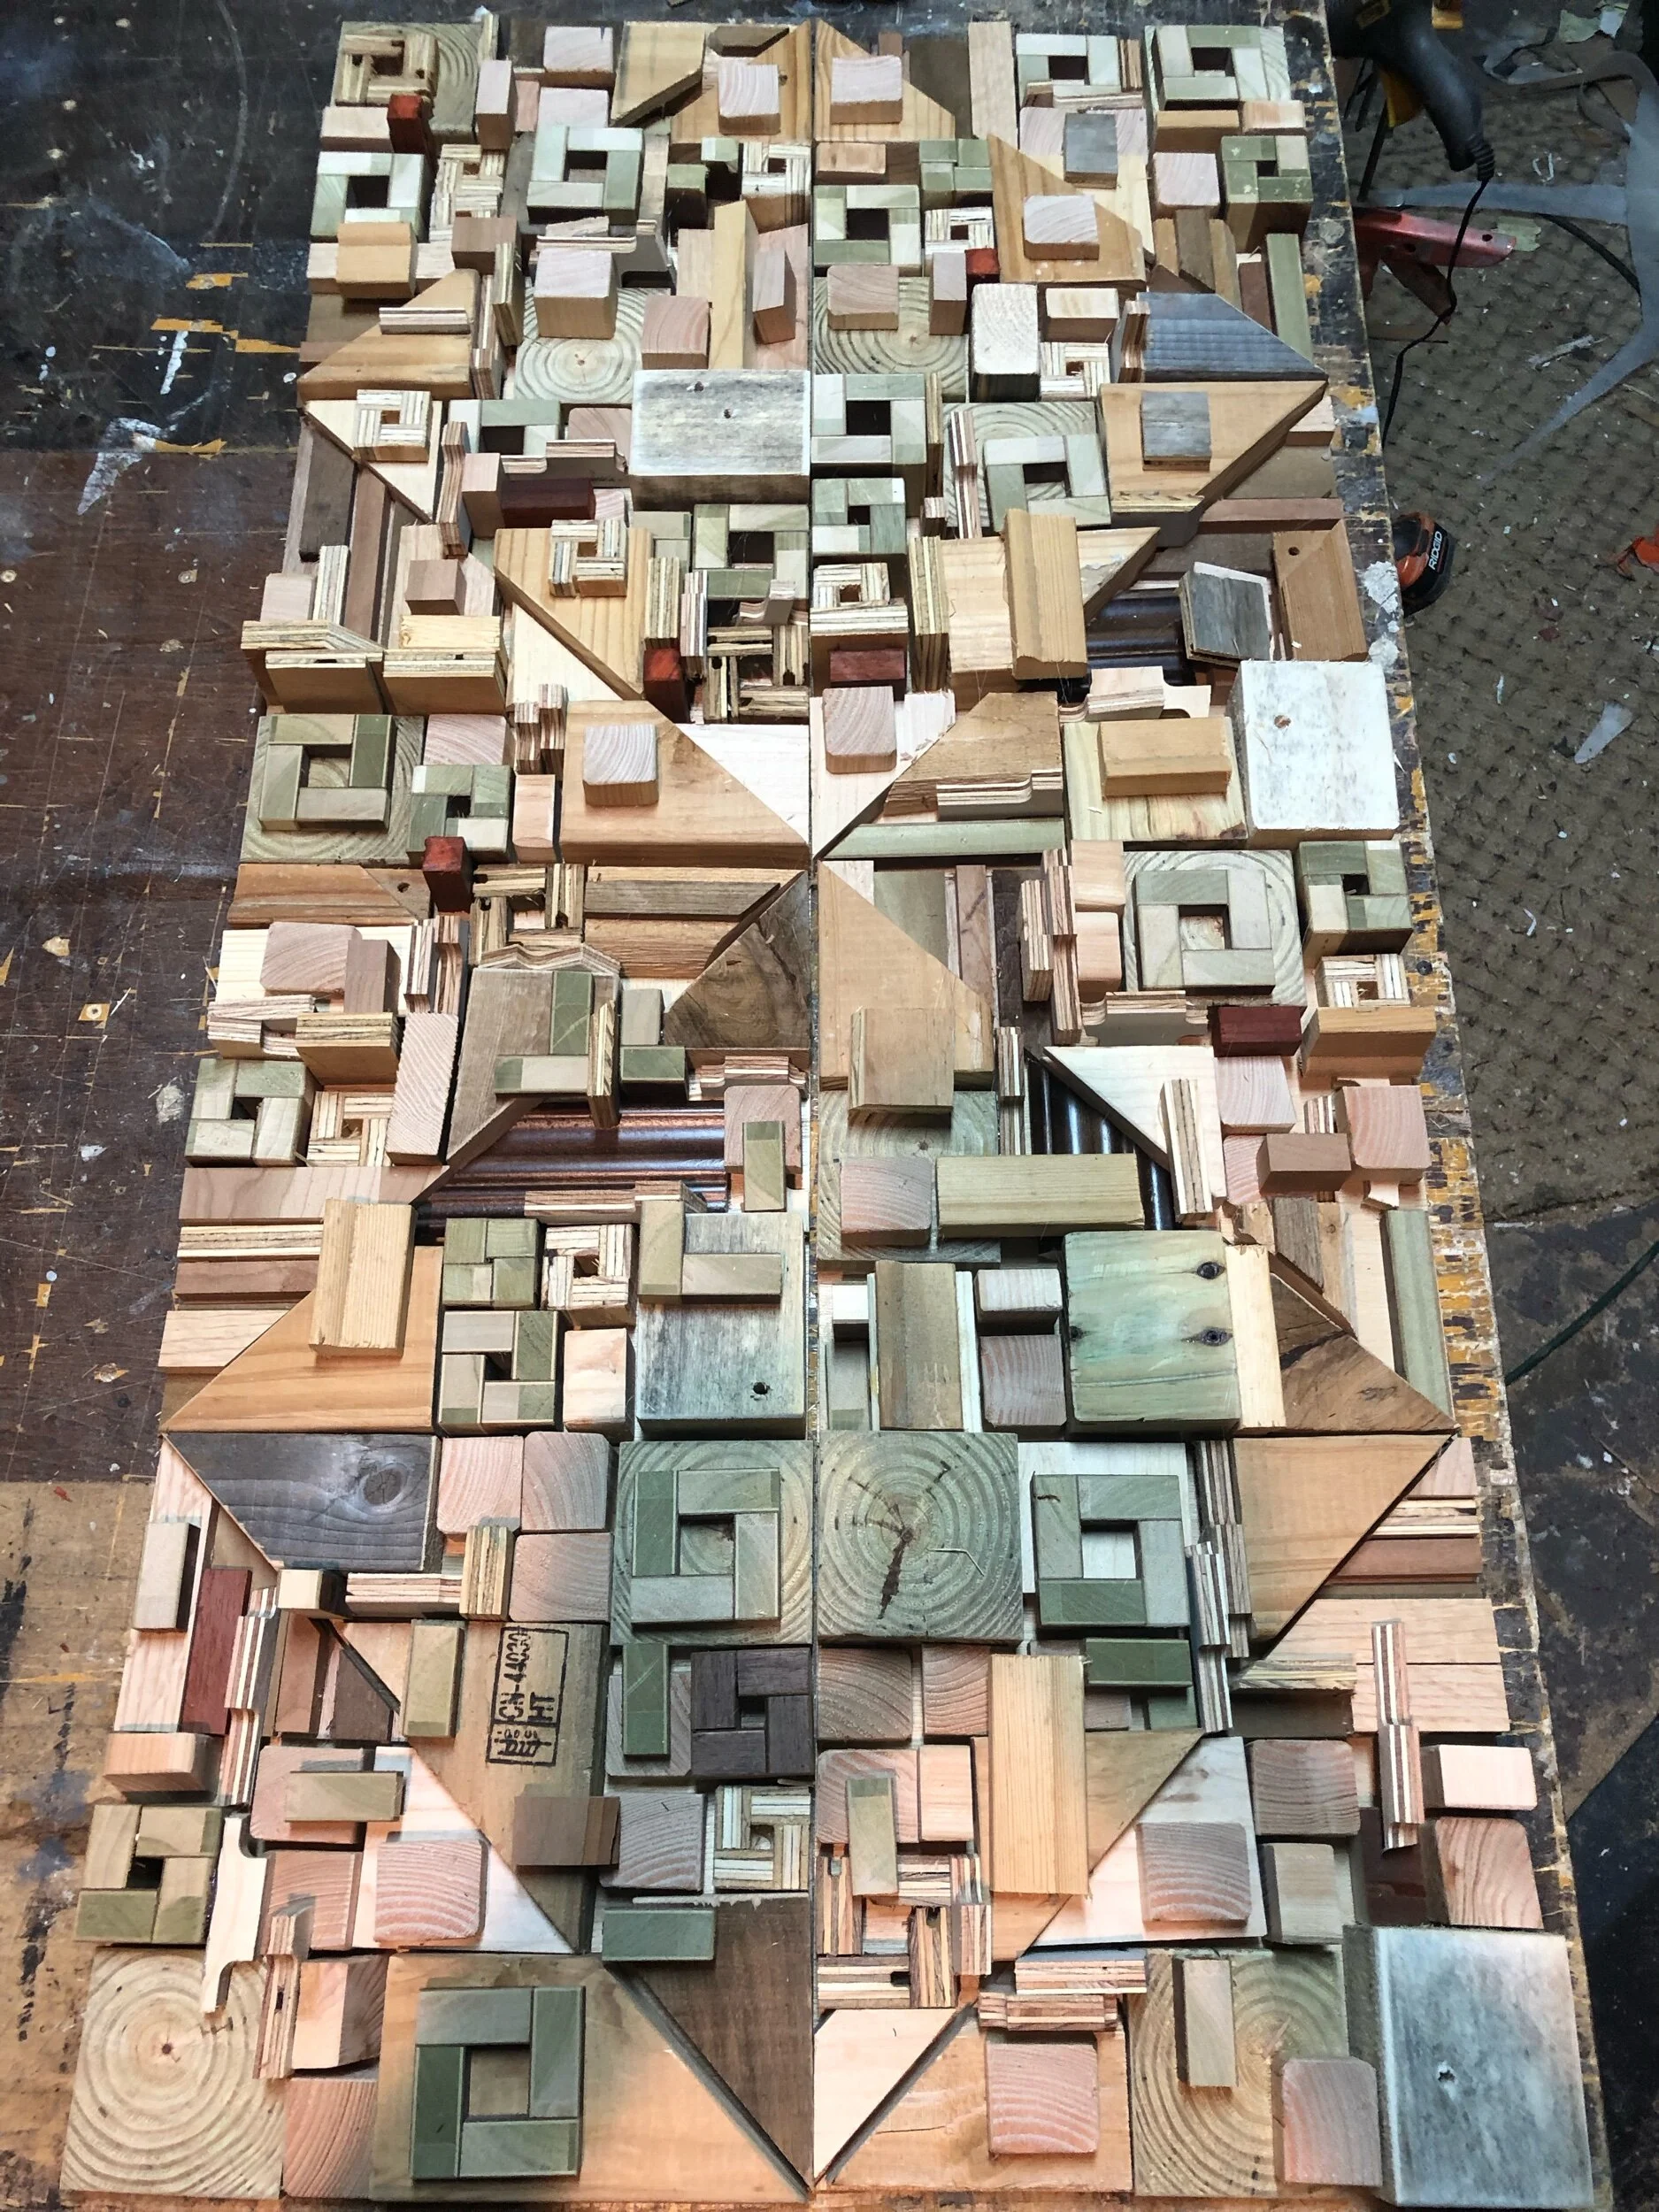
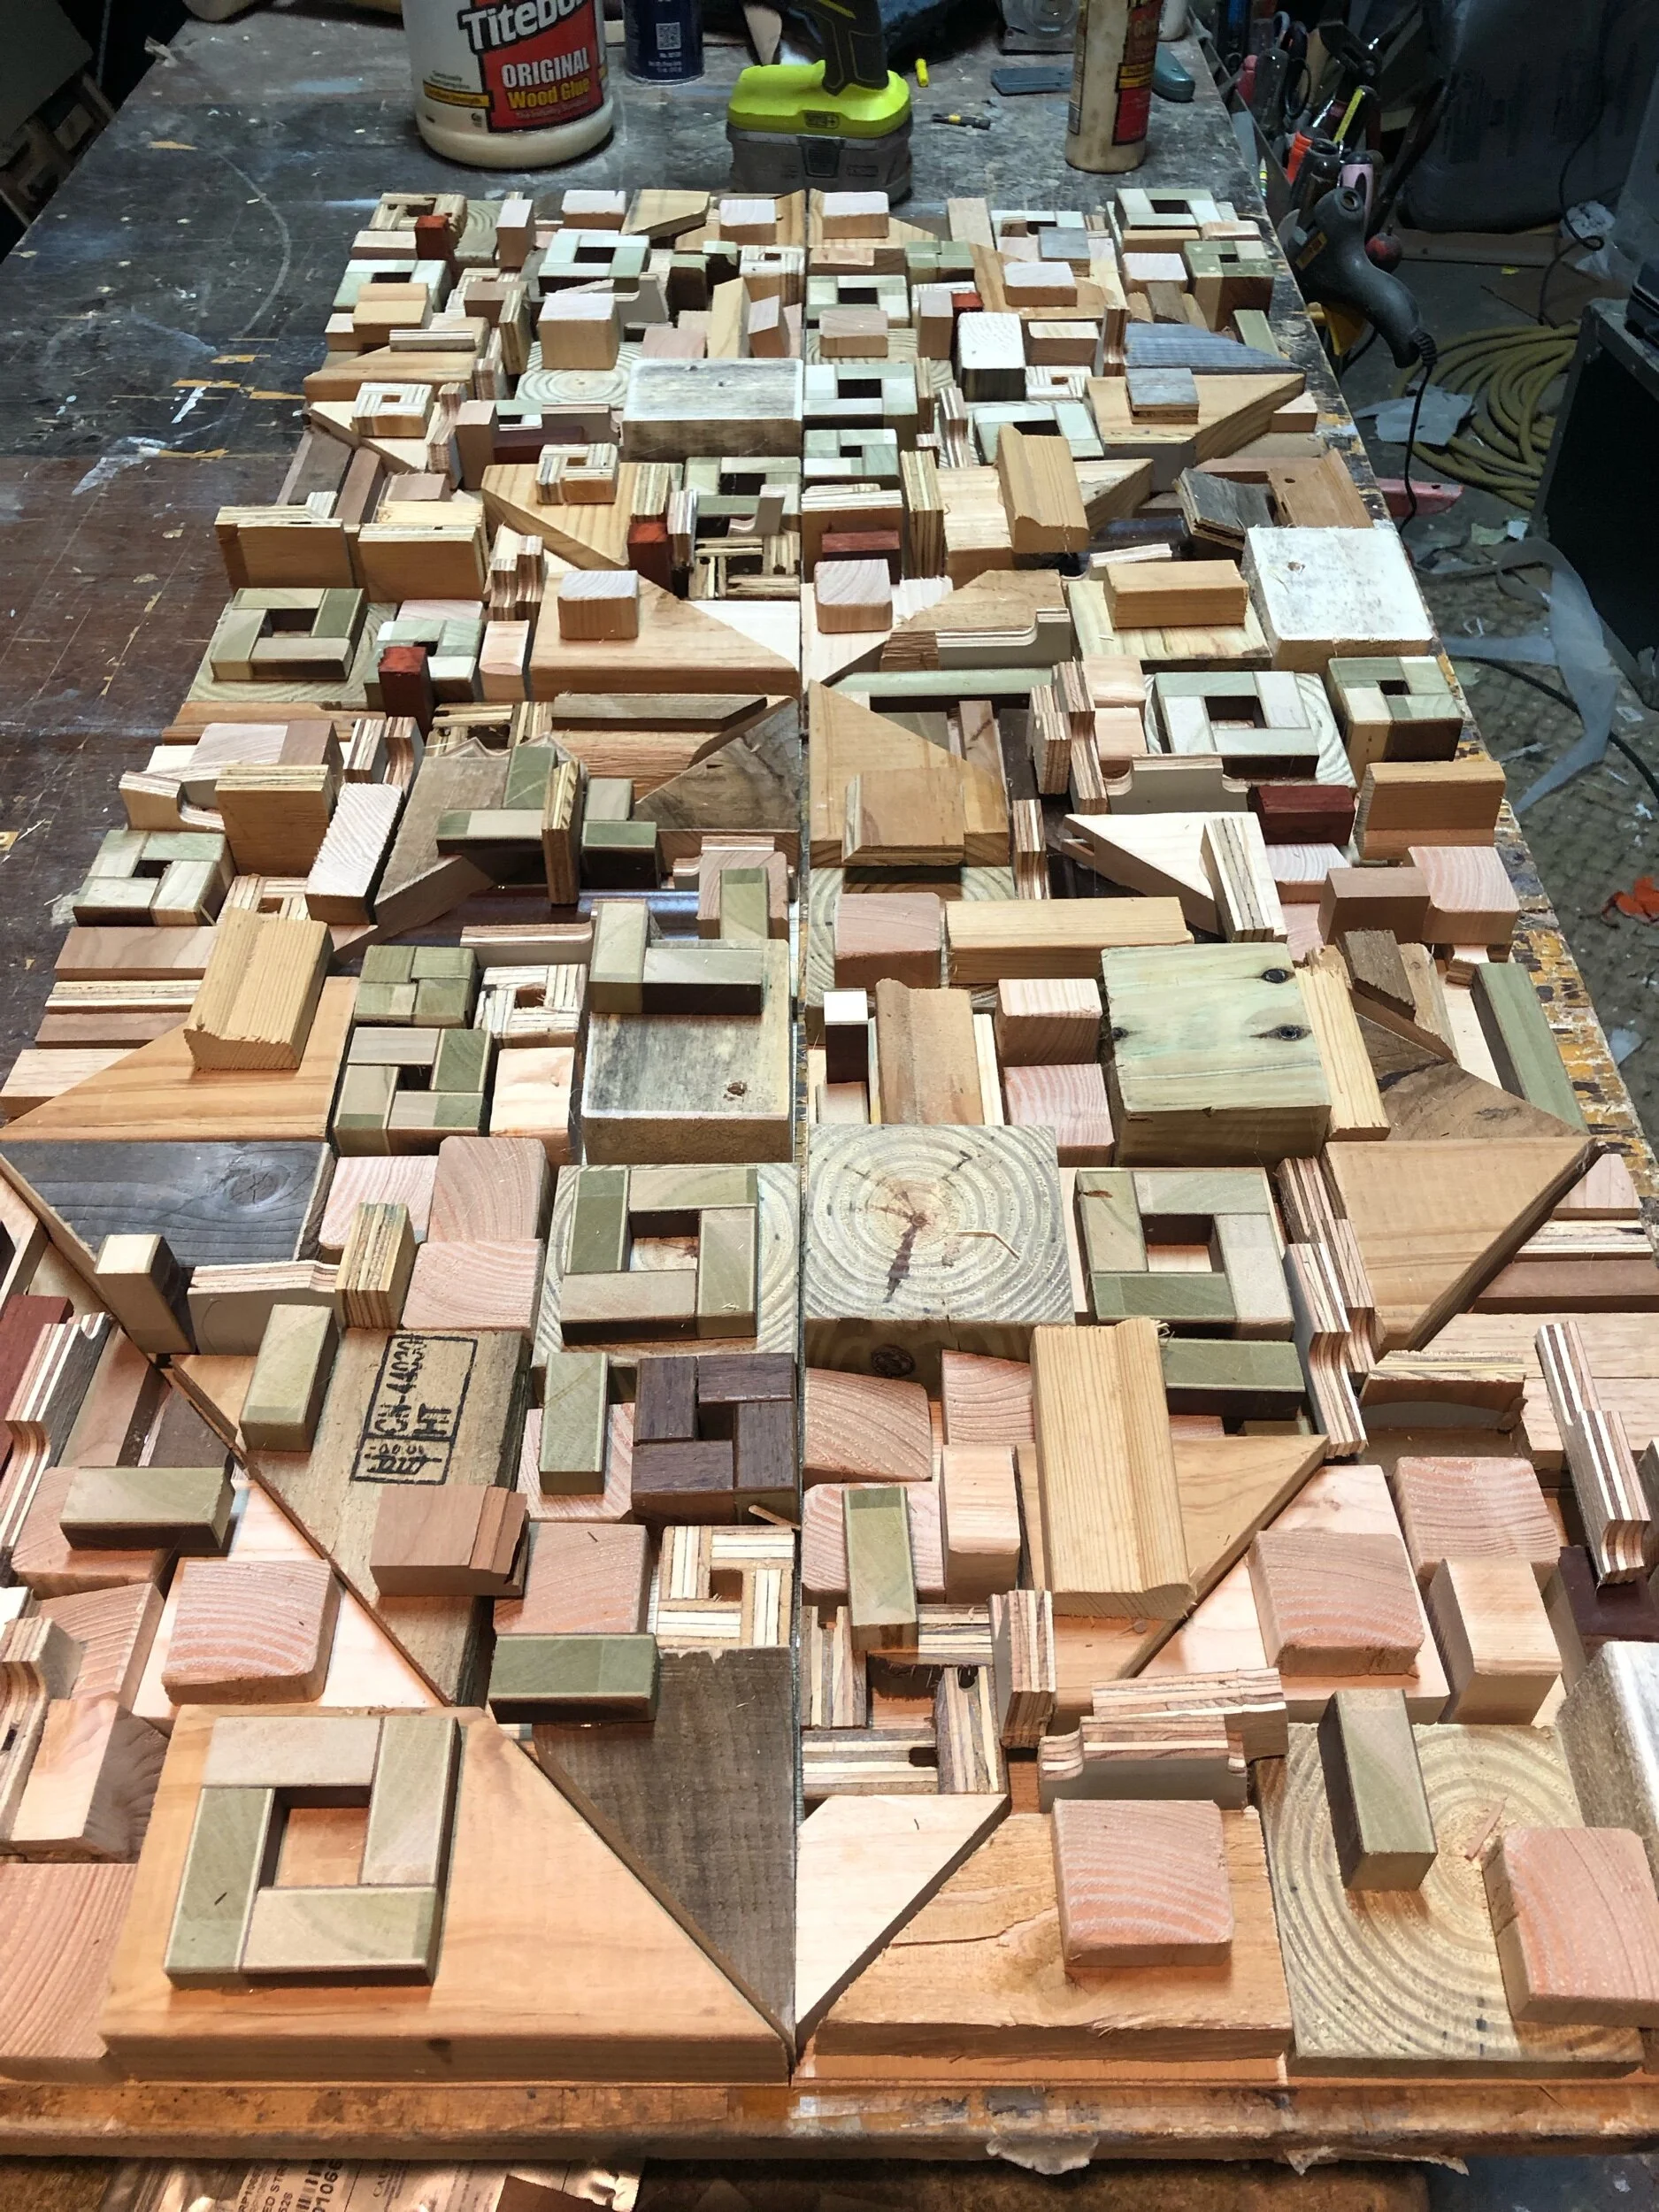
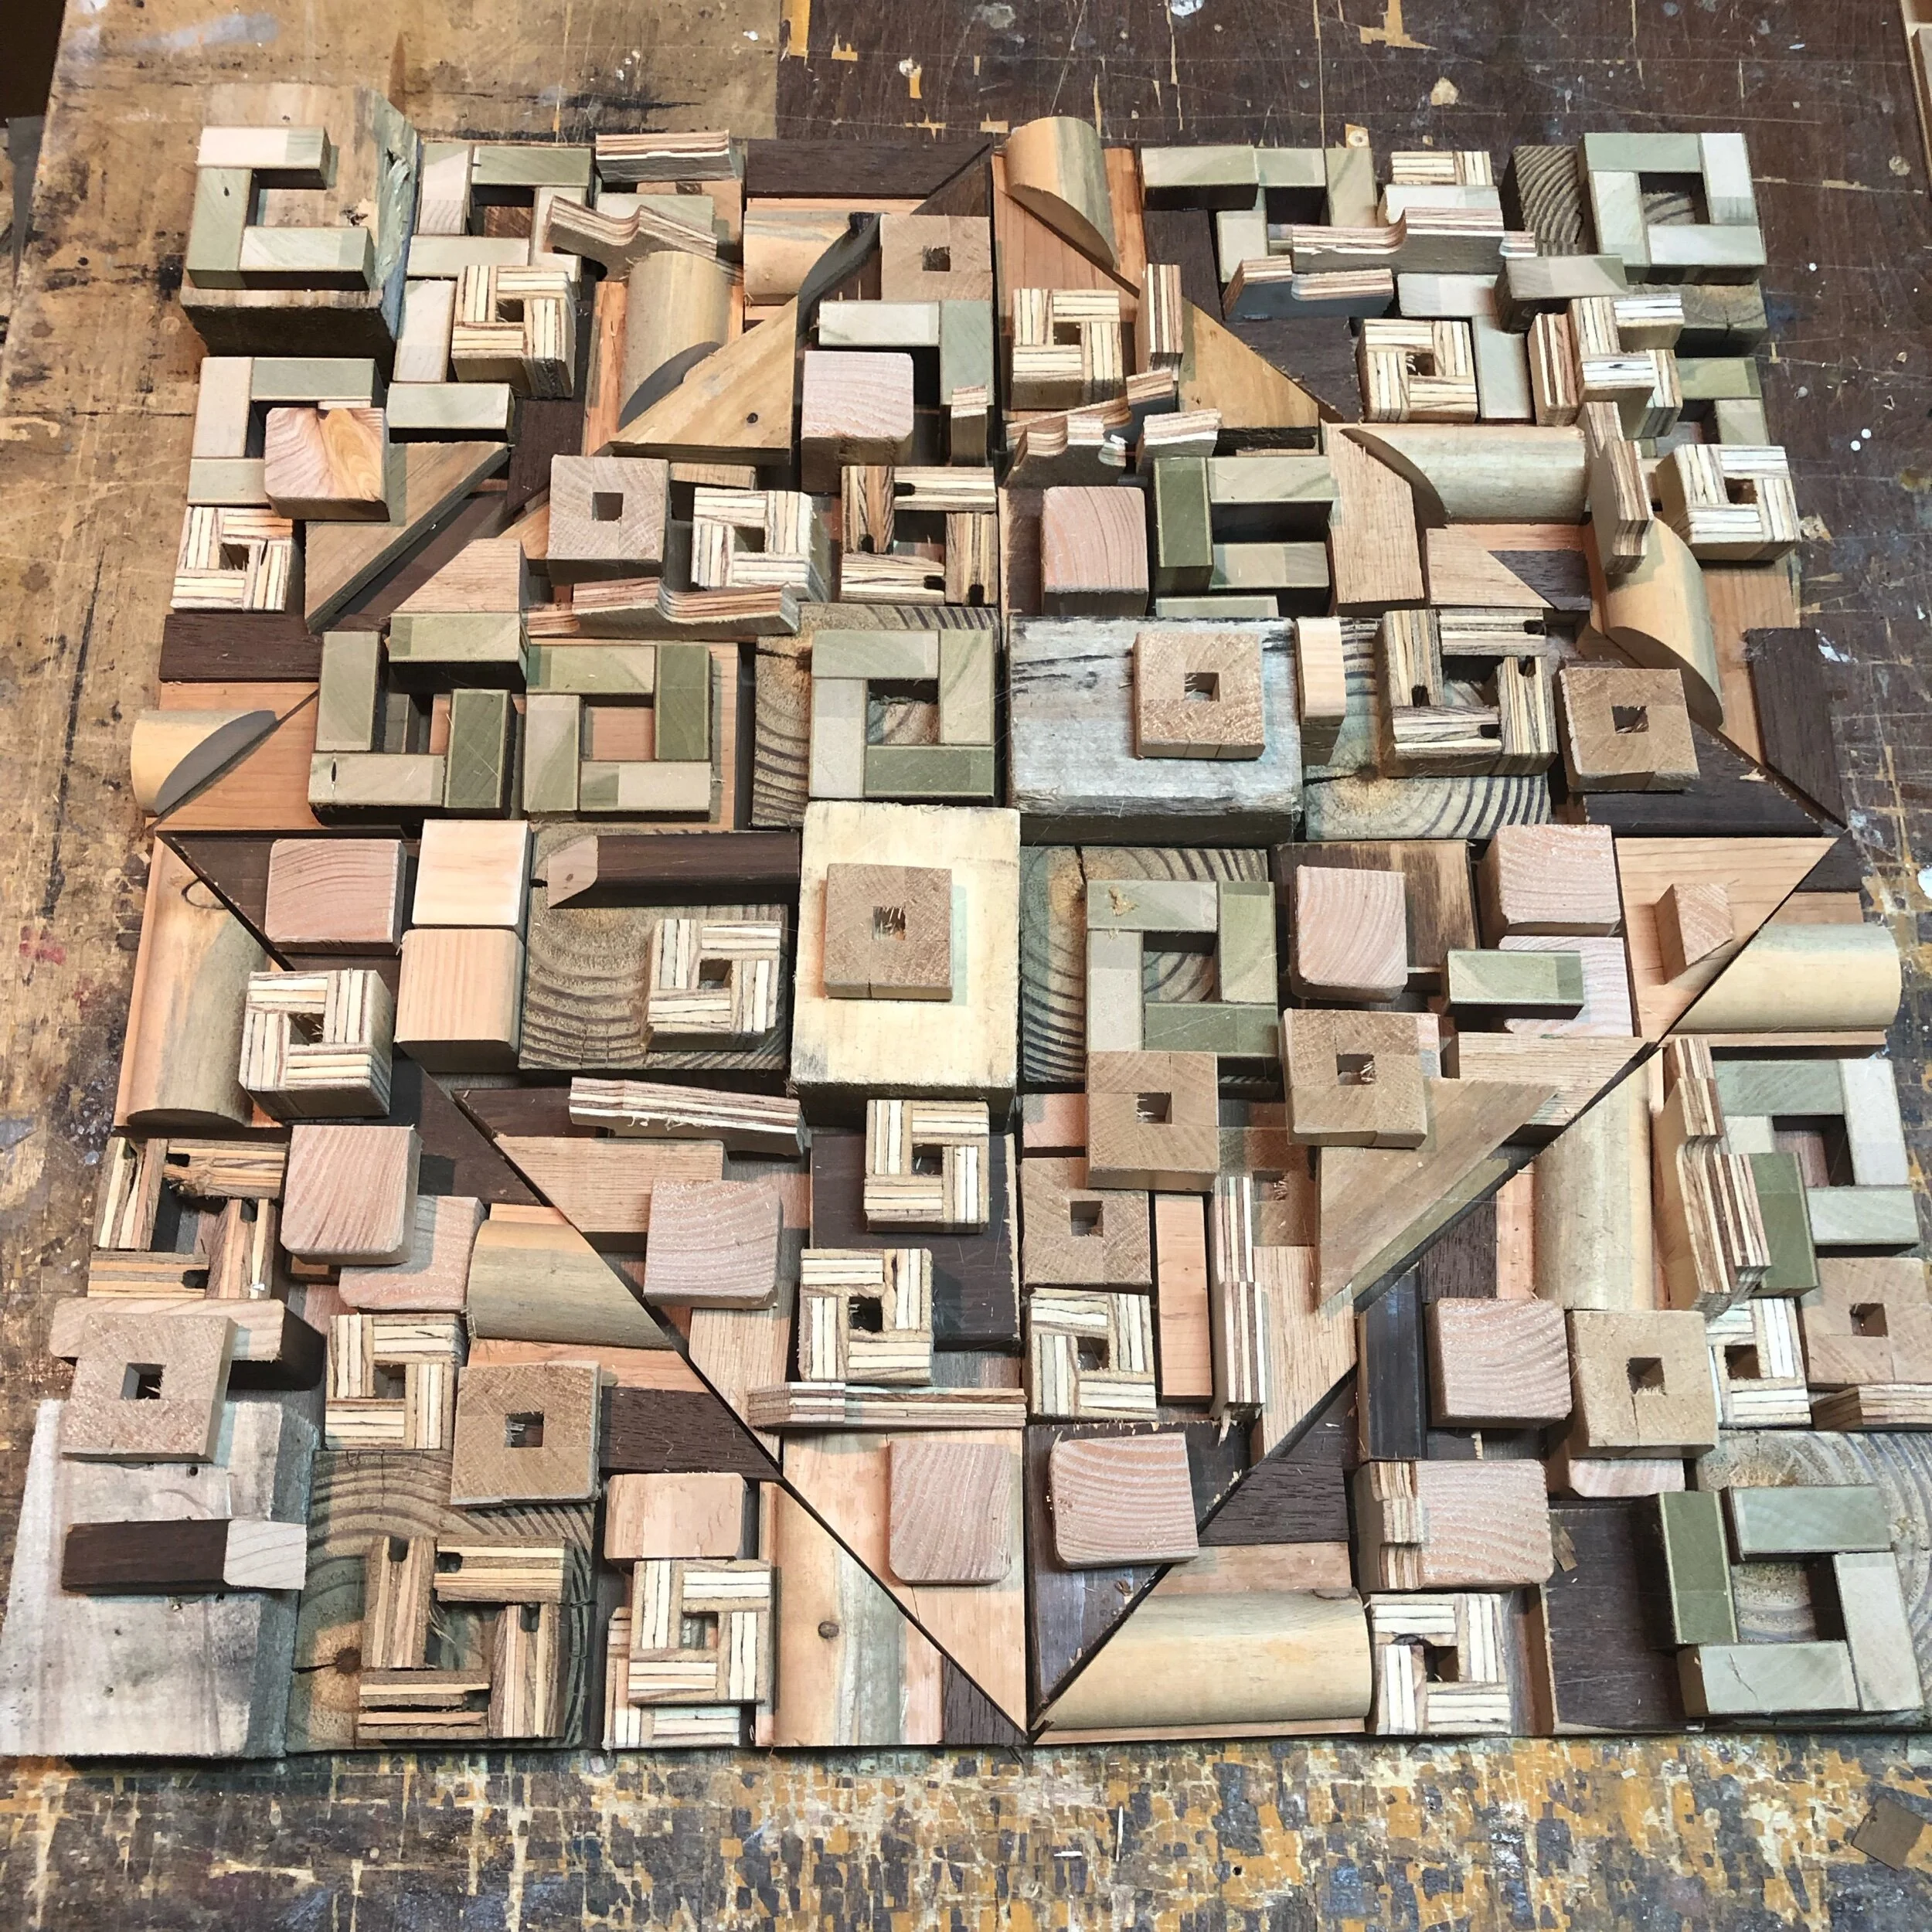
12-18-19: The tops are done and glueing up. Took a while to match the lines and cross reference the end of the first column to make everything blend. However, it works. Just have to do some finish work, take pics, and do a quick Photoshop mock-up just to make sure everything is on point. Feeling very confident! Stay tuned.. Looks like they will ship by the end of the week.
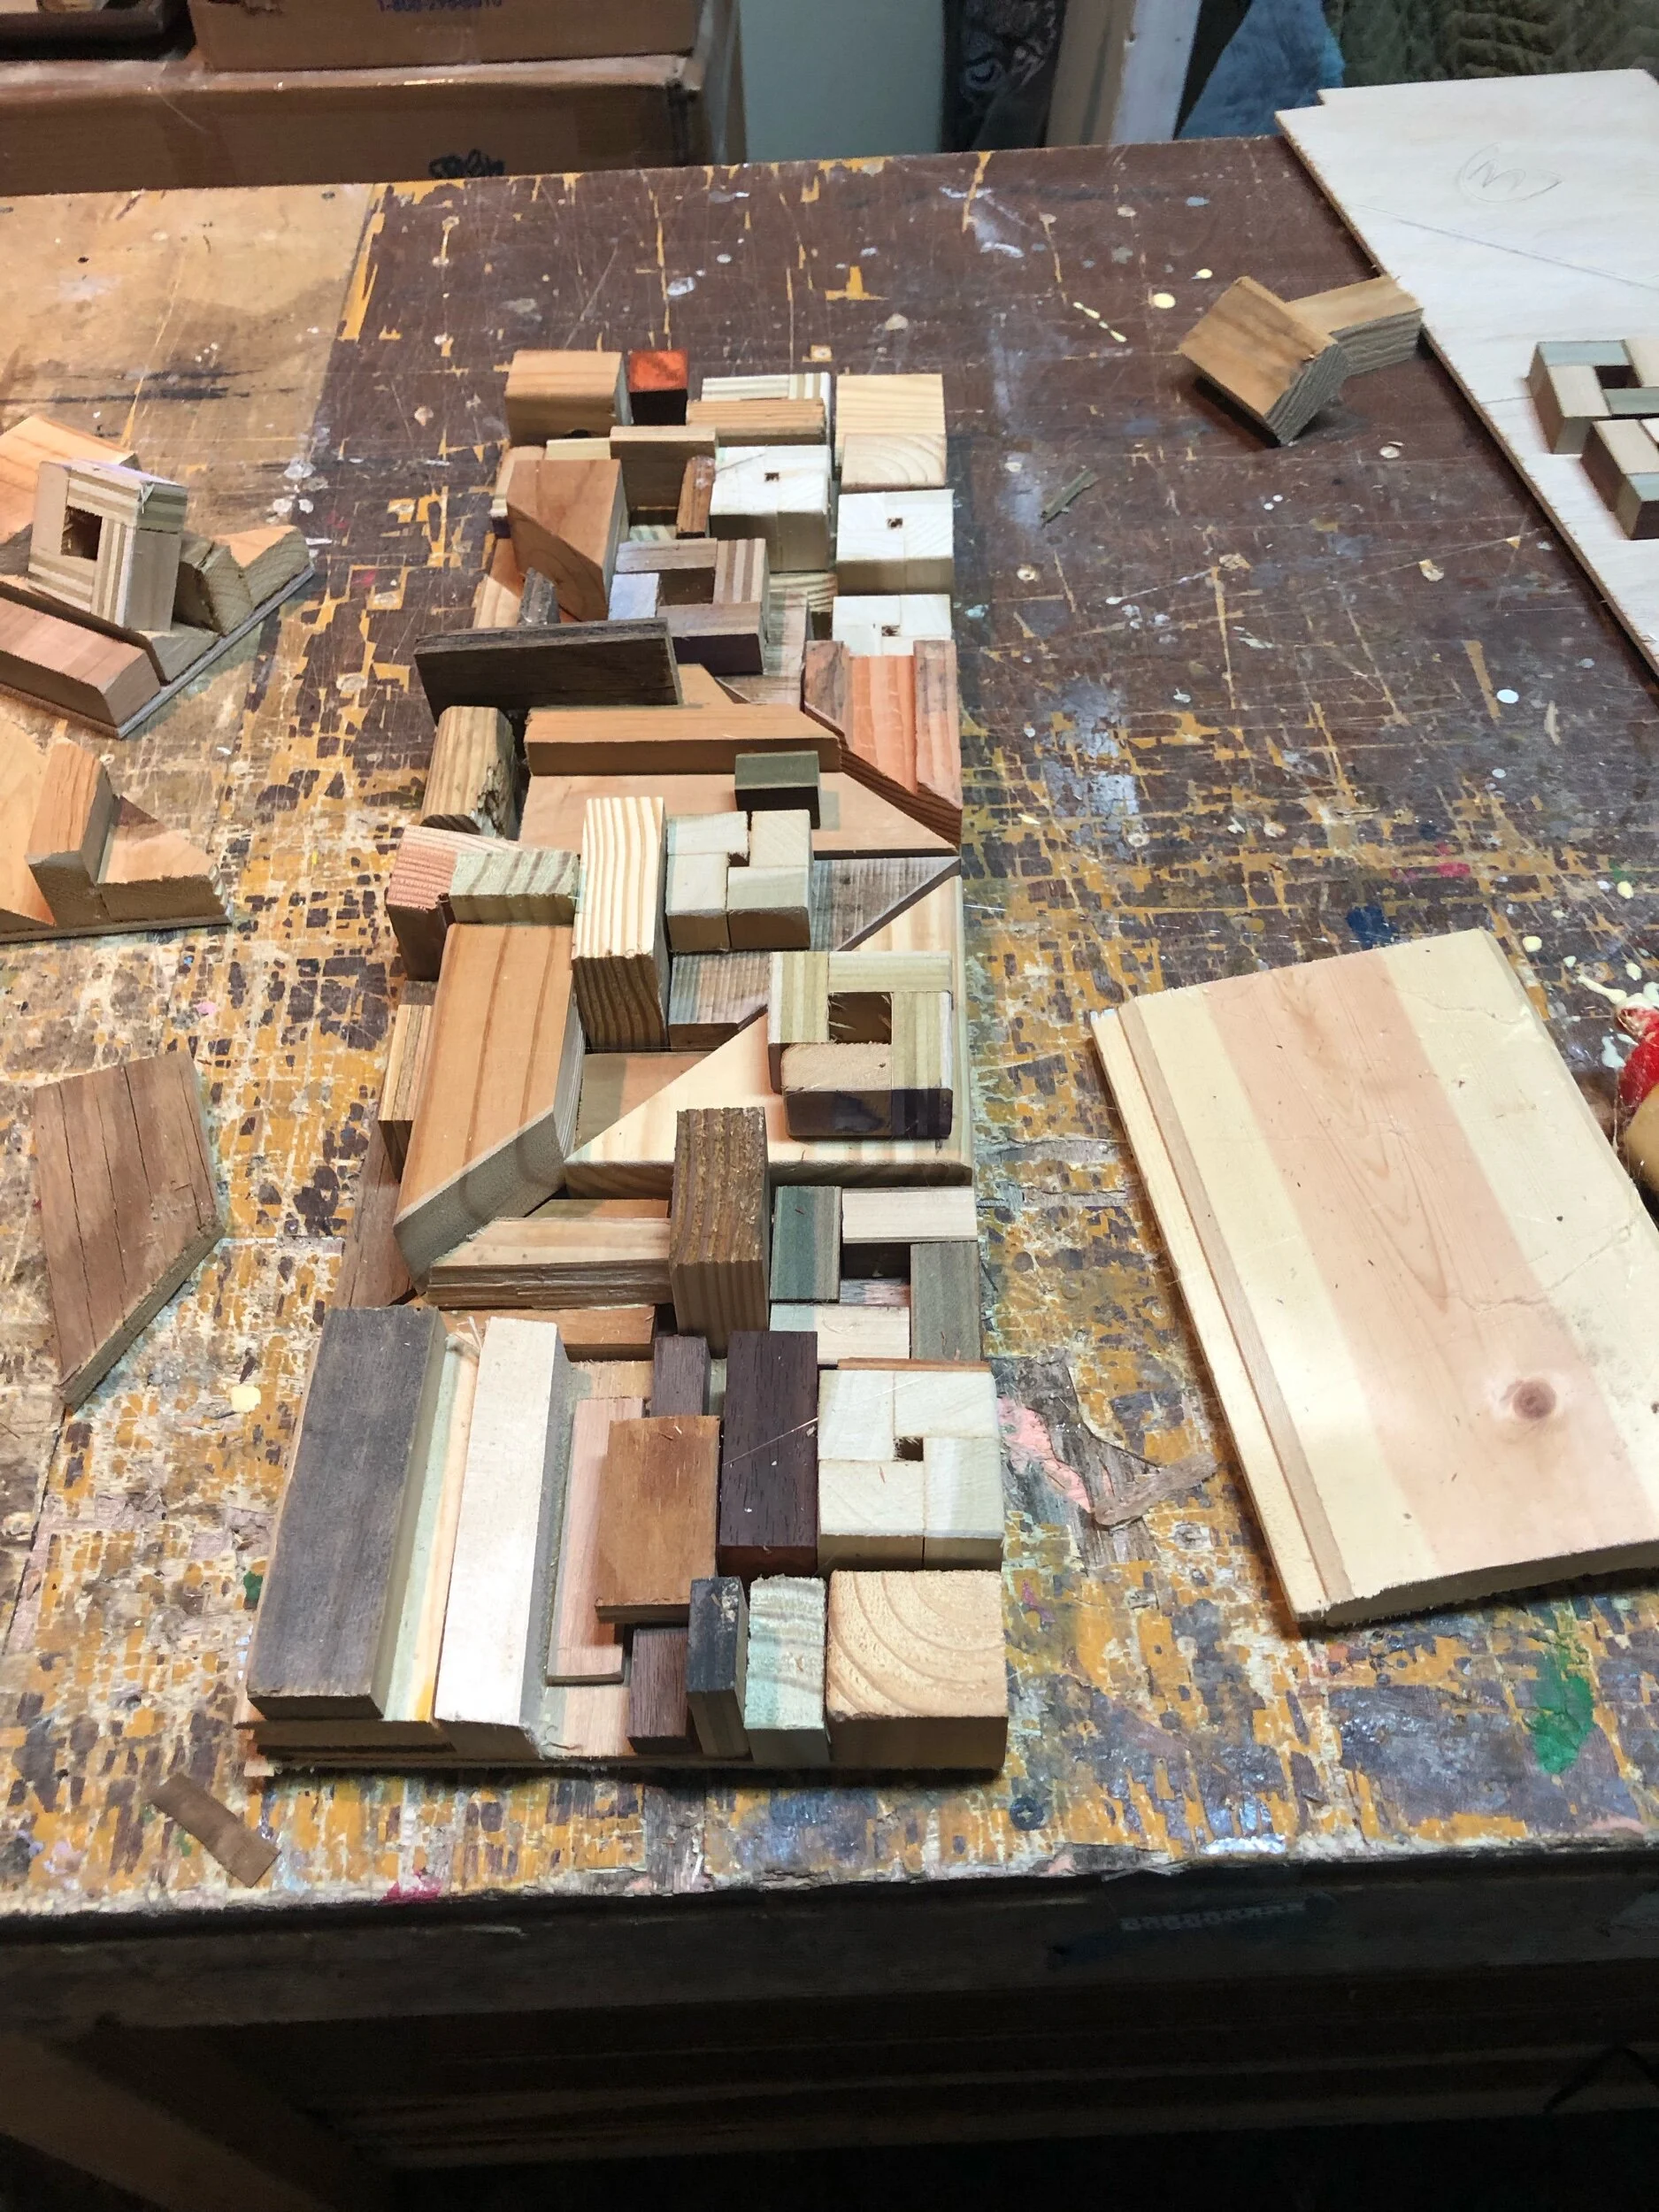
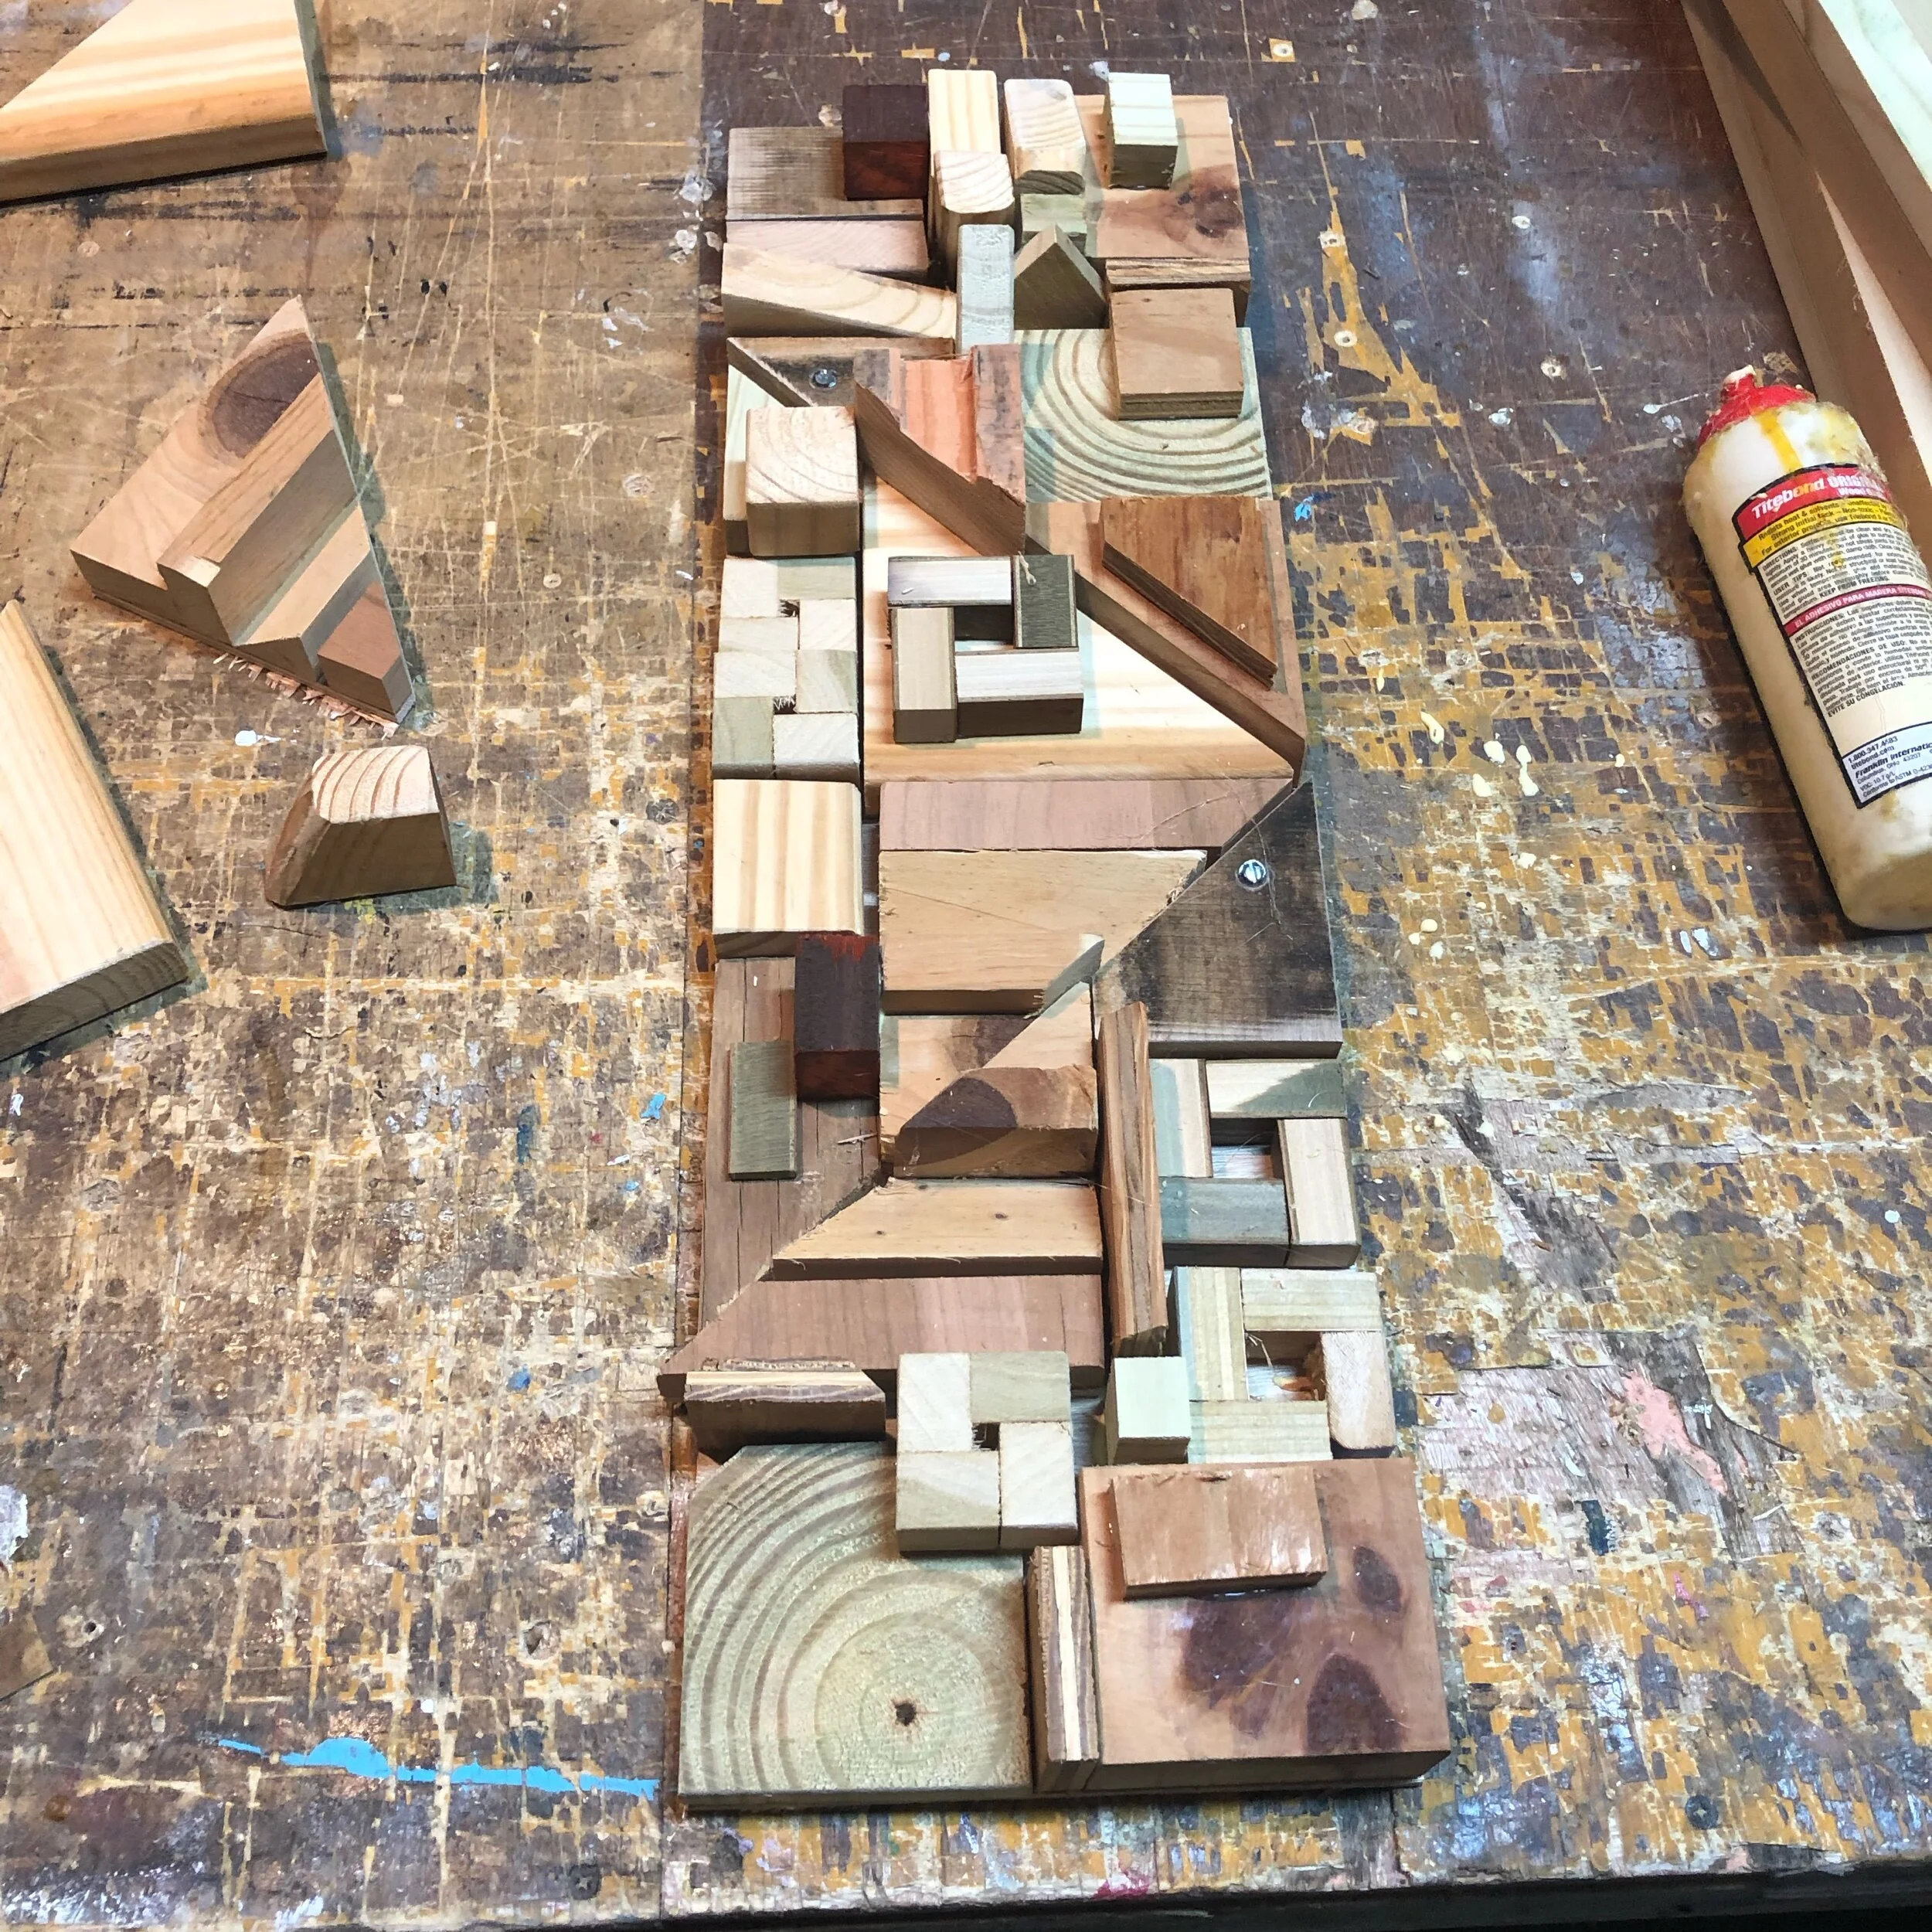
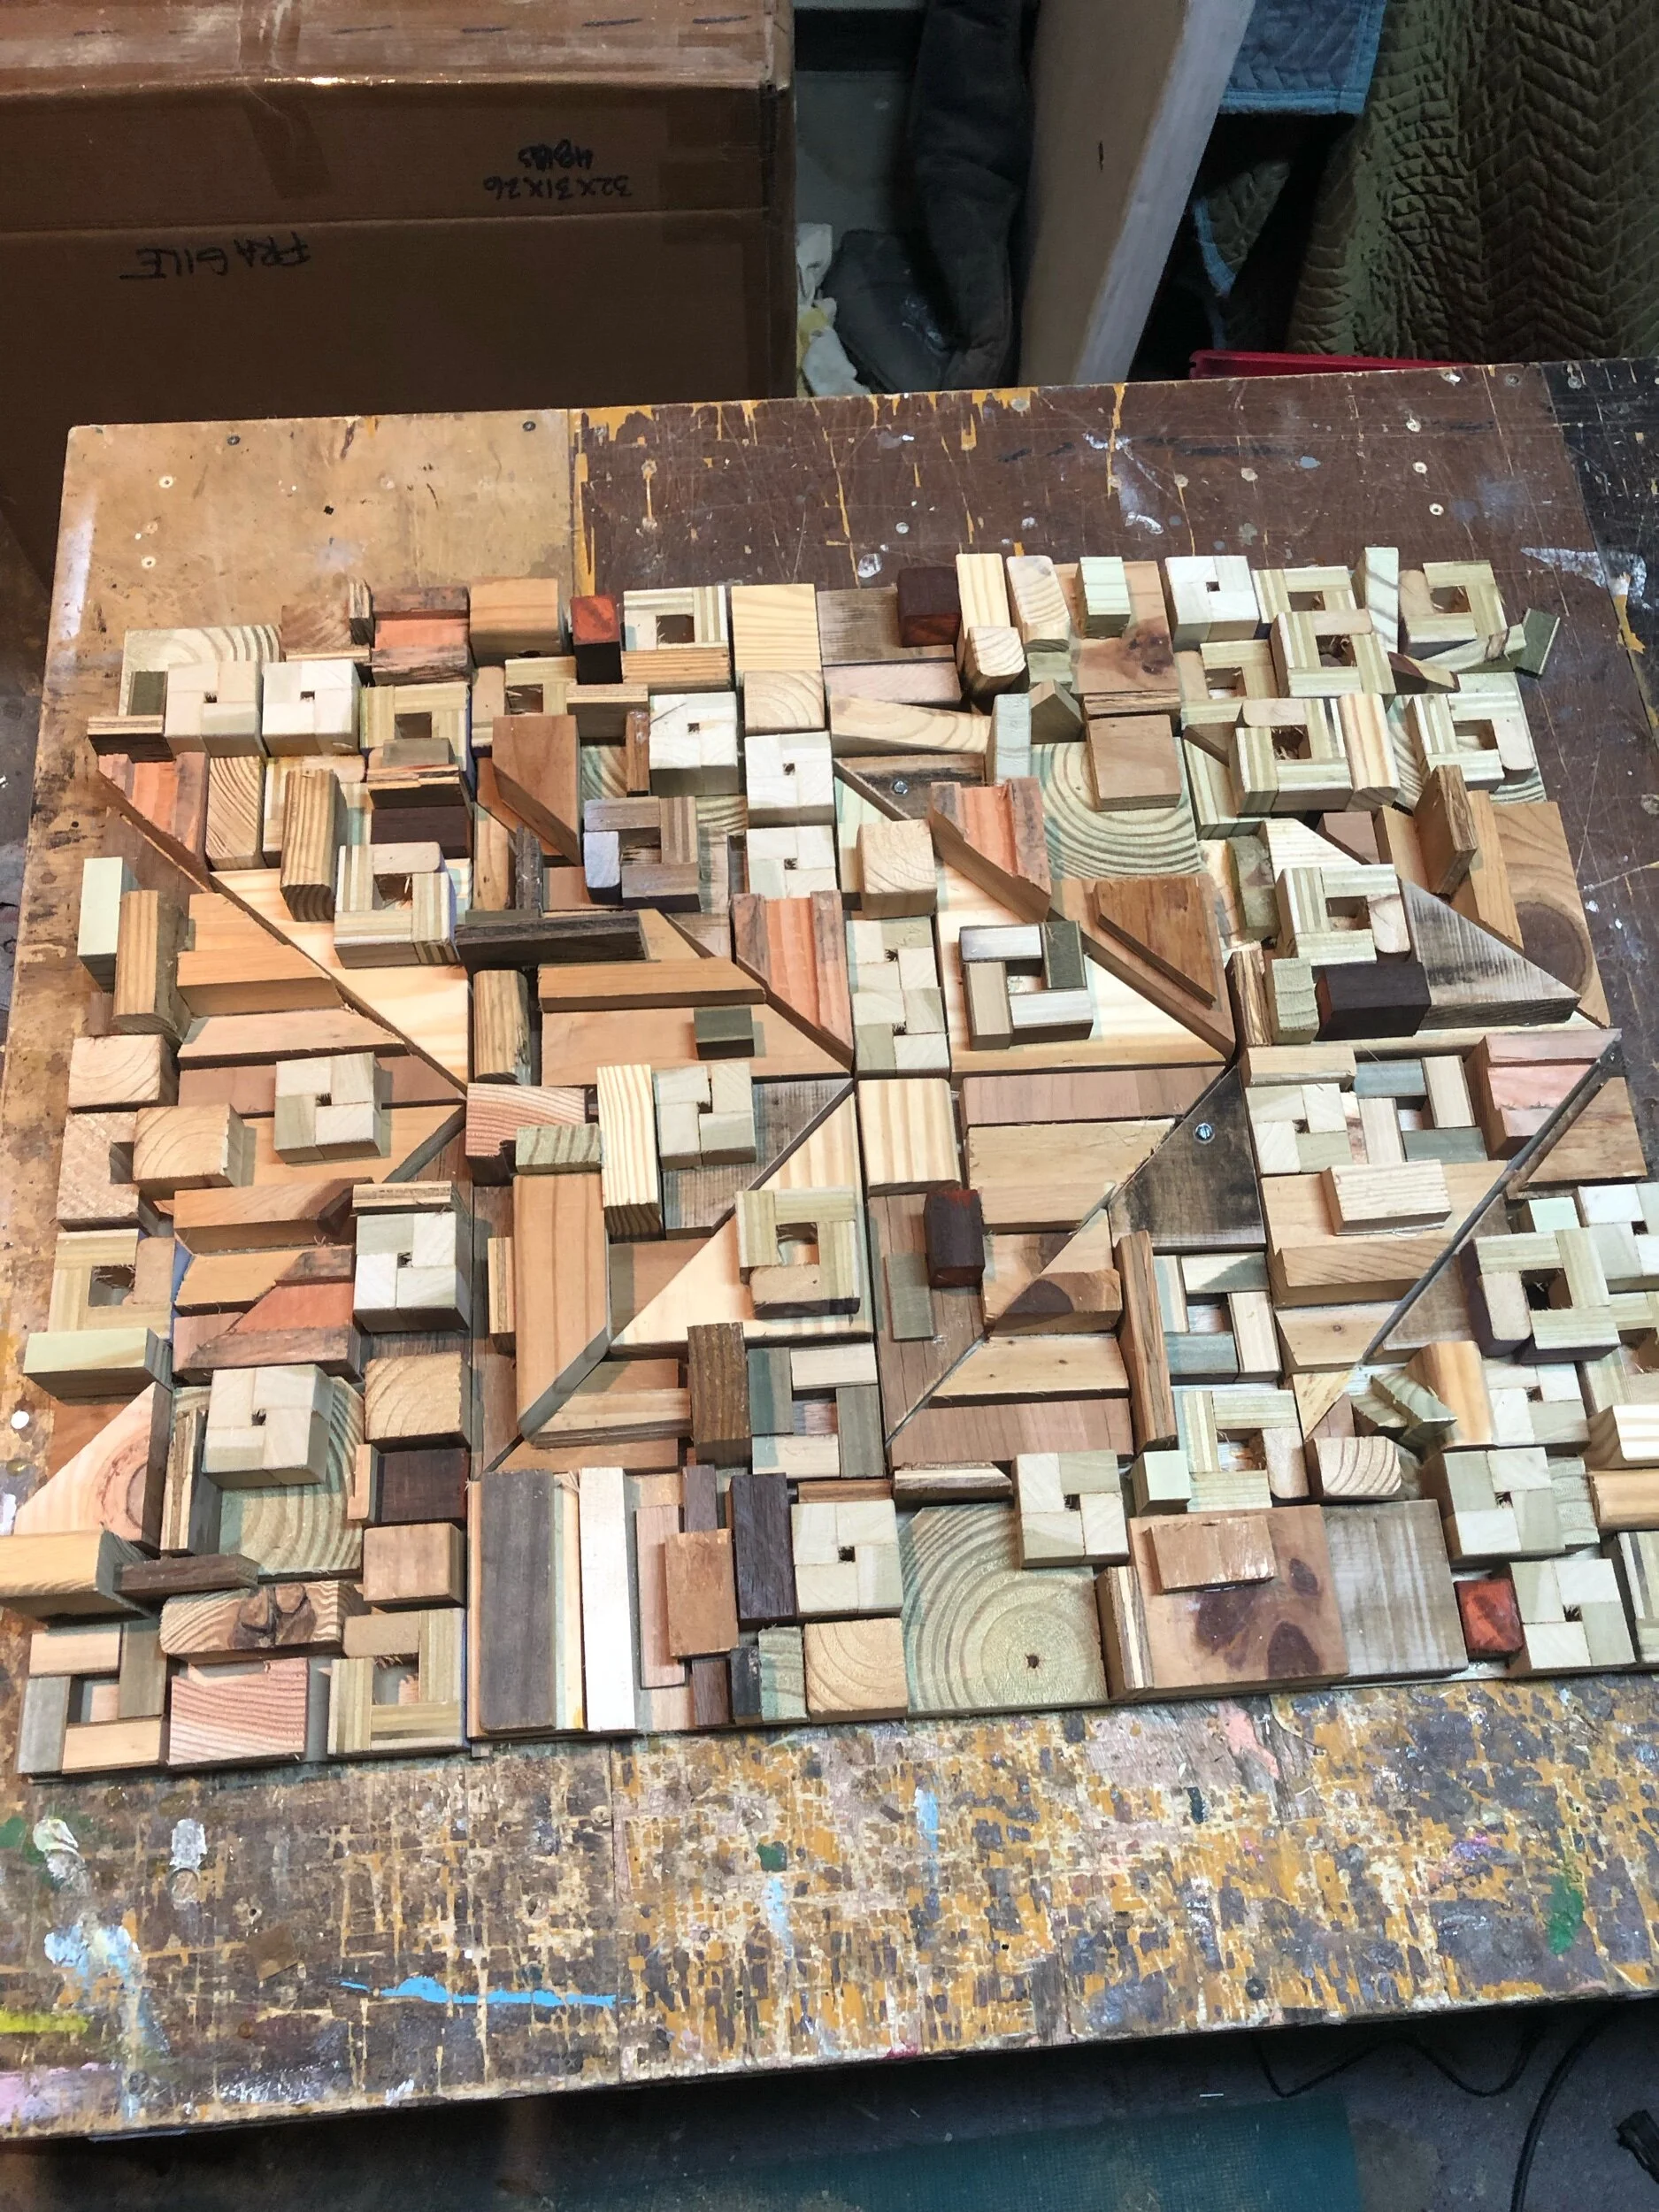
12-19-19: Good news! The addition will ship tomorrow. See the pics and a (bad) Photoshop layout of them added. After doing so, I’ll send another package in a few days and call upon your teamwork. The package will be some parts from the addition to mix in to the other panels as you see fit. Doing so will blend the new with the older if need be. Shouldn’t be many, just glue them on with either a hot glue gun and wood glue combo or whatever you see fit.
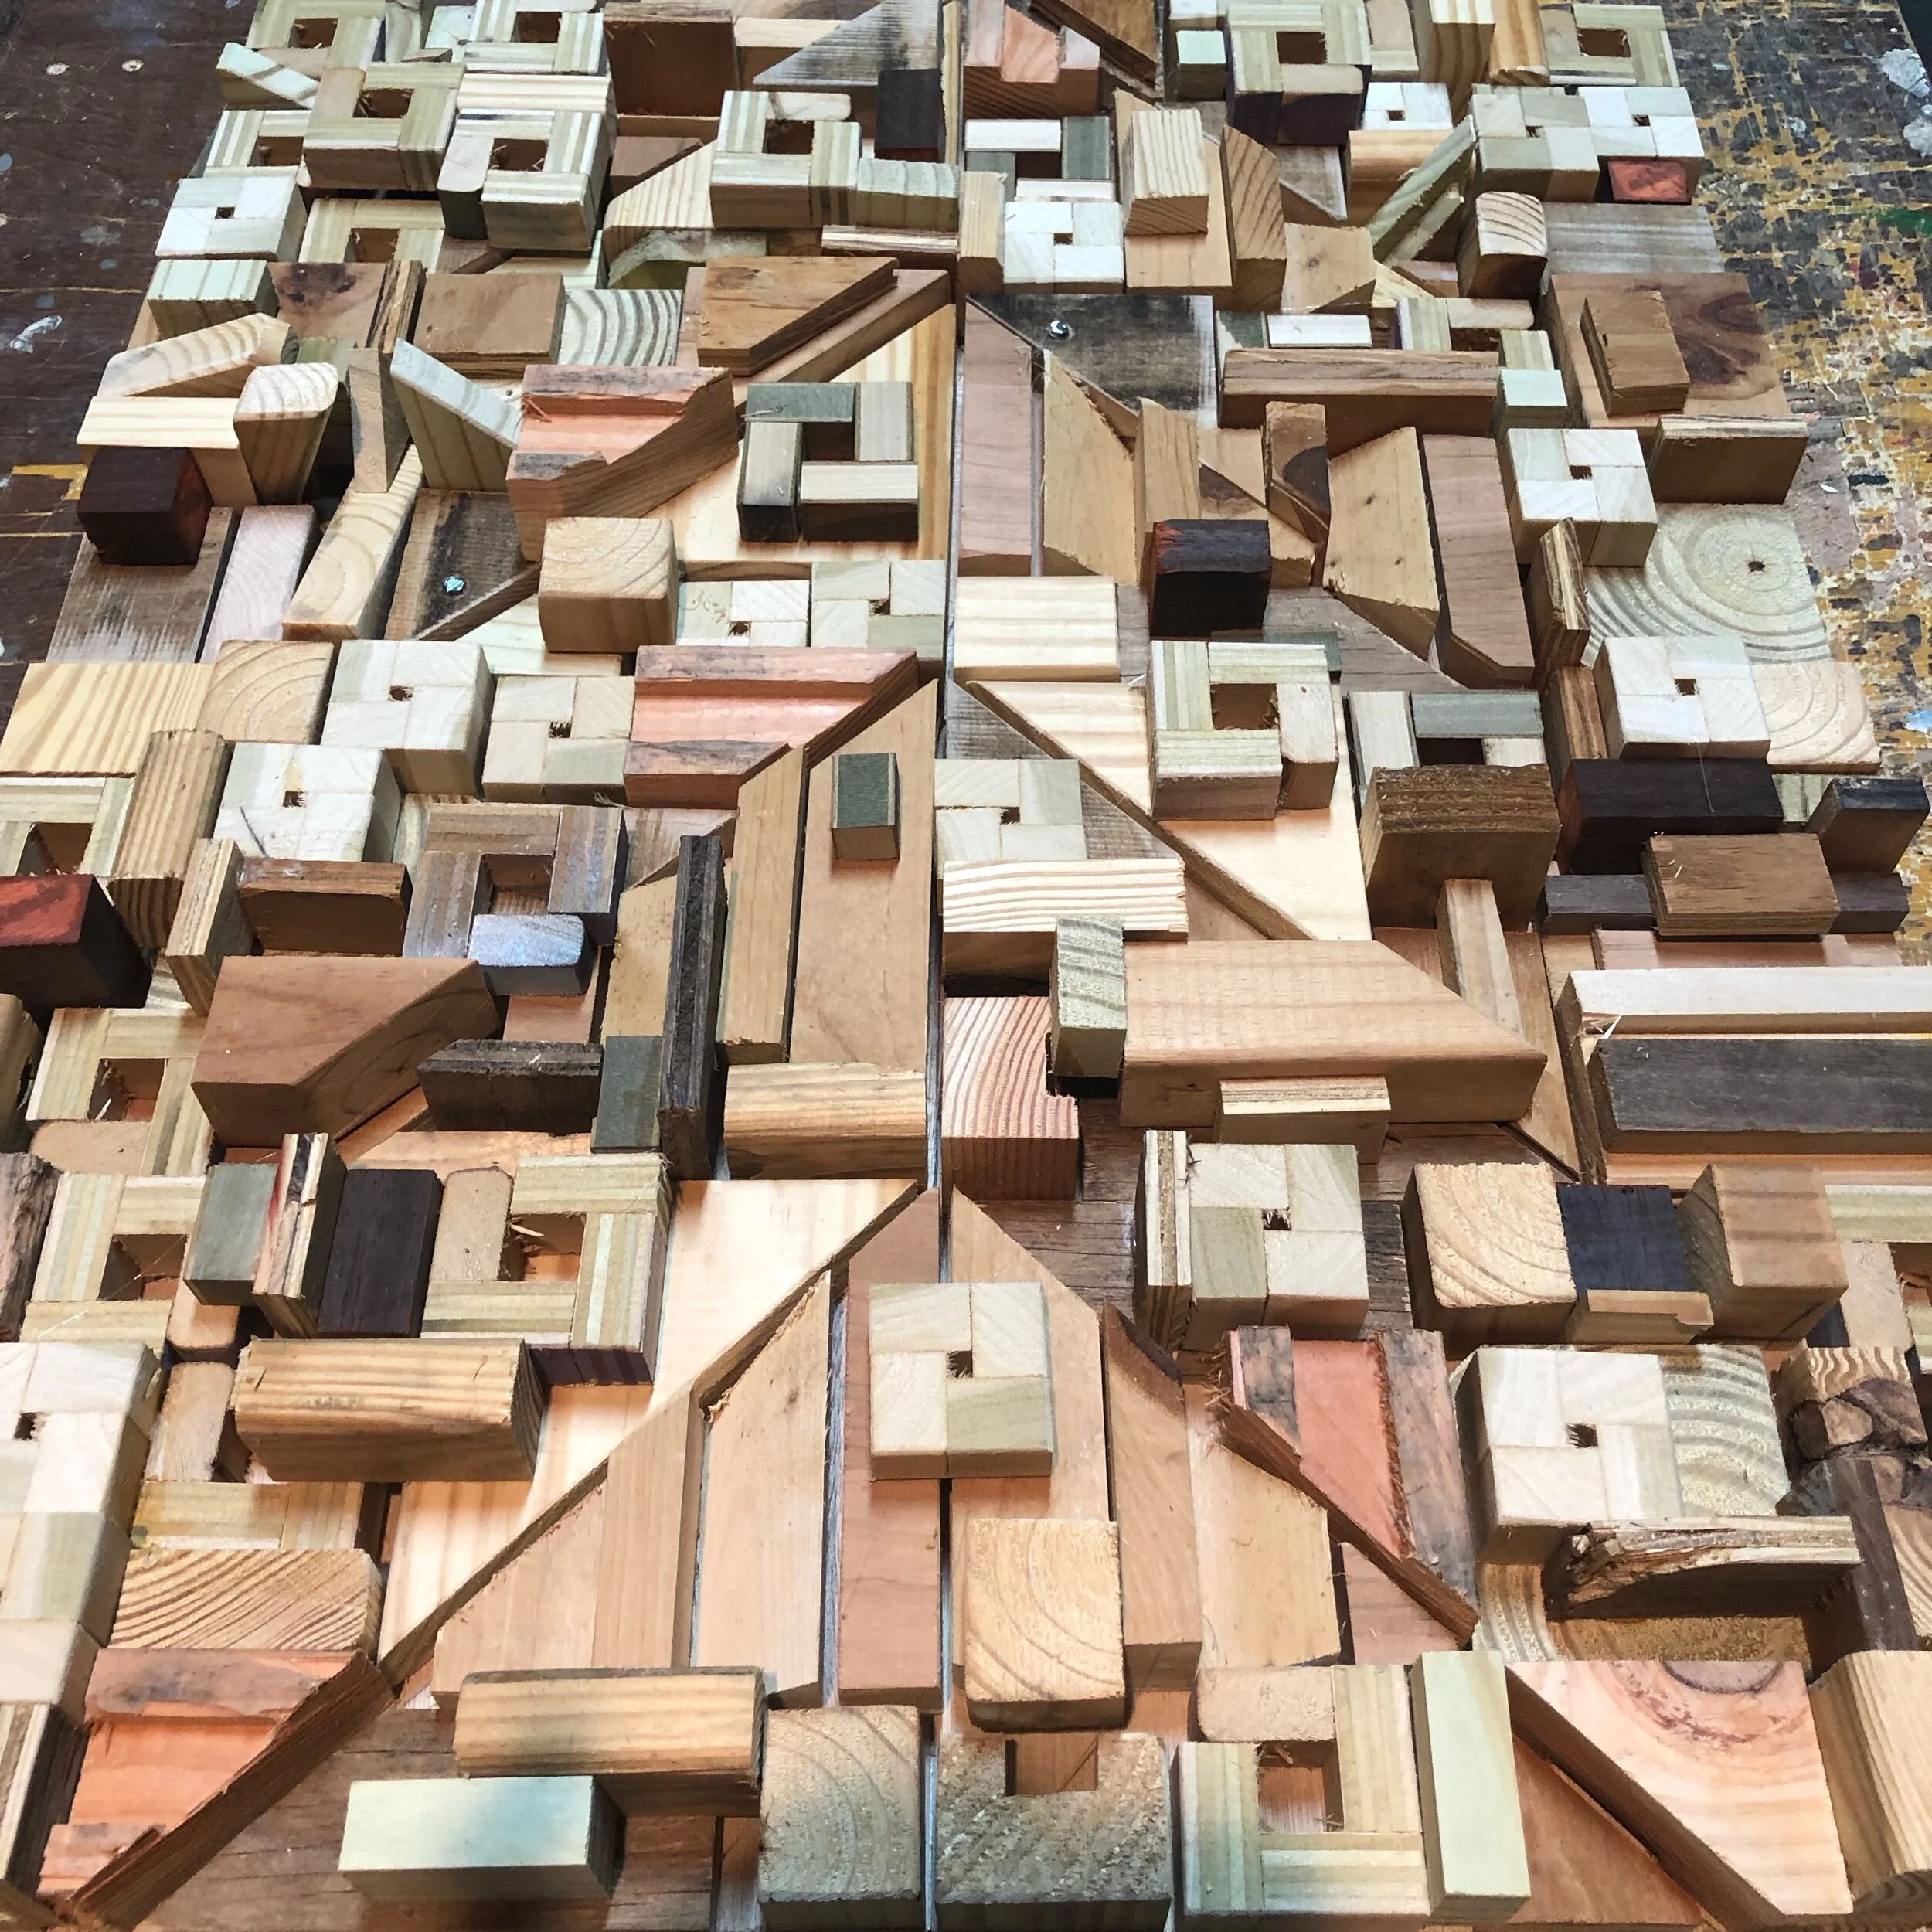
It’s difficult to match prior builds even though I still had a lot of the stock used on hand. As for the shapes and angles, it’s right on. No redundant pieces next to each other, that’s good. That took some time but it worked.
Hanging: use the same grid as before. Just add the cleat to the same cleat line prior. The panels are broken down into four 7.5” x 12” panels. The “grout line” at the 90 is faux. It should all match up with one cleat per panel. See the other (bad) Photoshop drawing for the sequence.
The panels will ship tomorrow. Look for another box with parts after that. Cheers!